
DVD-quality lessons (including tabs/sheet music) available for immediate viewing on any device.
Take your playing to the next level with the help of a local or online banjo teacher.
Weekly newsletter includes free lessons, favorite member content, banjo news and more.
Premier Sponsors


|
Please note this is an archived topic, so it is locked and unable to be replied to. You may, however, start a new topic and refer to this topic with a link: http://www.banjohangout.org/archive/251124/12
Page: 1 2 3 4 5 6 7 8 9 10 11 12 13 14 15 16 17 18 19 20 21 22 23 24 25 26 27 28 29 30 31 32 33 34 35 36 37 38 39 40 41 42 43 44 45 46 47 48 49 50 51 52 53 54 55 56 57 58 59 60 61 62 63 64 65 66 67 68 69 70 71 72 73 74 75 76 77 78 79 80 81 82 83 84 85 86 87 88 89 90 91 92 93 94 95 96
Kaelri - Posted - 03/16/2013: 20:01:55
Thank you for the explanation David, I think I do understand. I didn't really realize all the "pre-planning" thinking, & forethought that has to be done even BEFORE you start cutting and gluing wood together! There is so much to learn!
Thanks again,
Ellen
bill t - Posted - 03/17/2013: 05:34:56
Ellen, If you look back in this thread to pages 14, 15 & 16, Dan showed pictures of this layering process. He puts on extra layers of wood
when the neck is first put together, bottom of page 14, then as the neck is carved on page 15 or 16, one sees that layering effect.
Thanks again Dan, for this great thread! Hope you're feeling better soon. Bill
Dan Knowles - Posted - 03/18/2013: 17:51:51
Ellen, David,& Bill,
Thanks so much for your kind comments. It is nice to see y'all looking into past posts like this.
Sherry Lynn and Goshen are very pretty banjos it's nice to see them again. Makes me believe that I can build banjers!
Dan Knowles - Posted - 03/18/2013: 18:24:34
MONDAY the 18th. Day of March
The day I have long looked for arrived today.... I went back to the shop, TO WORK!
I know it was only for about four hours but it sure was nice.
The ole' place looked the same. My workbench was just where I had left it. And the work that I haddn't yet compleated seamed glad for me to get back one it.
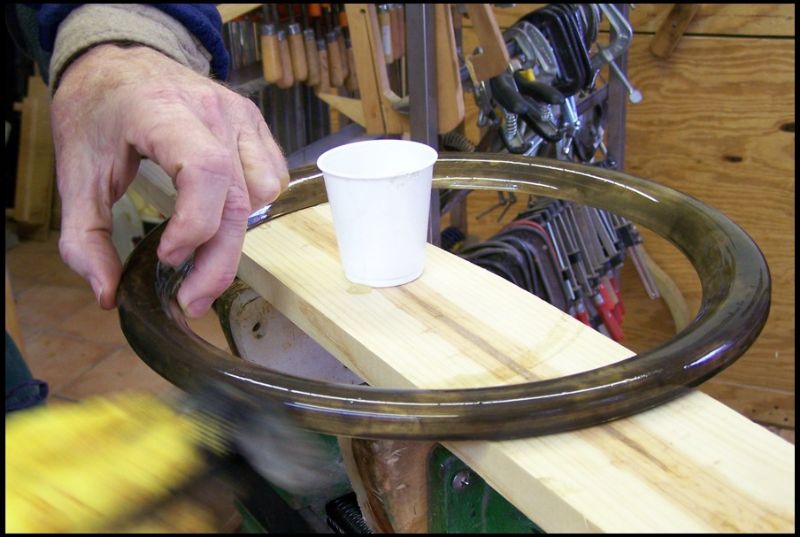
So I wondered around a bit with my head in a cloud trying to get my feet back under me. So feeling a bit old and lost I decided to age the metal on David Emery's banjer...
Here the tone ring is getting a pass..
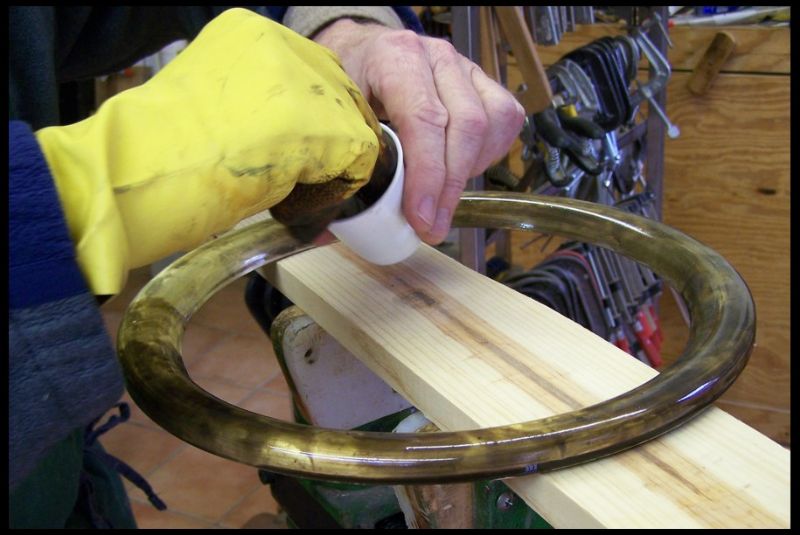
To me it is interesting watching the color come to life on the metal.
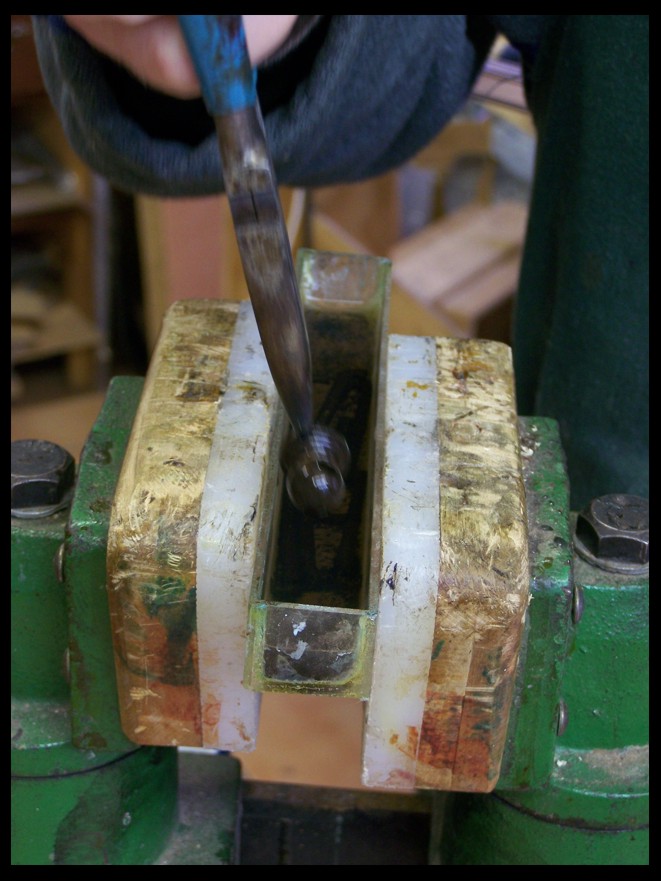
The end bolt comes out of the dip tank...
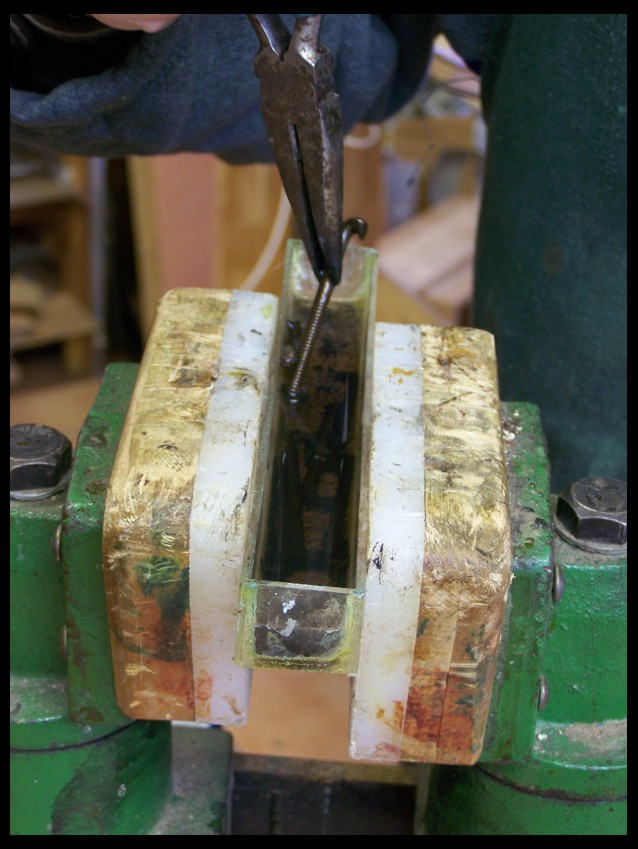
And J hook...
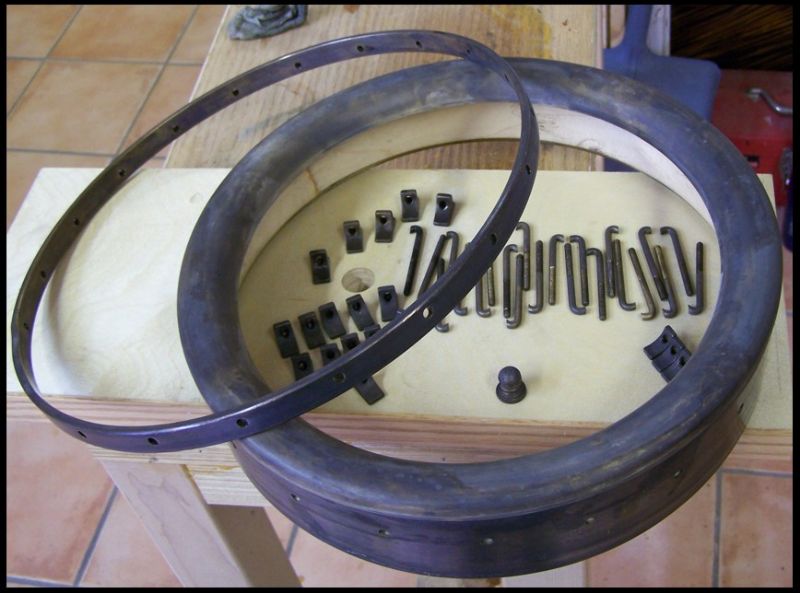
Here is all the metal parts, shoes, J-hooks, tension hoop & rim. Dried and not yet wiped. The color is not quite correct in this photo, it is more brown and less grey, like an old penny.
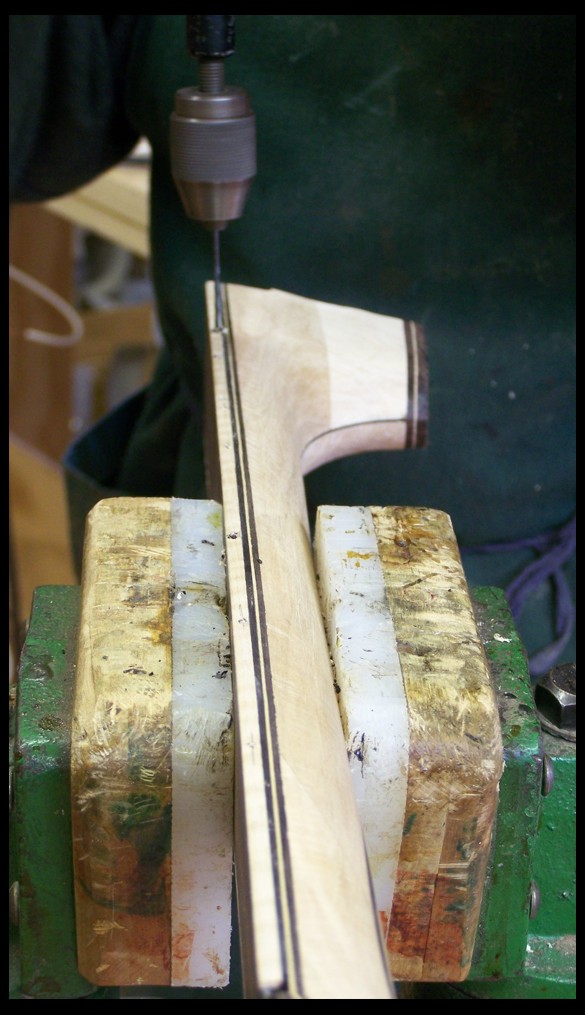
Next I drilled and installed the side dots in side of the neck.
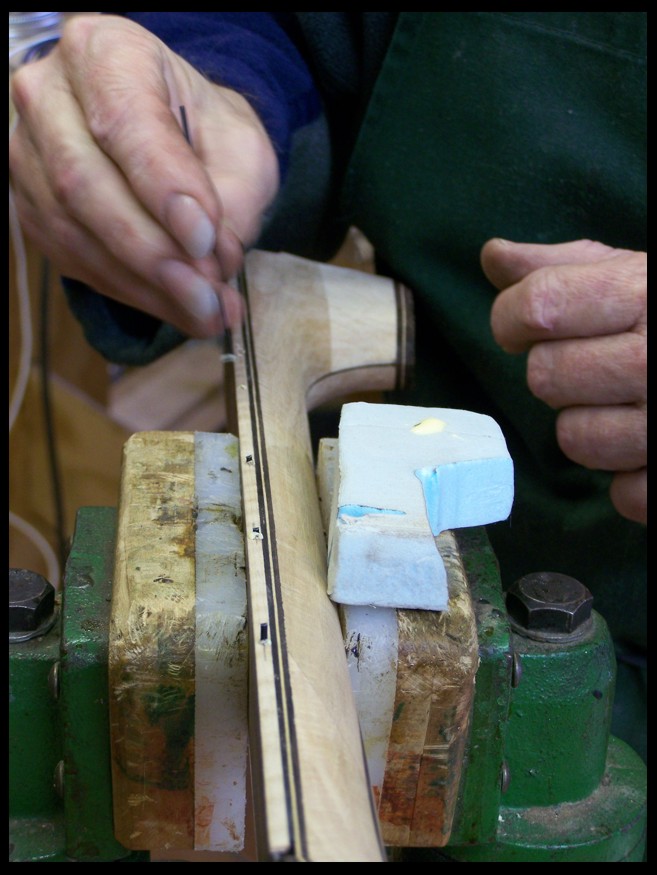
And glued the side rod material in...
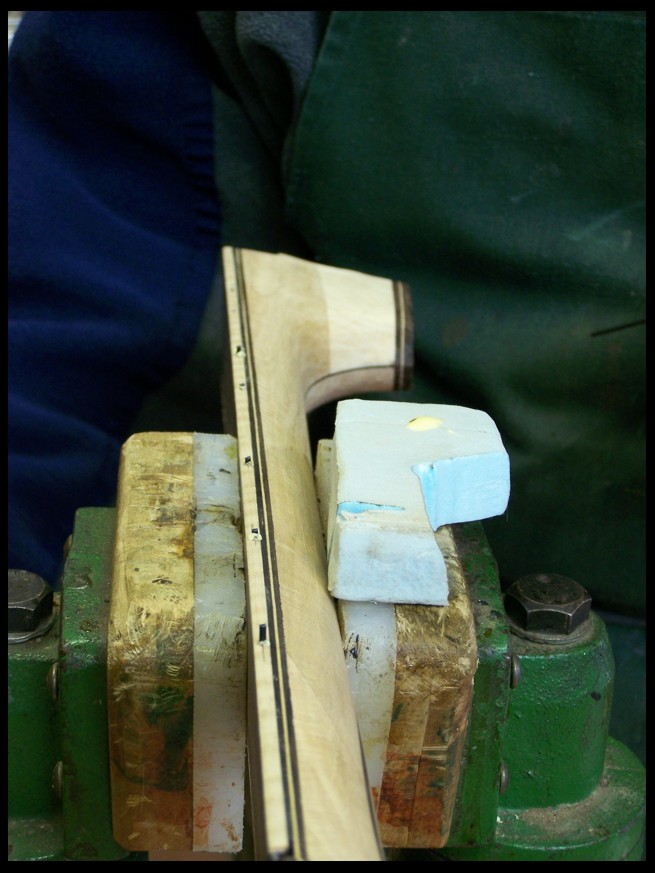
Most of the markers installed. Tomorrow I'll cut and level them.
More tomorrow....
Edited by - Dan Knowles on 03/18/2013 18:29:23
Dave1climber - Posted - 03/18/2013: 18:38:06
Dan
That hardware is looking good, I am sure that when your done with it, it will look super duper! Its good to know that your back to work, don't over do it.
DEmery - Posted - 03/18/2013: 18:46:41
Dan that simply looks great. By the time that dries out and gets that dull penny look; the flat oil ebonized finish on the neck and inner rim wood will make this banjo look old. Glad you dragged in to the shop and found time to move our banjo forward. Thanks for posting the photos and I will keep watching to see what happens over the next few days. David E.
Edited by - DEmery on 03/18/2013 18:54:09
michaelcj - Posted - 03/18/2013: 20:28:18
Dan, the metal work looks great. Mind sharing what "ageing solution" you're using on it?
Mike
Dan Knowles - Posted - 03/19/2013: 11:24:18
Dave, David, Ron, Michael & Hollie,
Thanks for your kind wishes. Here it is 1:20 PM and I'm just getting ready to leave for the shop. I won't get a lot of Luthing completed today as I'm attempting to survive my Tuesday teaching schedule. This will be my longest day back yet....
Michael,
This ageing solution is primarily liver of Sulfur... I didn't know that sulfur had a liver but apparently it does.
Dave1climber - Posted - 03/19/2013: 11:47:27
Dan
Its good to know that you are well enough to be in the shop, just don't over do it. 
Dan Knowles - Posted - 03/20/2013: 17:41:22
3-19-2013
Yesterday was a teaching day, so I went in and allowed my students to show their patience with me... Denton, Bob and all the rest really showed their true quality. My usual level of energy is just not there yet.
But I really showed out today, I went in and was there for almost 5 hours. I went in to wear the shop out and it beat me to it!
While I was at the shop I began working on some of the catch up work that's been building up as I've been gone. A couple fiddles needed attention along with a guitar or two.
Also I grabbed up David Emery's banjo neck and scratched around on it with some sand paper.
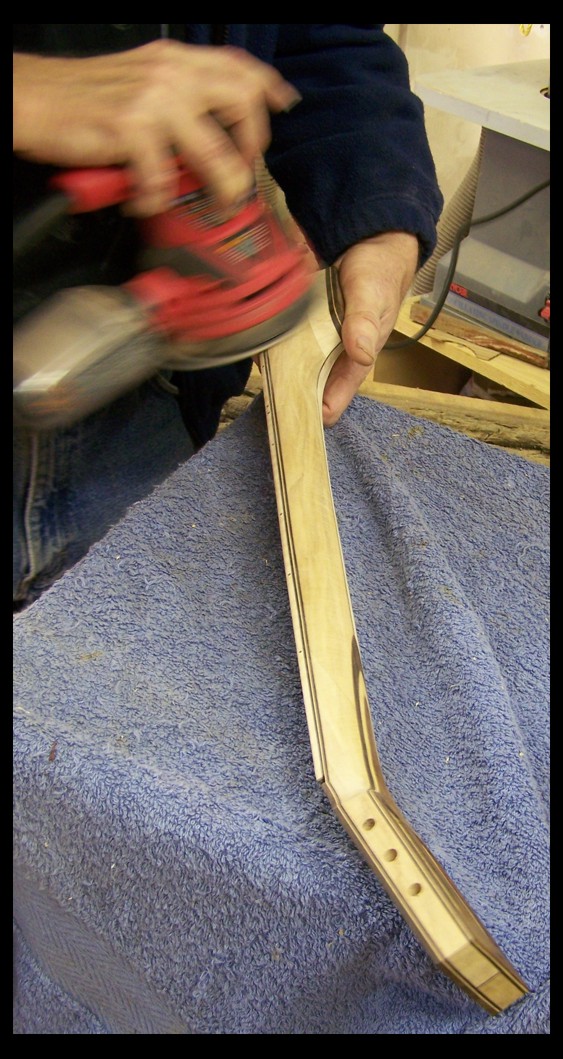
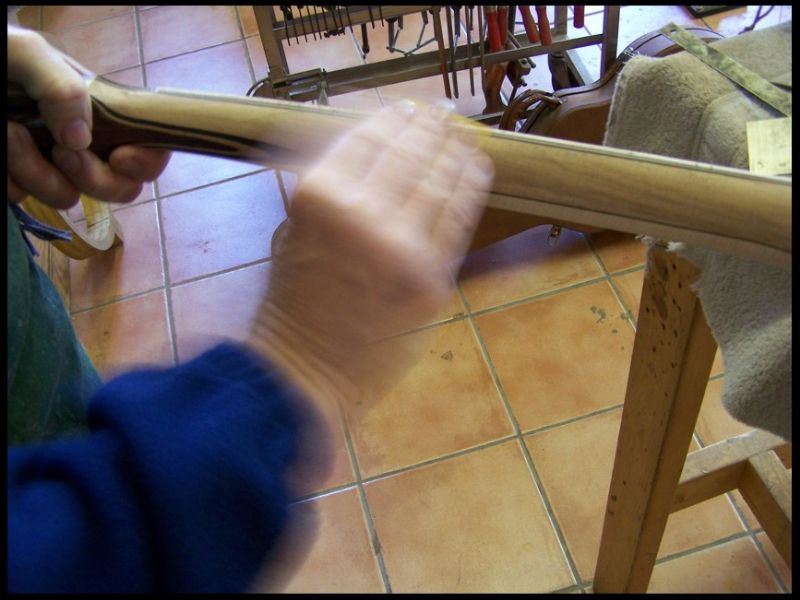
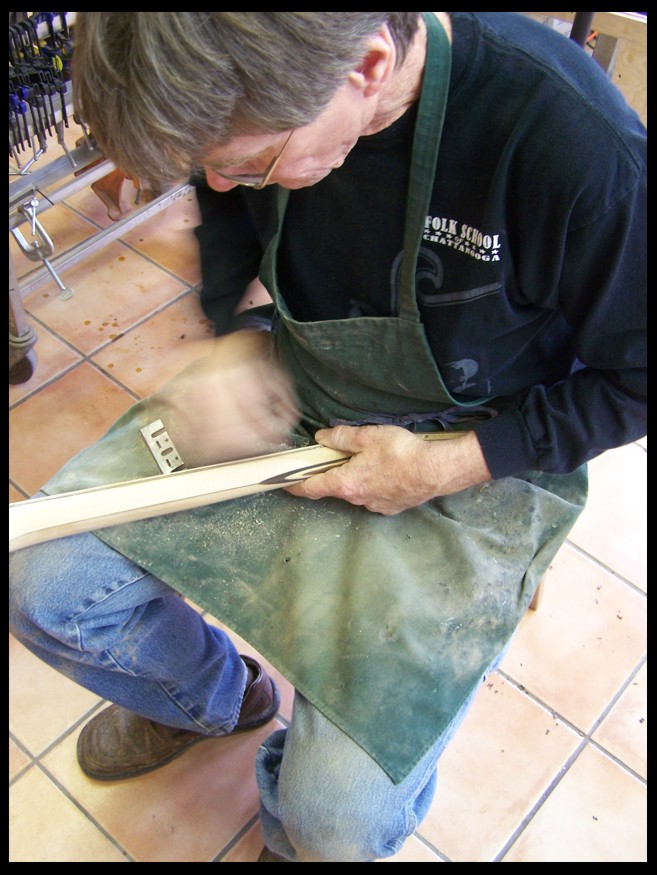
Inspecting the work...
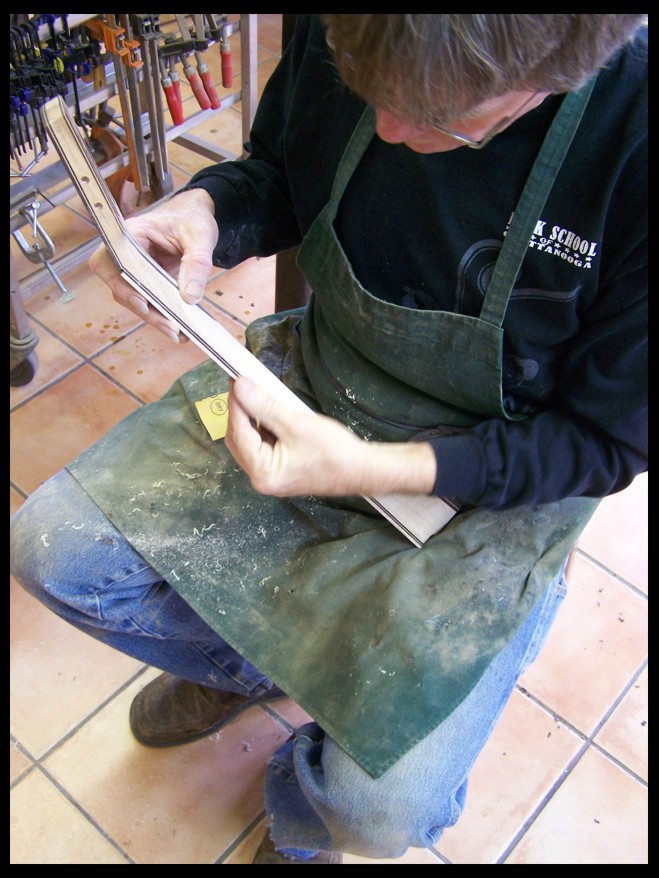
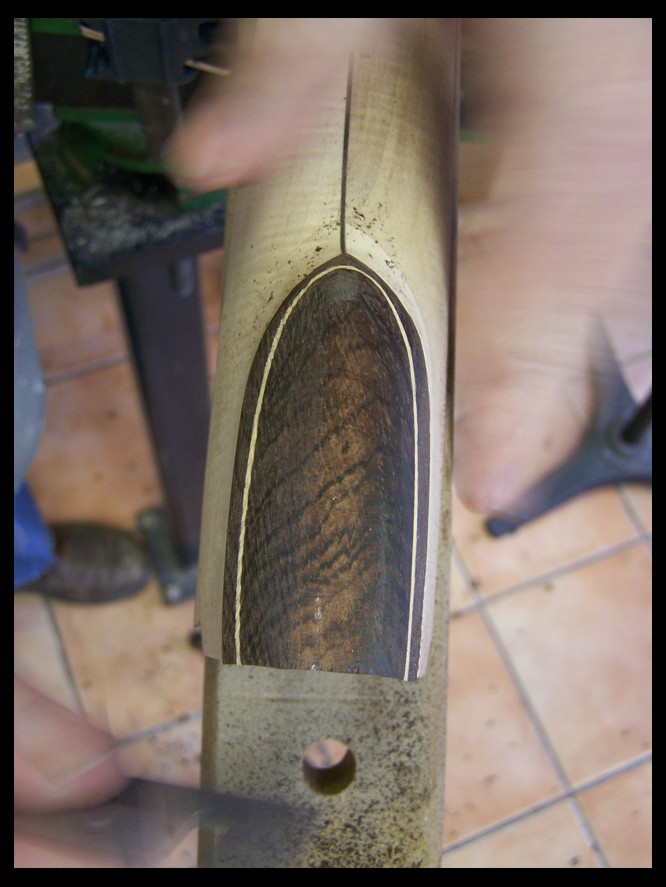
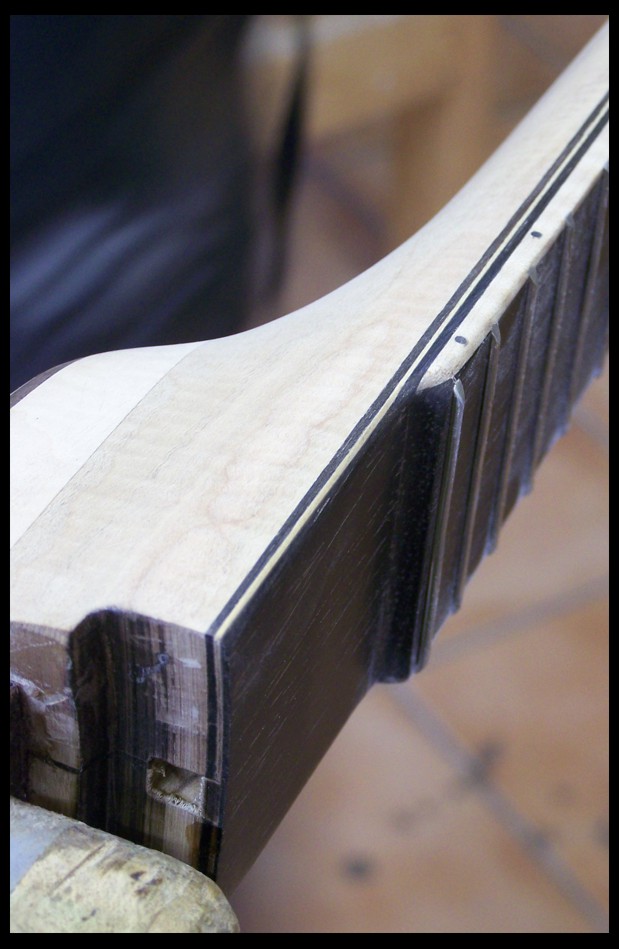
On this banjo I didn't wish to recreate one of the early bulbuls banjo heels. Still I wanted to give a nod to those earlier styles so today I carved this heel in a nice softly rounded shape. This also helps show and visually tie the laminations which are all over this piece. I really like how this piece of Brazilian rosewoods grain just kicks now that its been carved.
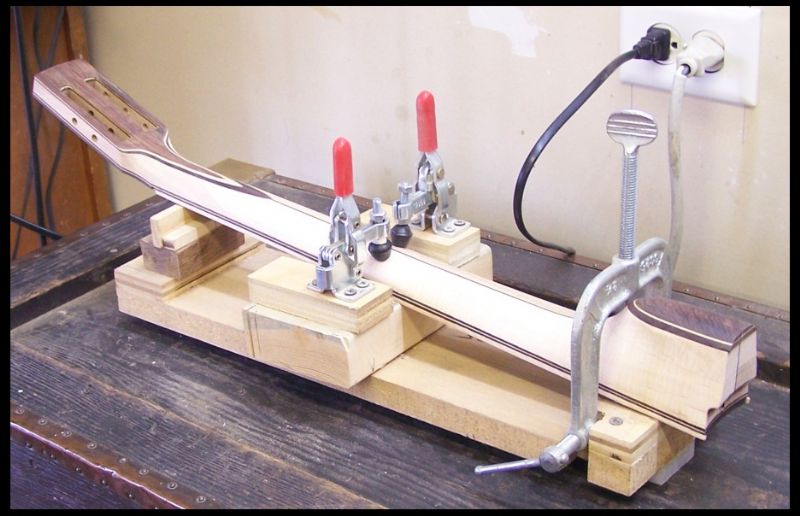
Last thing today, I put the neck in the dowel drilling gig. It wasn't sitting quite perfect and I was running out of poop so I left it sitting on the tool box and went home.
More soon...
Dave1climber - Posted - 03/20/2013: 18:58:21
Dan
That neck is looking very good, some would say "killer", others might say "SWEET!!". Your work is inspiring.
DEmery - Posted - 03/20/2013: 19:02:37
Dan I am glad to see you sort of back on your feet. That neck is beautiful. The caps and laminates really stand out well and I can see the profile turned out as discussed. By the way...the heel cap does show the graining and I hope we don't loose much of the character during the finish. The rosewood is special. David E.
Steven M - Posted - 03/21/2013: 14:12:46
I get the impression you are overdoing it, take it easy please.
Dan Knowles - Posted - 03/22/2013: 07:14:11
Dave, David, C Ying,
Glad your are liking the way it is going, Thanks!
Steven,
No I don't think you need to worry about that. I went to bed last night at 7:30 PM now it is 9 AM and and I'm just beginning to get going. Normally I'm at work an hour and a half ago and I go til 6 or 7 PM. About 5 hours is all I've got in me yet. Thanks for your concern.
Dan Knowles - Posted - 03/22/2013: 07:29:14
3-21-2013 MORE GETTIN' OLD!
It is tomorrow morning. Do you ever wonder about that tomorrow... manana... ?
Yesterday... I guess it was yesterday I continued to age some banjo parts. Not that they wanted to feel older, I was just in a mood. They are the bolts and washers for David's banjo.
In the dip tank they go...
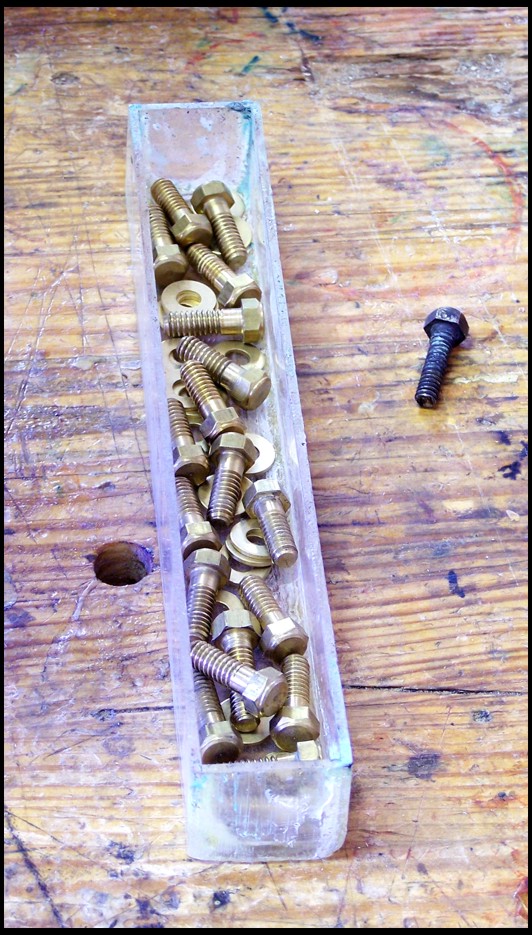
Liver of sulfur is added and the color change begins...
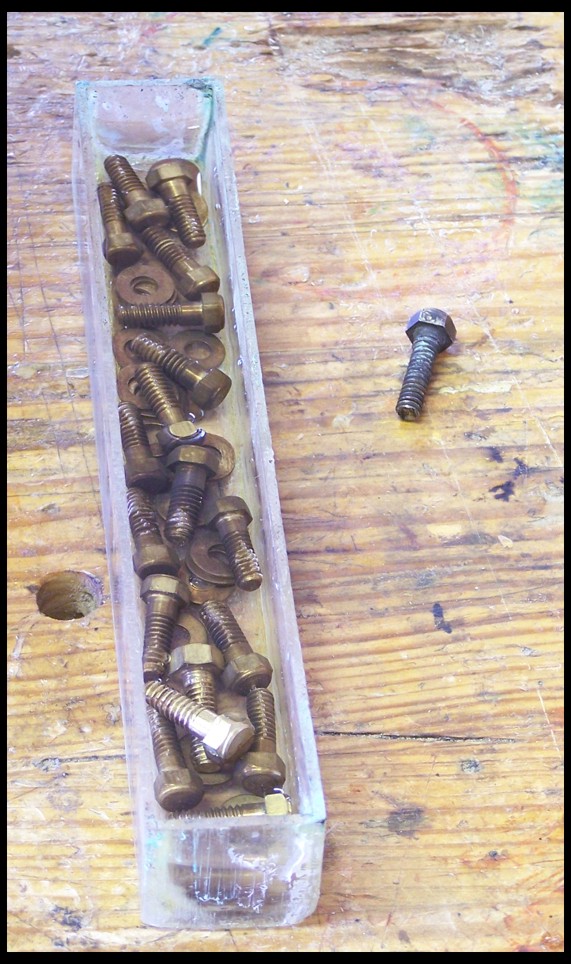
The change is quick, just a few minutes and its almost black!
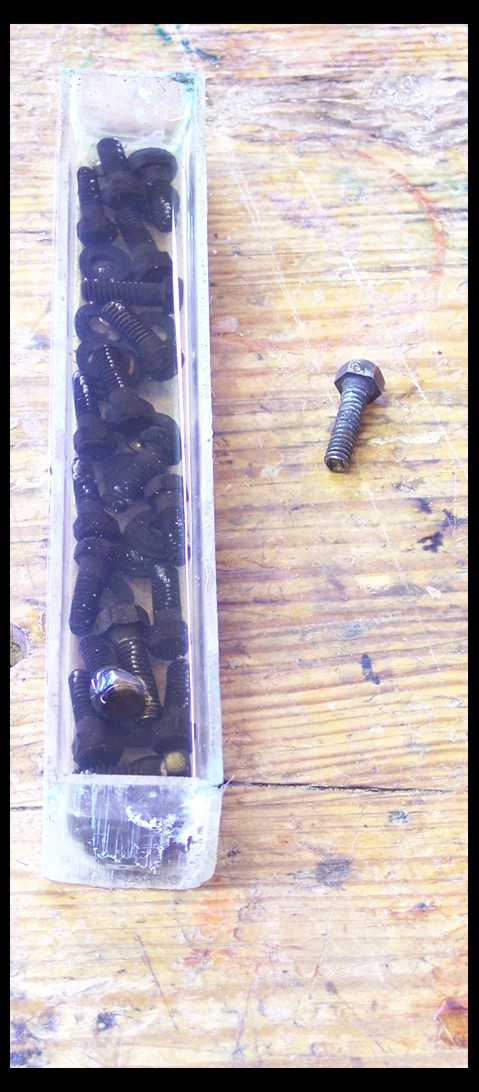
Out come the pieces into the wash tank...
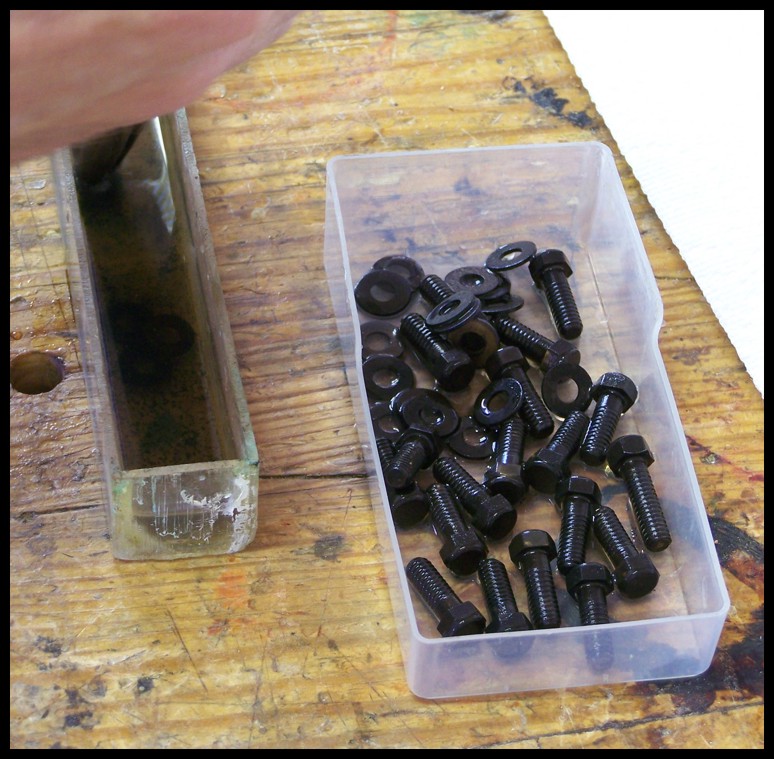
Now to the rinse...
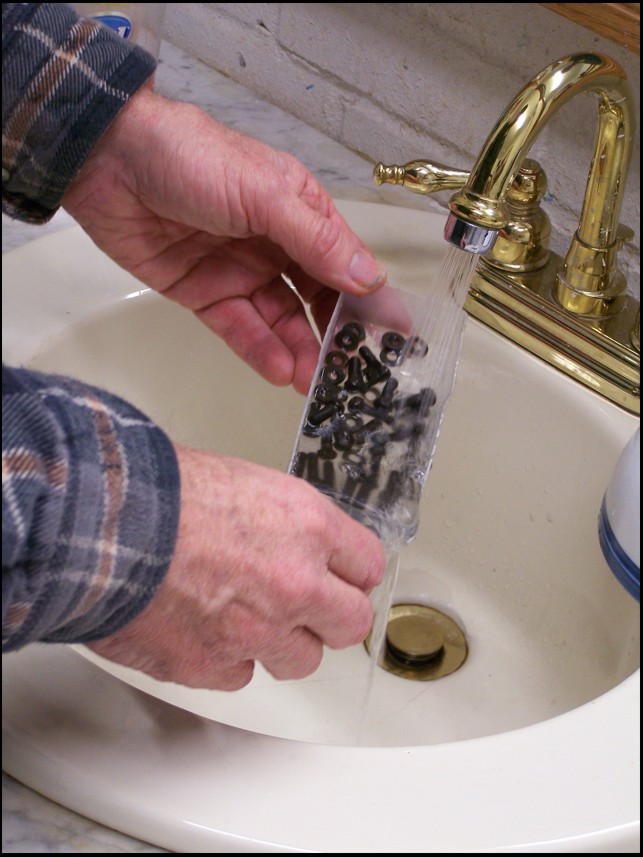
Drying...
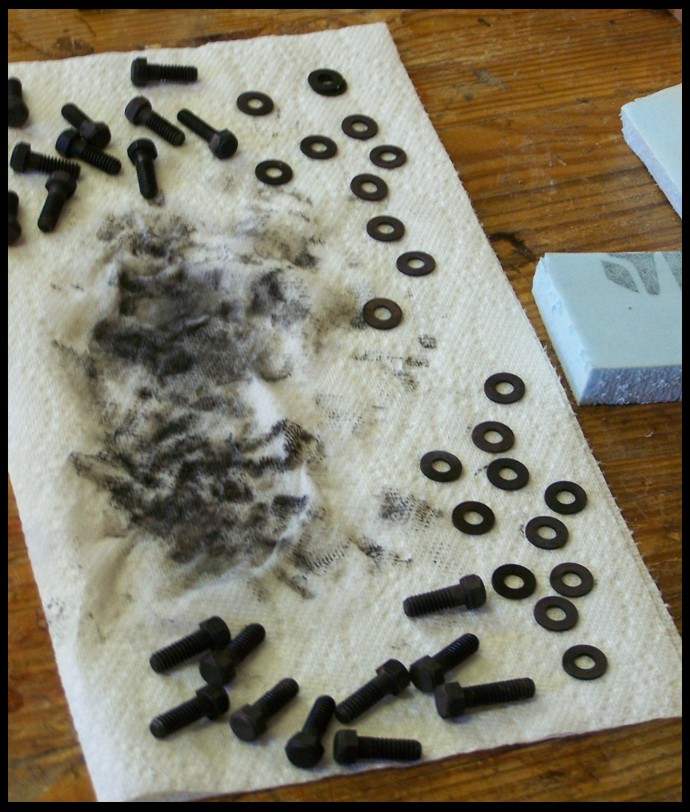
Now with their mates!
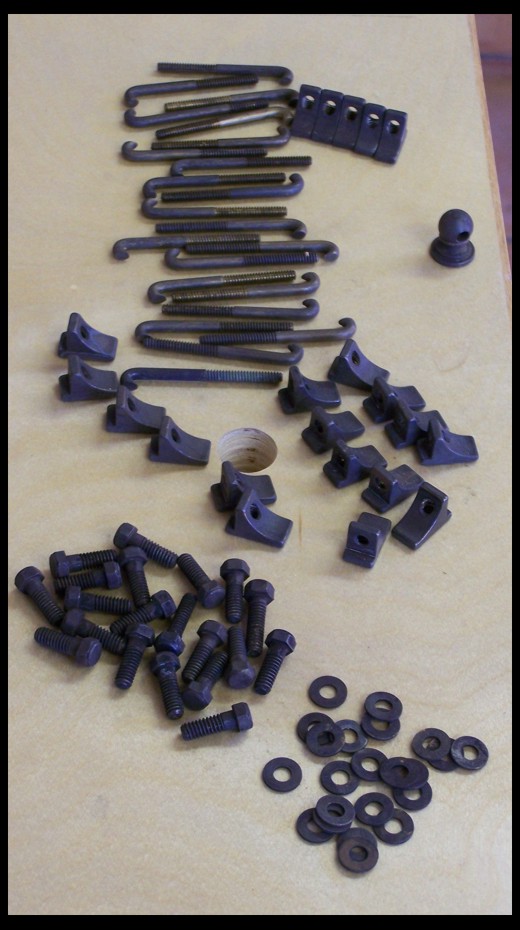
More Soon!
Dave1climber - Posted - 03/22/2013: 09:11:48
As old as that hardware looks, I think it would take me a long time to clean it up to look like new. 

BNJOMAKR - Posted - 03/22/2013: 15:56:21
I like the way the neck heel is turning out... Really nice, Dan! 
Dan Knowles - Posted - 03/22/2013: 17:06:08
Dave,
I hope you don't get yer rag out on this un!
Marvin,
Thanks! That little curly walnit banjo is sure looking good!
DEmery - Posted - 03/22/2013: 17:16:56
Dan I saw some uploaded images of the neck and progress. Cannot say enough how pleased I am with the progress. Couldn't be happier and look forward to seeing it soon. David E.
Dan Knowles - Posted - 03/22/2013: 17:23:00
3-22-2013 DRILL TYME!
I realized that it might feel like forever waiting for me to drill the heel on this banjo for the dowel stick... so...I figured I'd just do 'er.
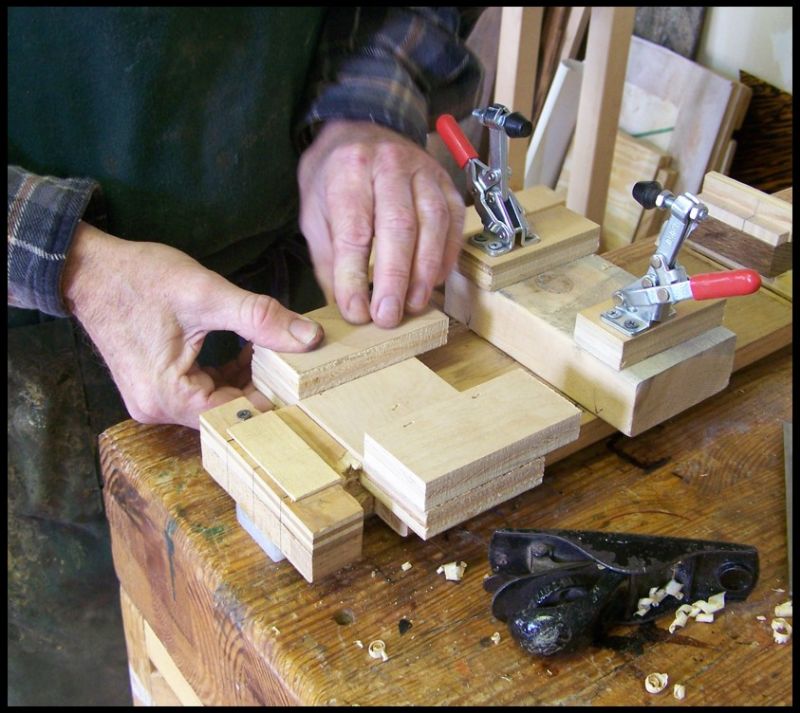
The drilling jig needed a bit of re-working so I could drill this special neck. Its dimensions are a bit different than most which I do. Not greatly different but just enough that the jig needed some adjusting.
Because I will need to raise the bottom 1/8" , I'm moving forward my lay out lines so that I won't loose them.
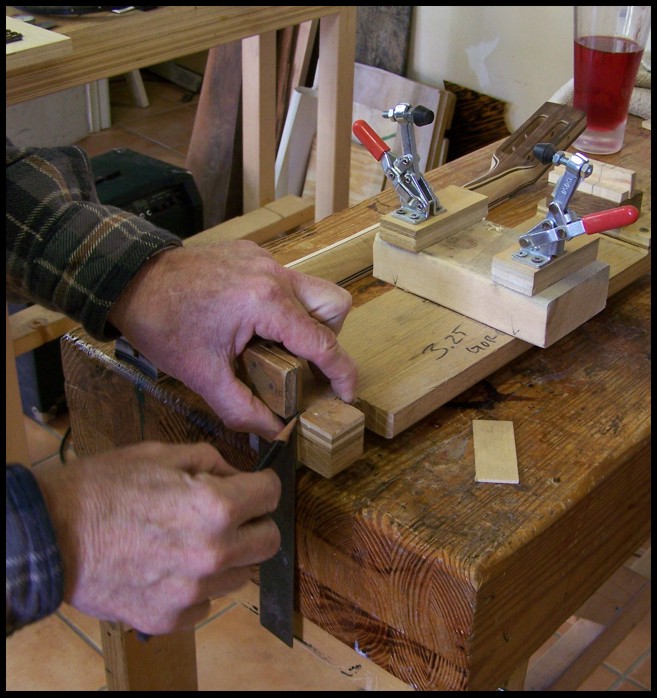
Here I'm checking the heel cut, it needs to be square.
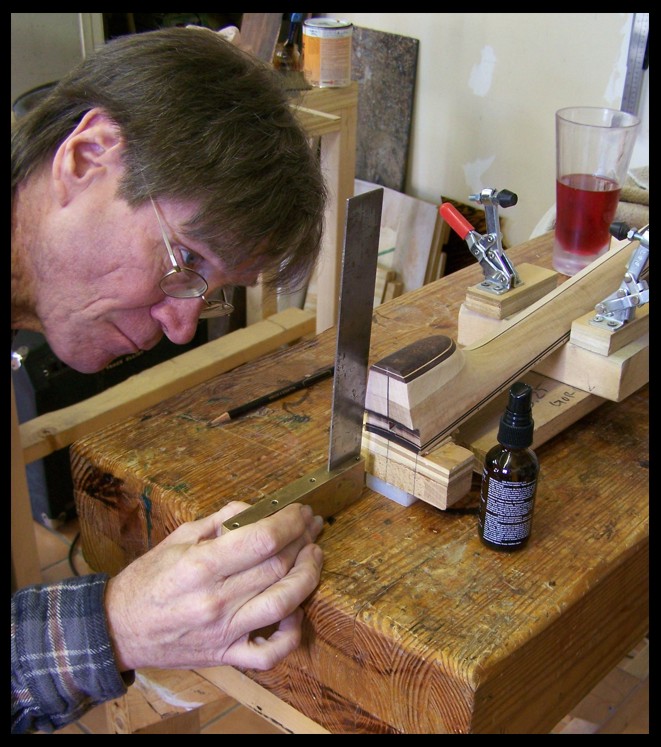
Because of raising the front ledge, the rear ledge is no longer true. So I get out a small block plane and adjust the height.
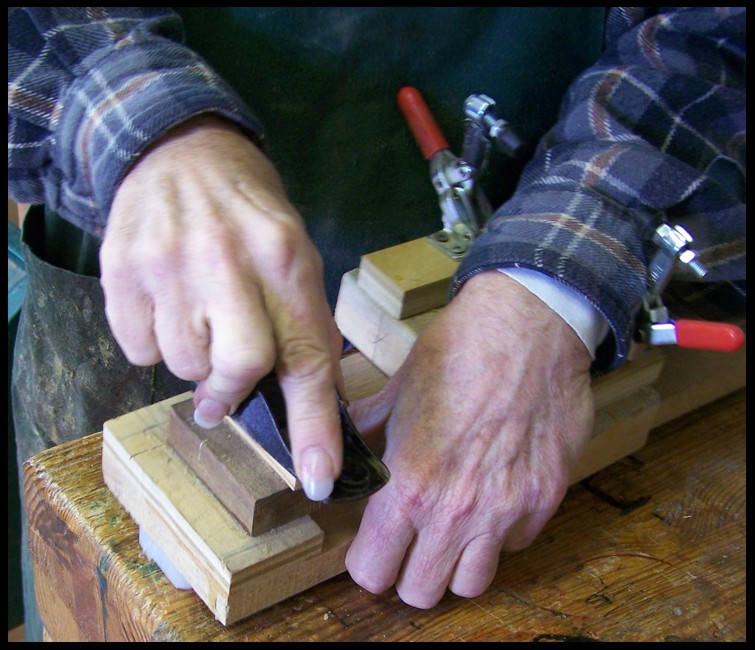
Ya, it's all true now...
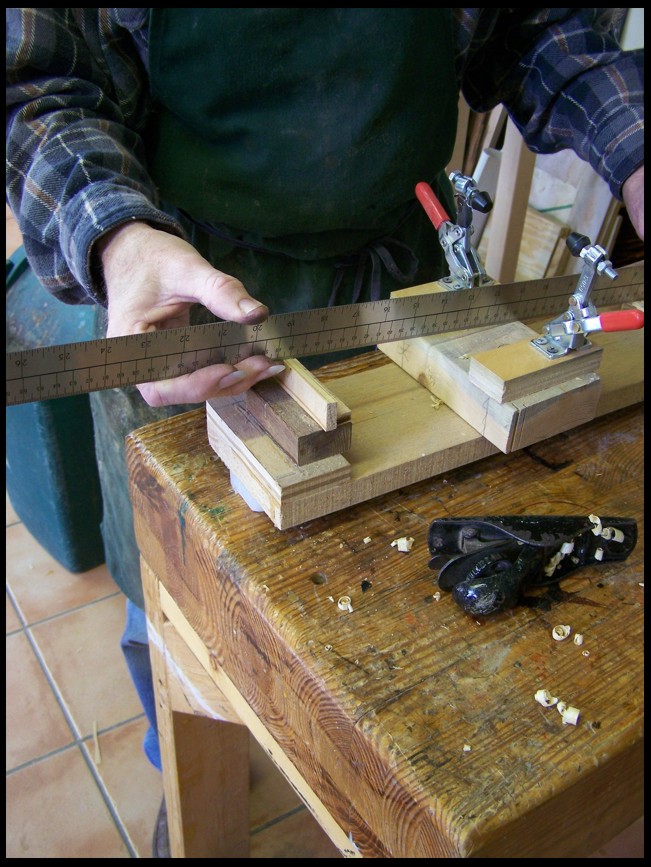
I've been wanting some extra clamping stability on this jig for some time. So this presented the perfect opportunity to work on this too.
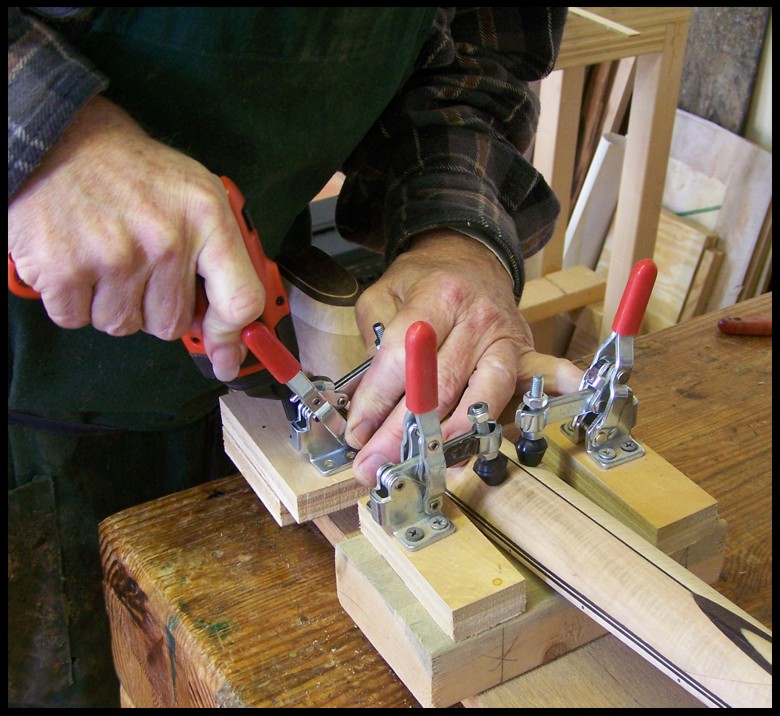
Let the drilling begin!
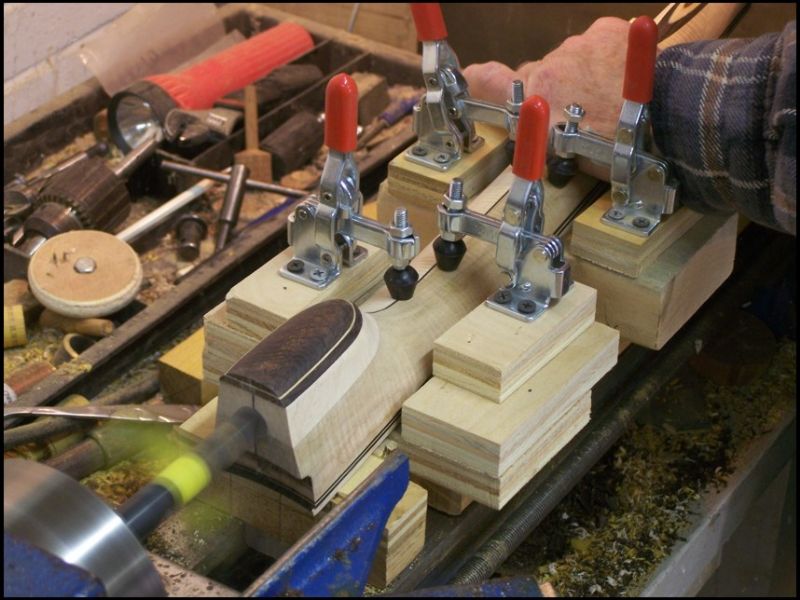
Yep the dowel stick fits right in there...
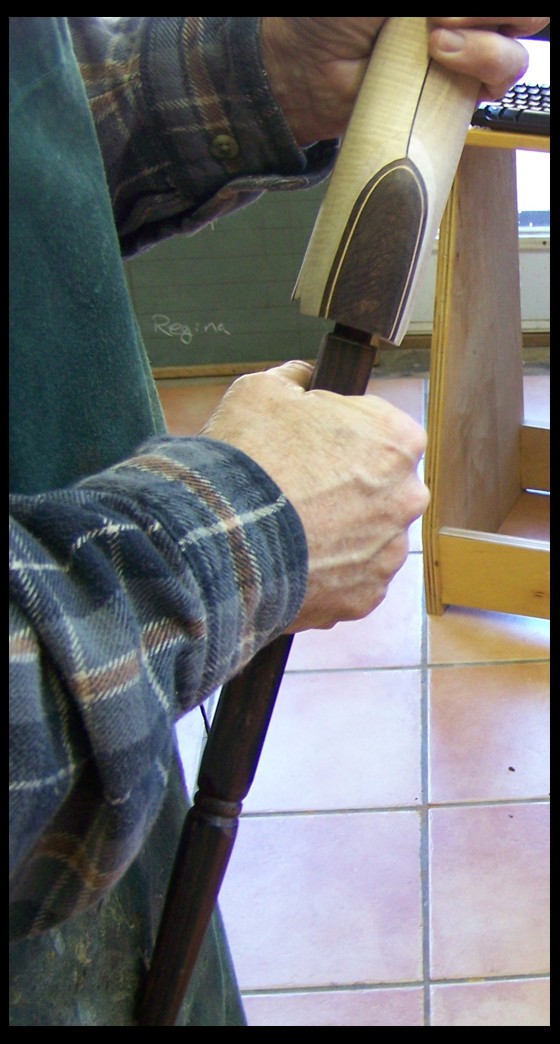
More Soon!!!
Dave1climber - Posted - 03/22/2013: 18:50:39
Dan
That dowel stick looks long enough to go completely through, and turn that instrument into an upright, or is that a trick of photography?
Progress, it's what we like to see. 
DEmery - Posted - 03/23/2013: 11:05:19
Dan did you pick up a new camera...no distortion. What else can I say but perfect. At the pace this is going you will likely put a few miles on tyhis slot head before I see you in Paris. David E.
Dan Knowles - Posted - 03/23/2013: 16:32:13
Dave,
It's an optical delusion! I have done a base banjo...Hummmm.
David,
Yes I did. I found the same model on Ebay that I'd been using. Now I've 2 cameras, I shouldn't run out of film this way should I?
Yes I do hope to put a few miles on this before you arrive!
Dan Knowles - Posted - 03/23/2013: 17:13:15
GLUE UP TYME...
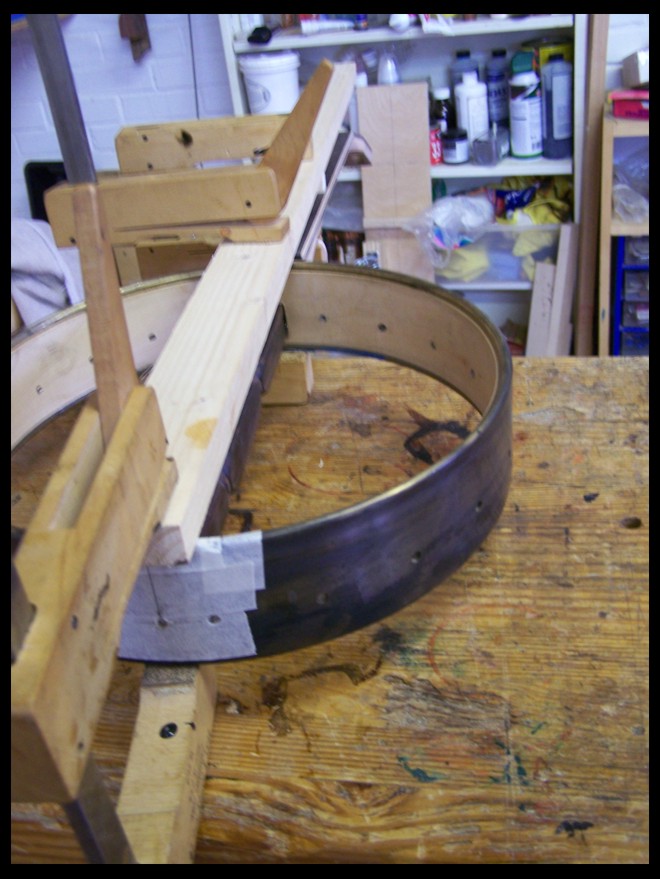
Twaz a great Saturday, we got the neck and dowel stick all glued up. Here is how it was done...
First the spot where the dowel stick will go through the rim was identified and marked...
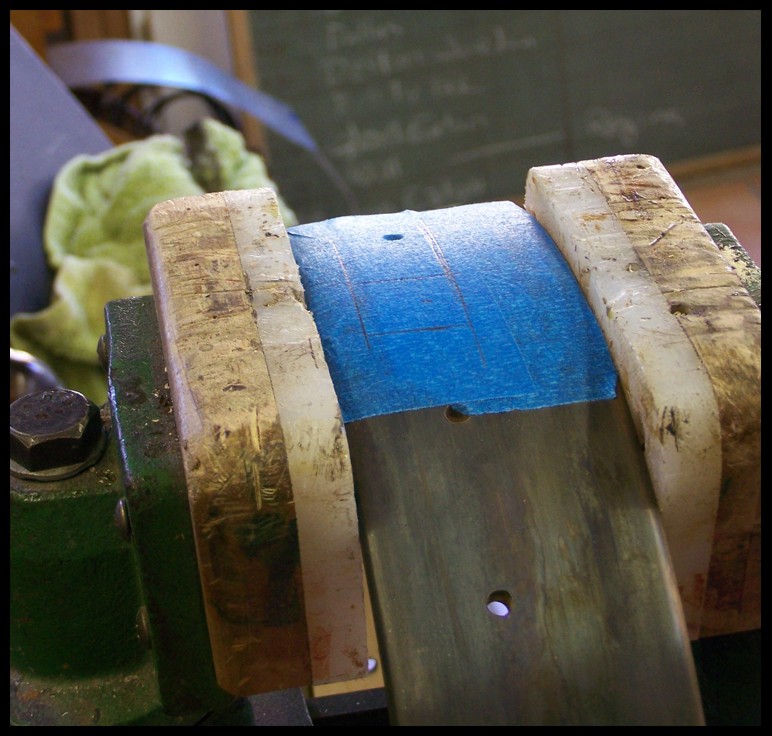
Then I drilled out the waste area as much as possible...
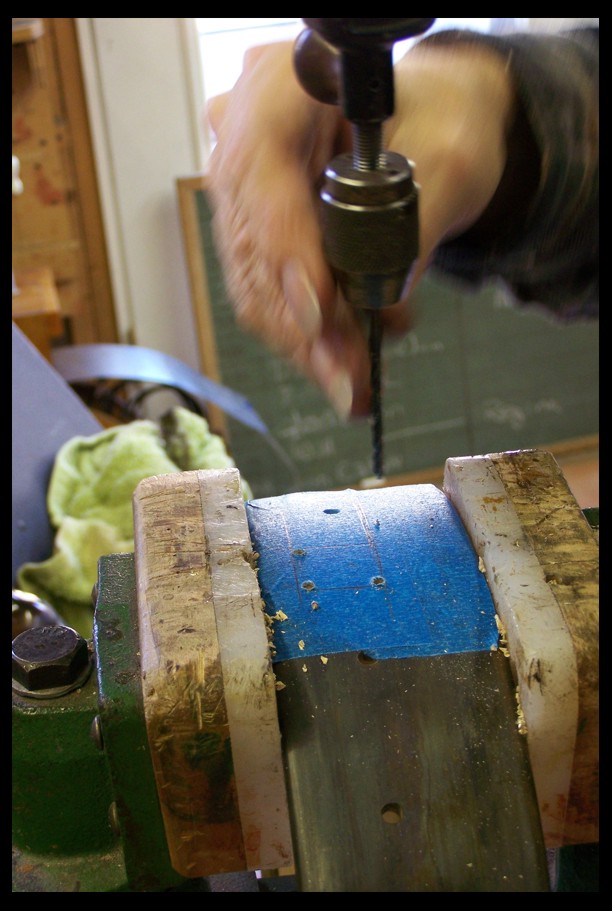
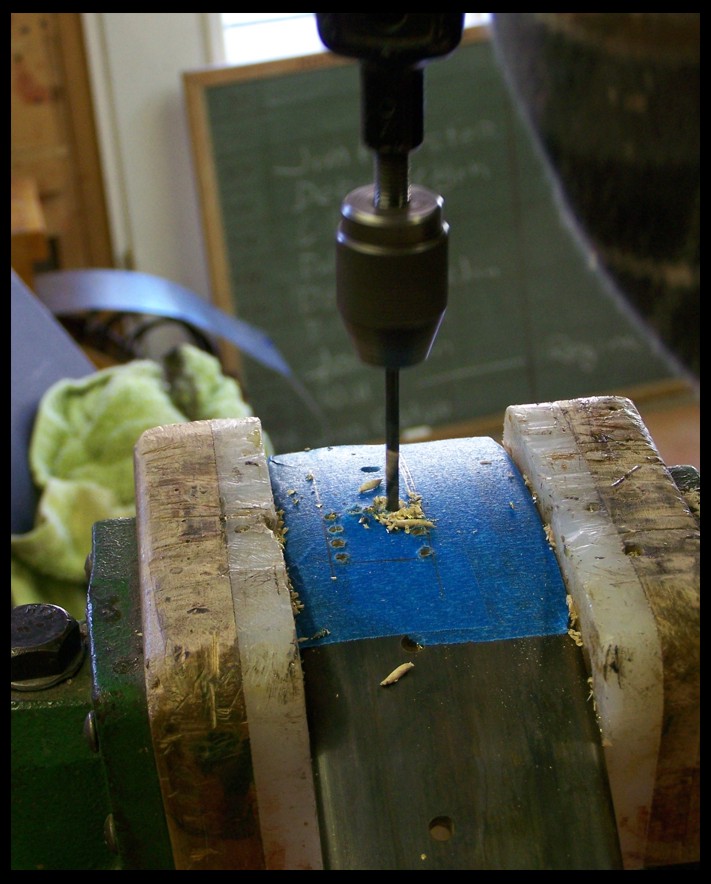
Then I routed the connecting area using my Dremmel...
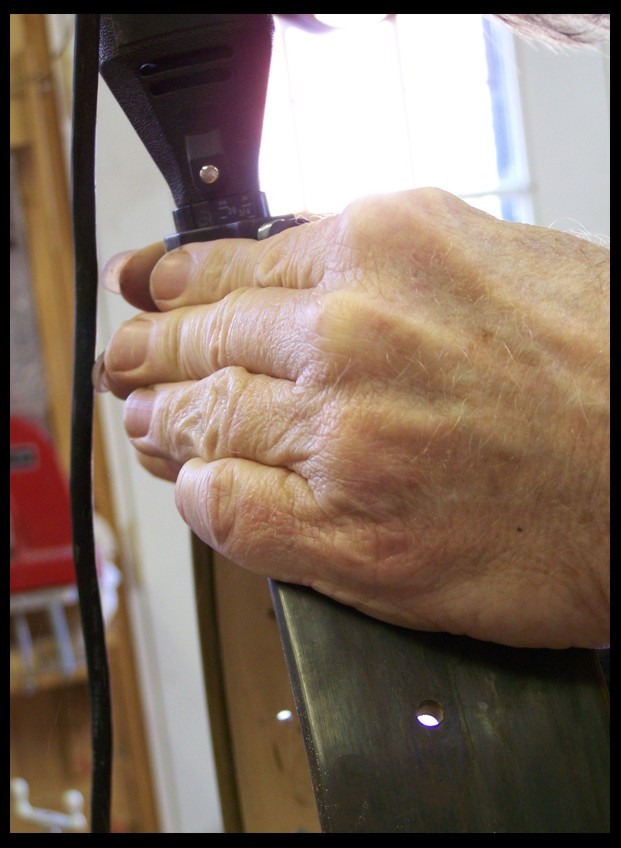
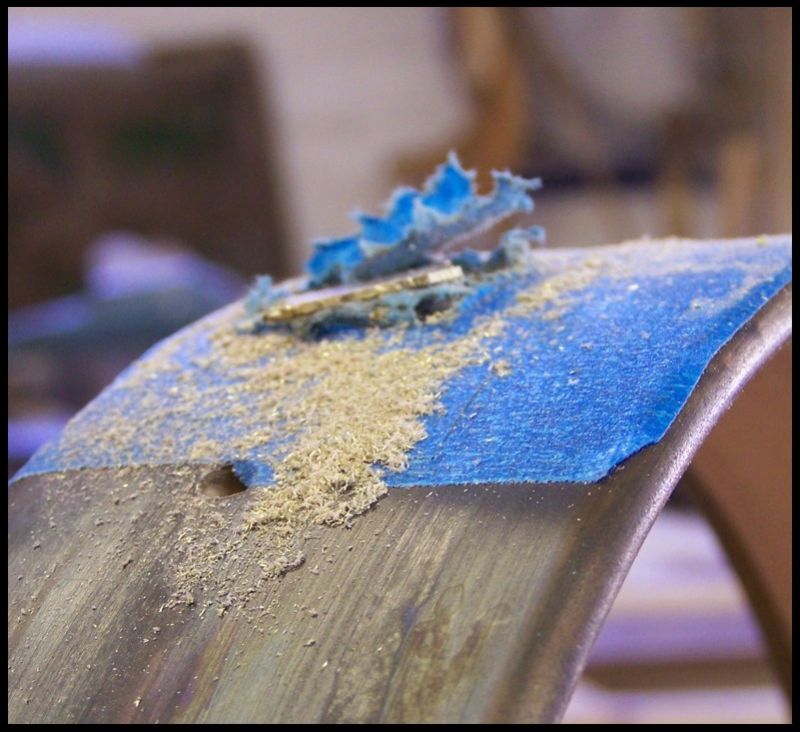
Then filed the hole true...
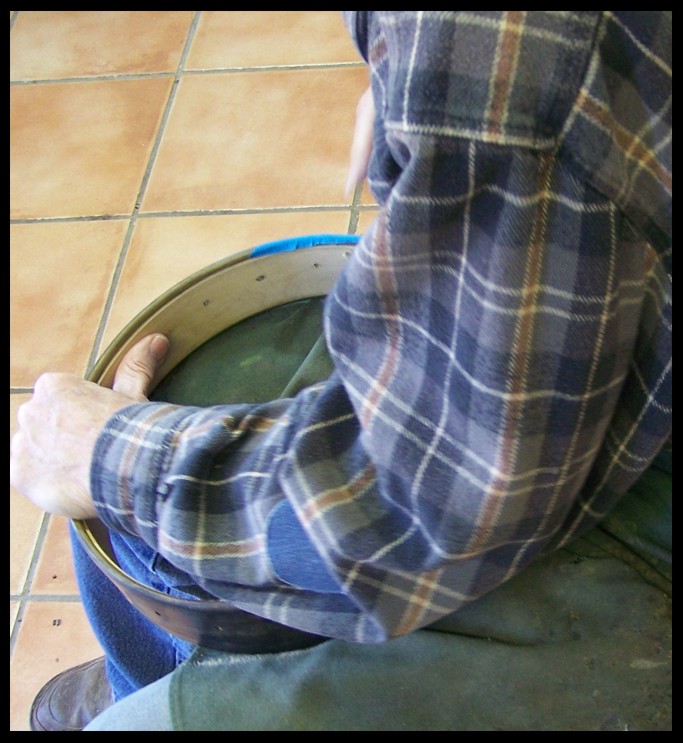
Dowel stick in... Dave, as you noticed the dowel stick seamed a bit long...
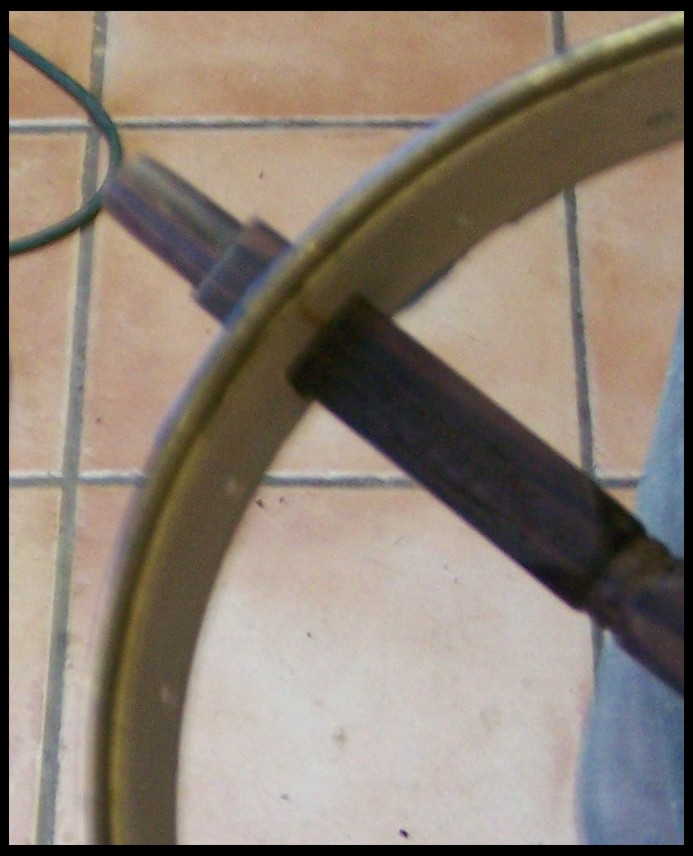
Well it got marked for cutting...
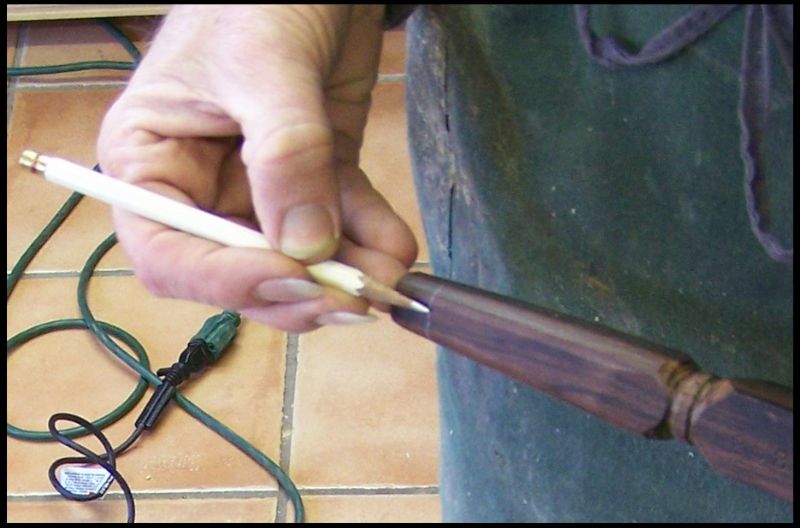
Now being cut...
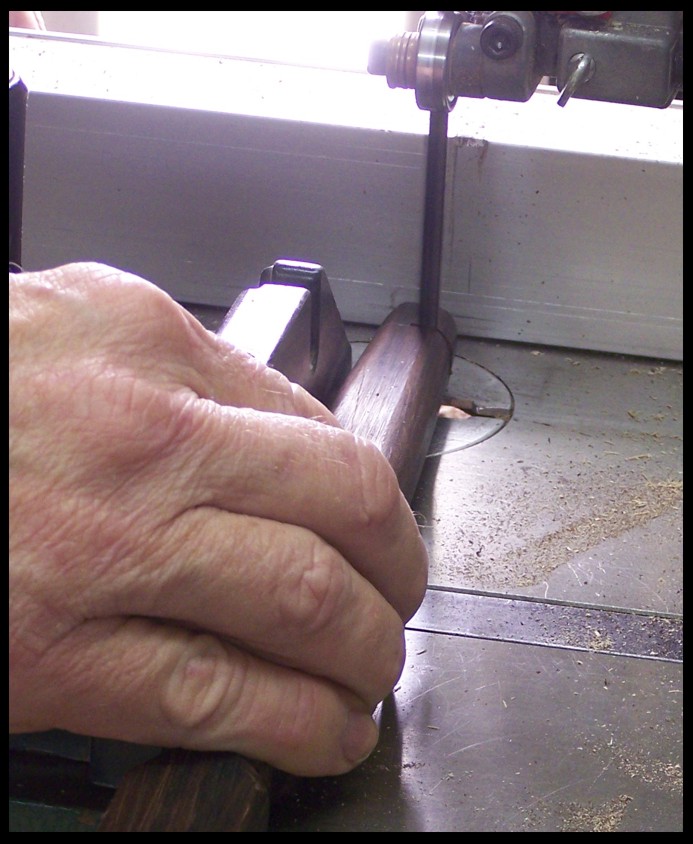
Jigged up and glued...
More veri soon!
Dan Knowles - Posted - 03/24/2013: 13:02:26
FRETTIN' ANT WORRIN'
You ever worry and fret that the frets will never get on this thing?
No worries today it happens.
As a side note, I went through all of the photos and found that we've got around 3 posts worth of these. So if I have time today I'll just post away. It's amazing all of the photos generated when something gets done!
The first step for me in fretting, is truing the fingerboard. I realize that lots of folks will just lay the neck down on a jointer and go to town. I suppose that this gives a good surface. This is how I was taught years ago and how I do it to this day. First the fingerboard surface is covered with chalk. When the chalk is all sanded off the fingerboard is flat.
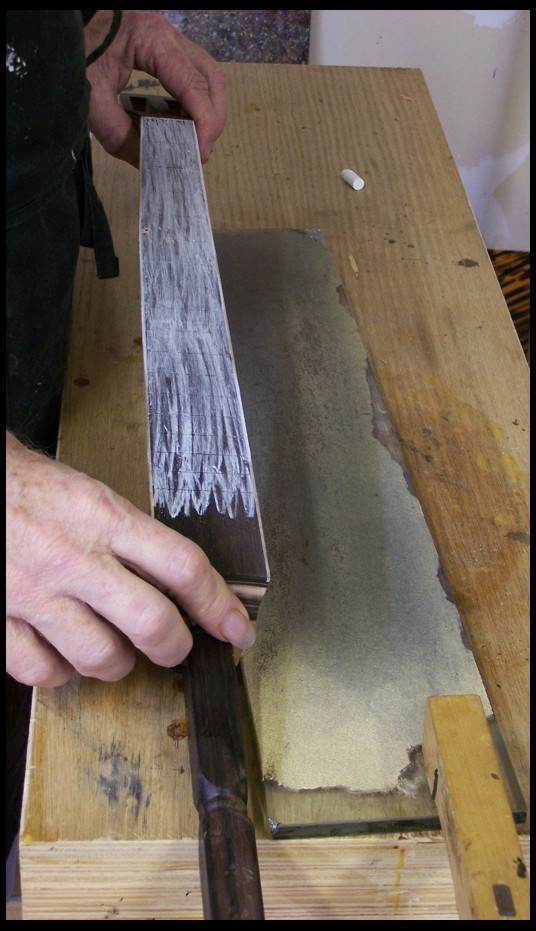
Sandpaper is glued to a piece of 1/4" plate glass that is dead flat and the fingerboard is sanded on this.
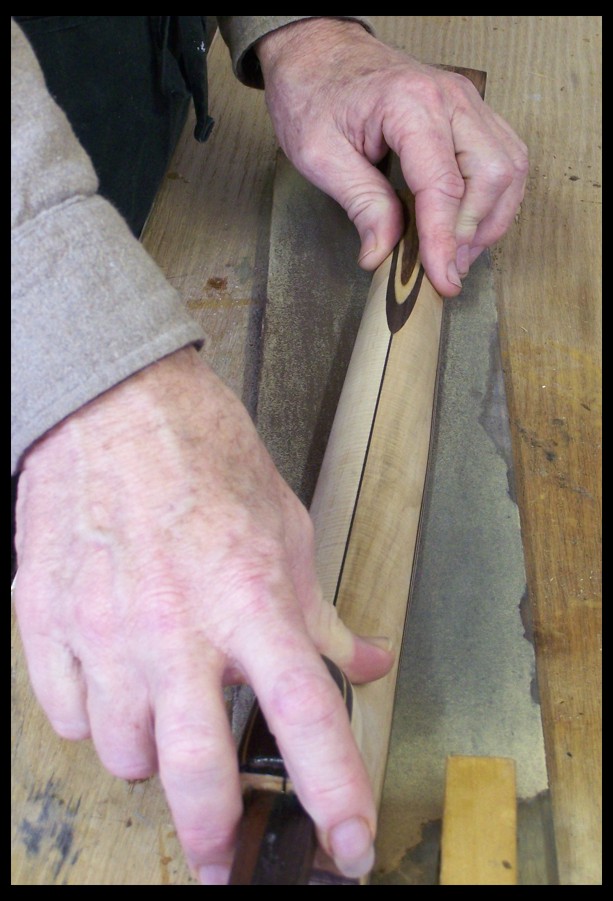
Not quite complete, but you can see it moving along...The exposed chalk has to be sanded completely off. The fingerboard often gets several chalkings.
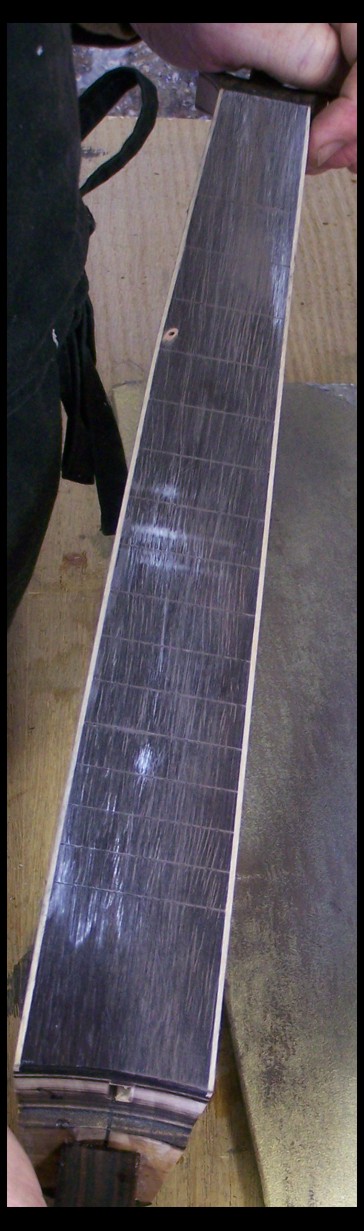
After sanding with this worn 120 grit, sanding moves progressively through to 1000 grit. The 1000 may be over kill but I do like the polish it imparts...
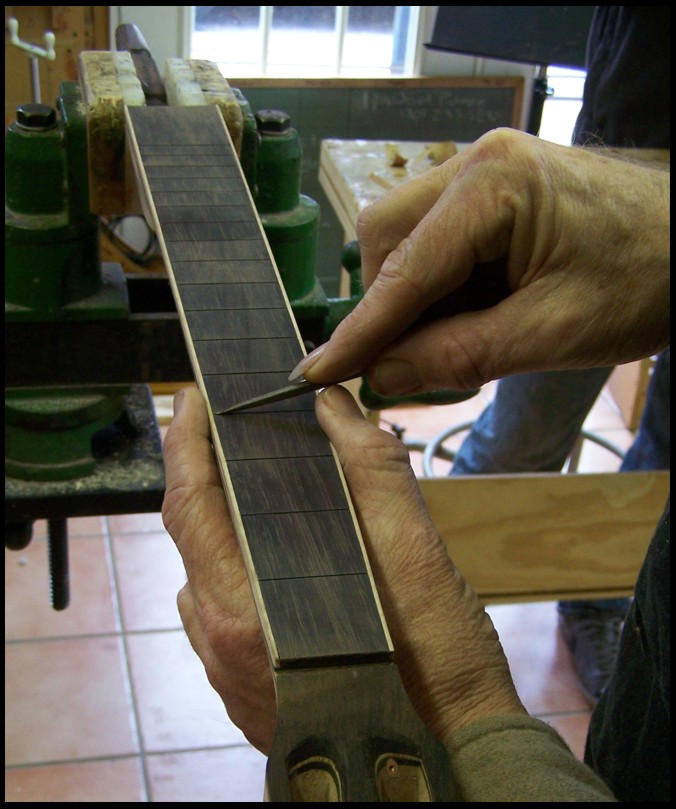
Next a 3 corner file is used to slightly open up the top of the fret slots. This allows the frets to seat fully and makes later removal (of frets for replacement) much easier.
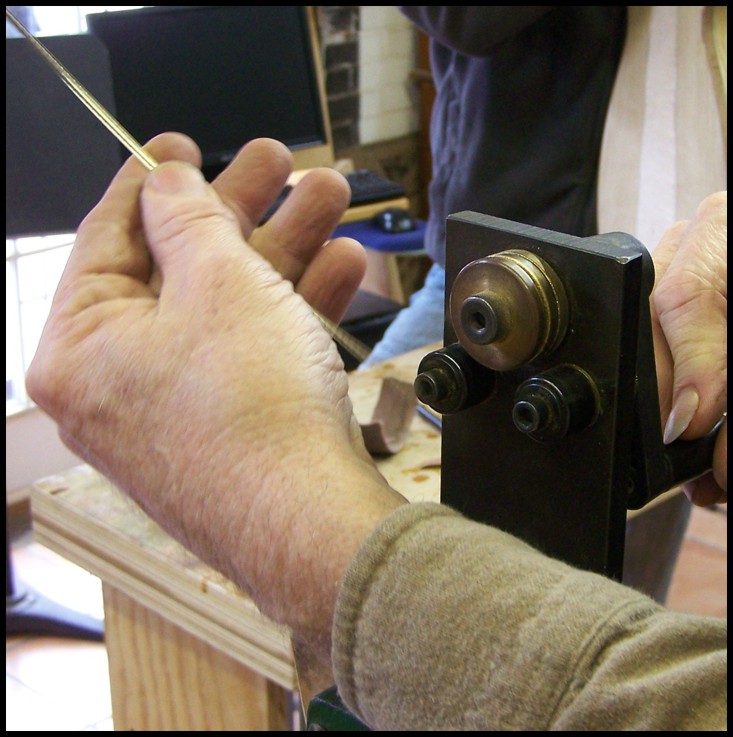
Fretwire is bent in the fret bender...
Frets have the tang nipped, cut to length then the opposite tang end nipped and then they are lightly tapped into the fret slot.
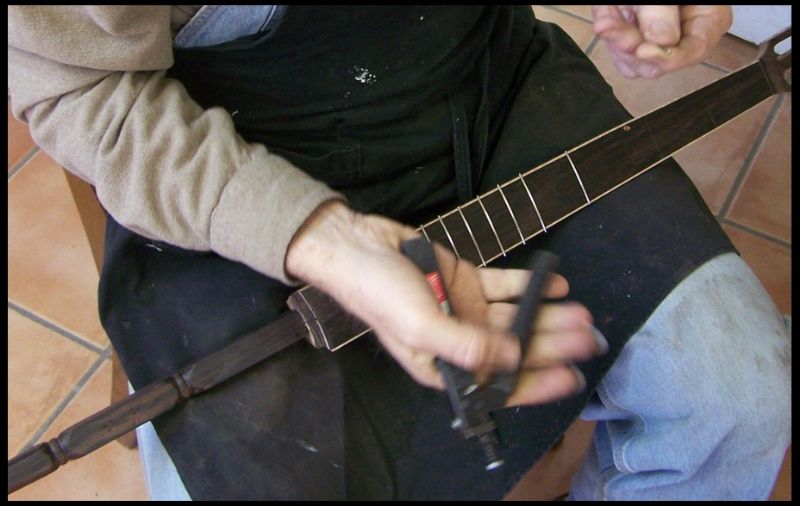
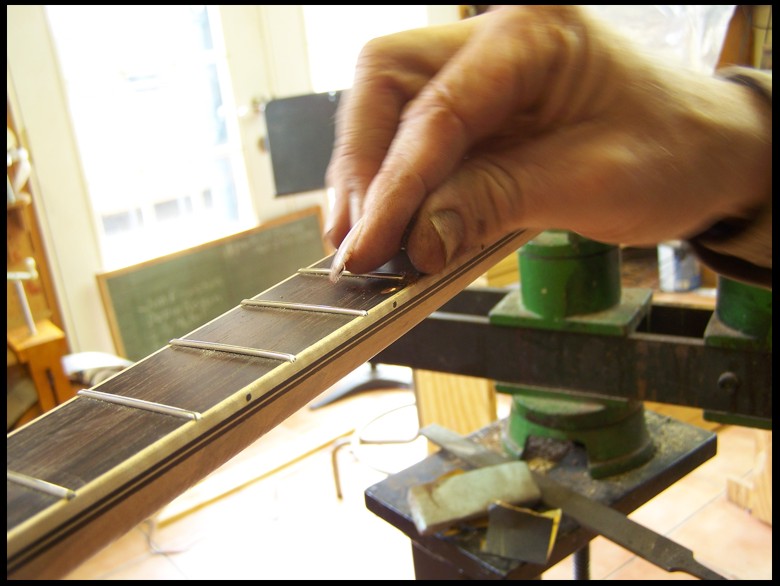
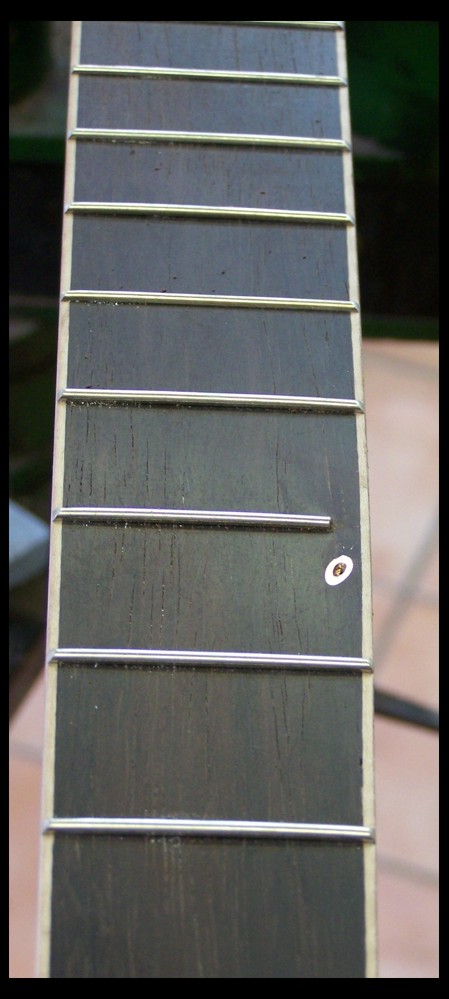
I have a real issue with companies who place the 5th. string pip behind the 5th. fret. Usually because it is to tall the pip distroys the strings ability of proper intonation when capoed. Either the pip should be low enough that the 5th. string rests on the 5th. fret firmly or it has to be dead in line with the 5th. fret. This is not an easy job and most builders choose not to do it... so this is my usual choice. The 5th fret wire must be clipped short to allow for the pip to fall in line. Here I'm clipping the fret...
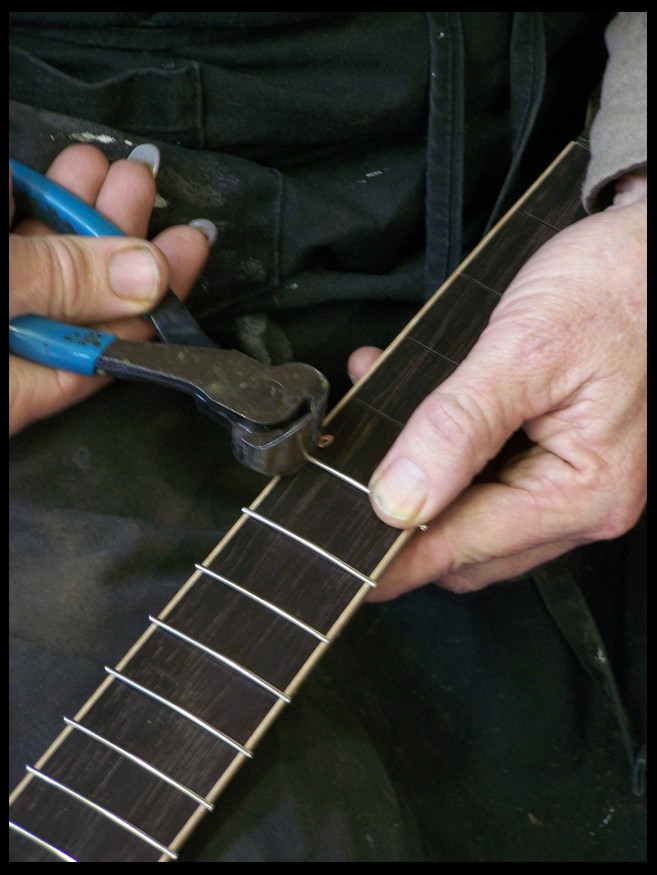
Clipped...
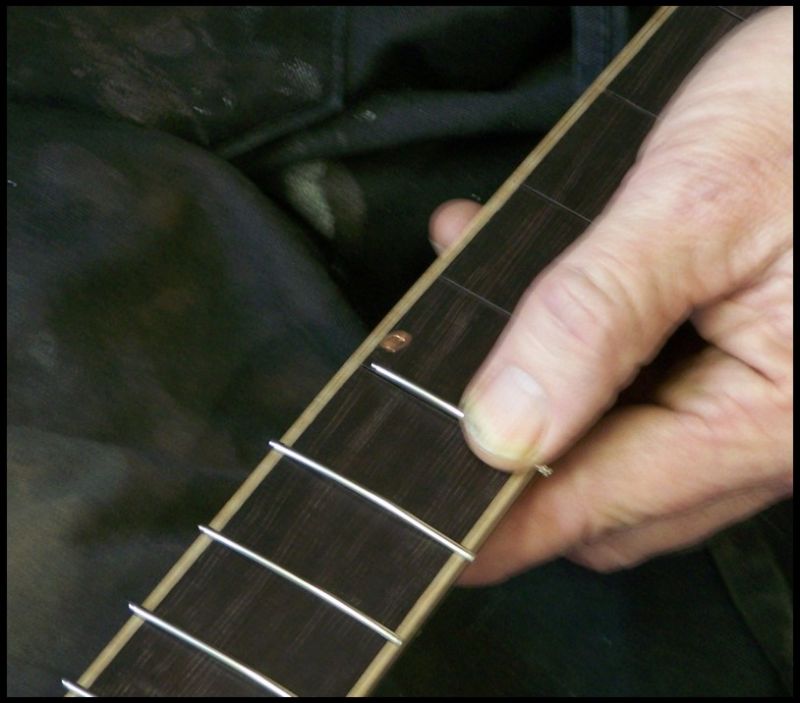
Now the end of the fret must be finished. I'm using a sharpening stone to do the job.
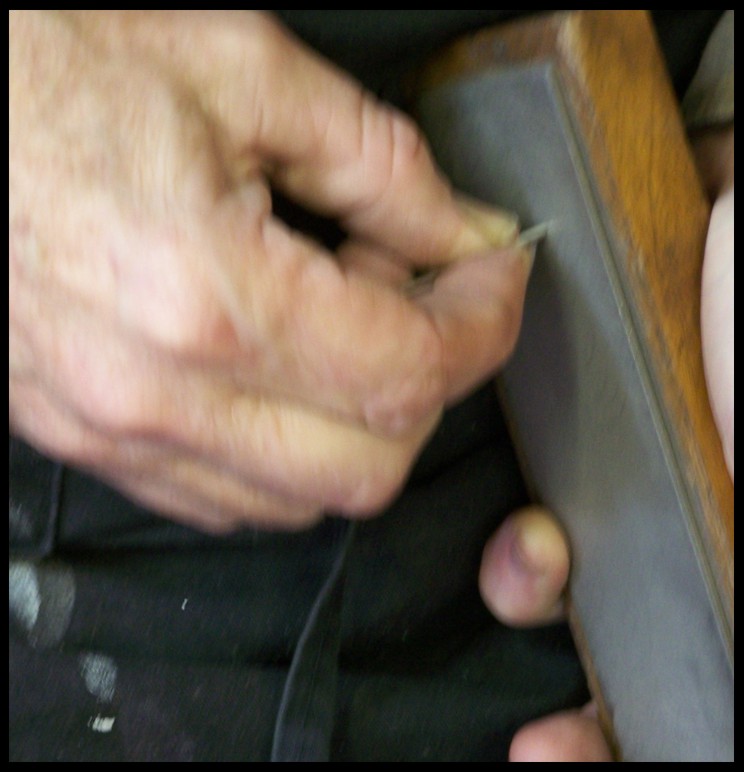
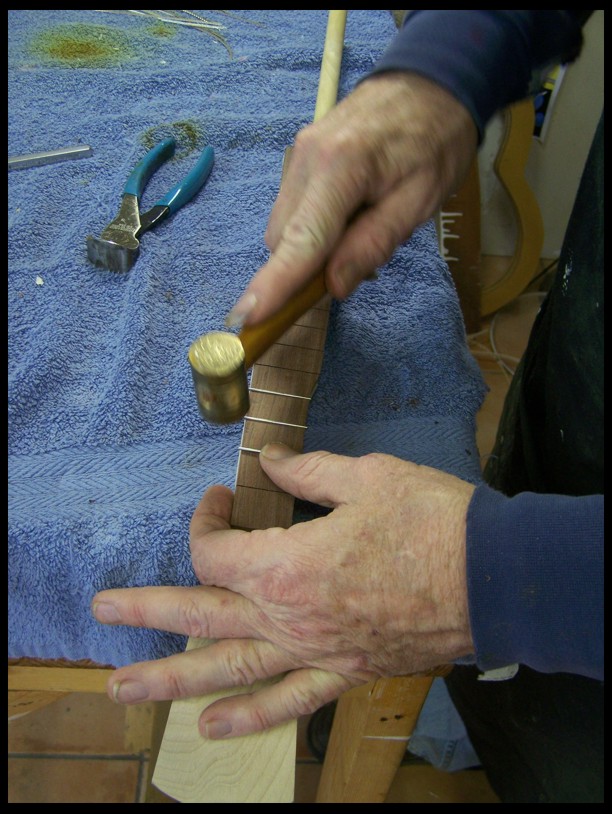
As I said before frets are only lightly taped in on the ends, they will be pressed in in a moment. This is my little fretting hammer. I made it years ago out of a piece of brass (I found at the metal recyclers) and the hammer handle was turned from a piece of Osage Orange.
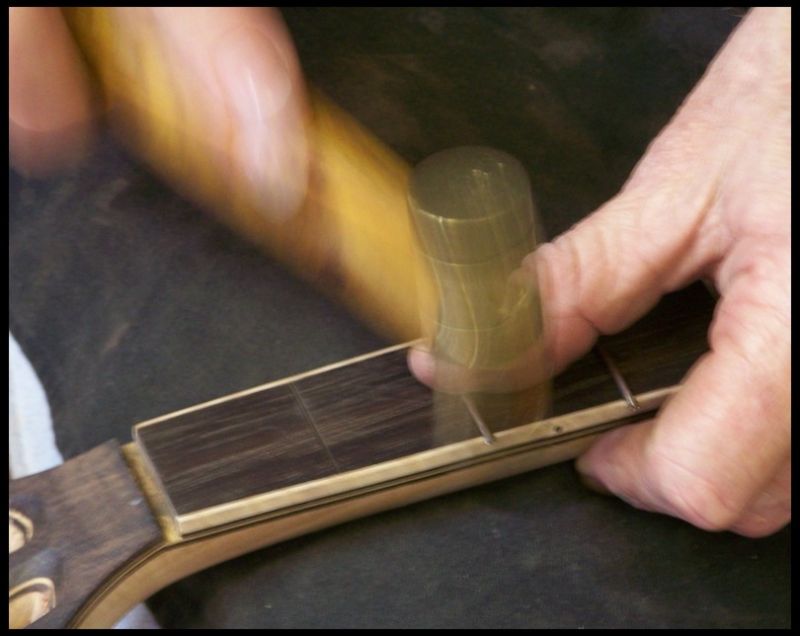
For most folks who are doing just a couple fret jobs this fret press would be over kill. Frets are relatively easy to hammer in. But for me this tool is extremely helpful speeding the process up considerably. Seldom does a week go by without a fret job or two.
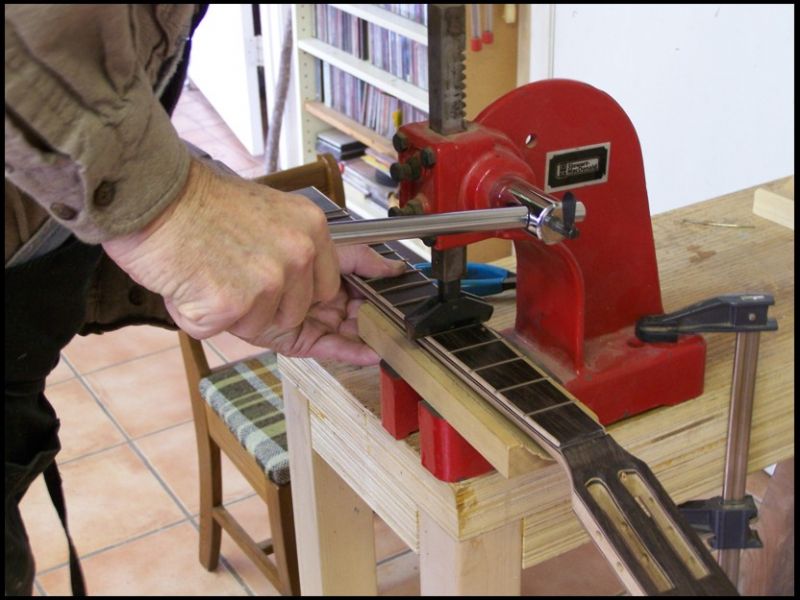
More very soon, perhaps even today....
Dan Knowles - Posted - 03/24/2013: 13:31:23
SUNDAY CONTINUED...
After the frets are all pressed in the ends must be nipped. I like to chop these at a bit of an angle to save on filing later...
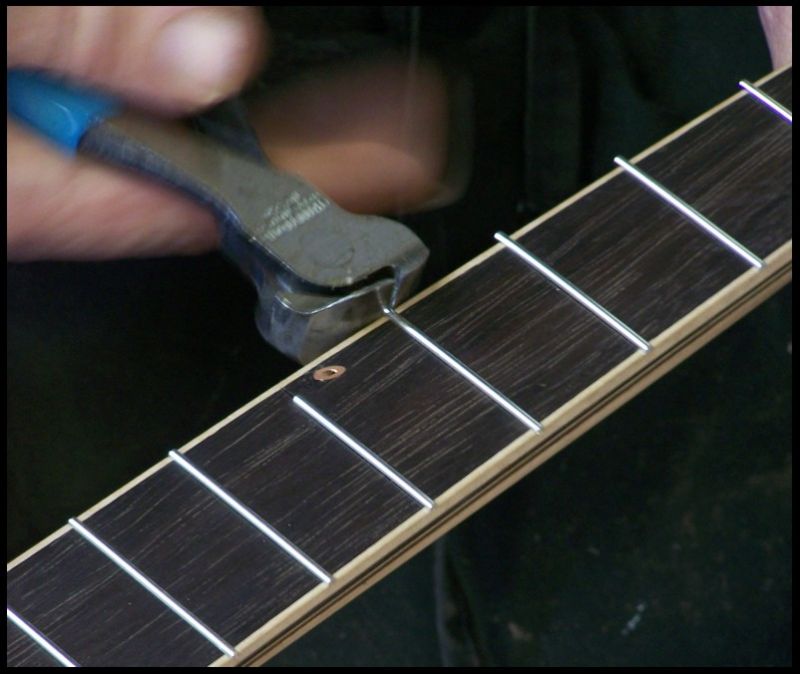
Filing the fret ends...
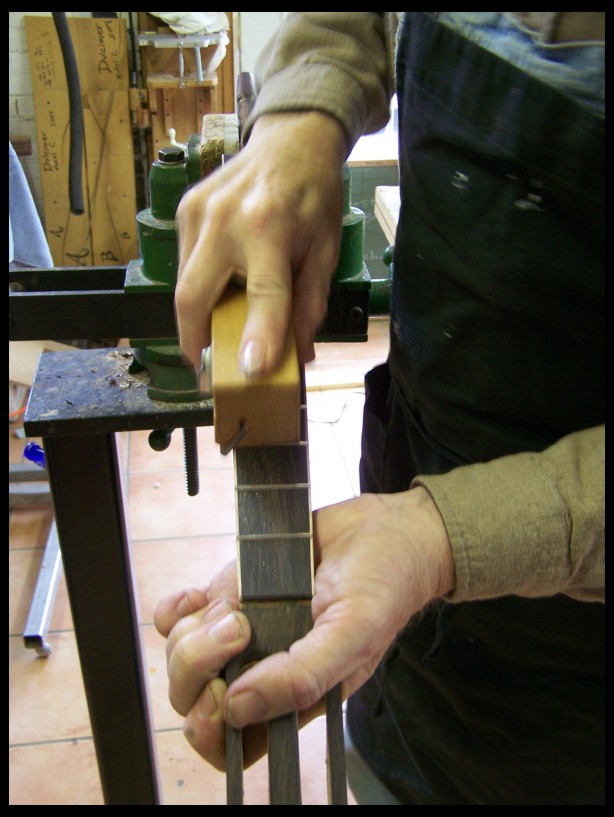
After all the fret ends were filed, I took the neck in to the band saw and cut out a hunk of the end of the fingerboard for the frailing scoop. Those photos didn't turn out, so here I'm finishing the transition between the scoop and the rest of the fingerboard. The shield is there to keep me from filing down and creating a dip in the transition...
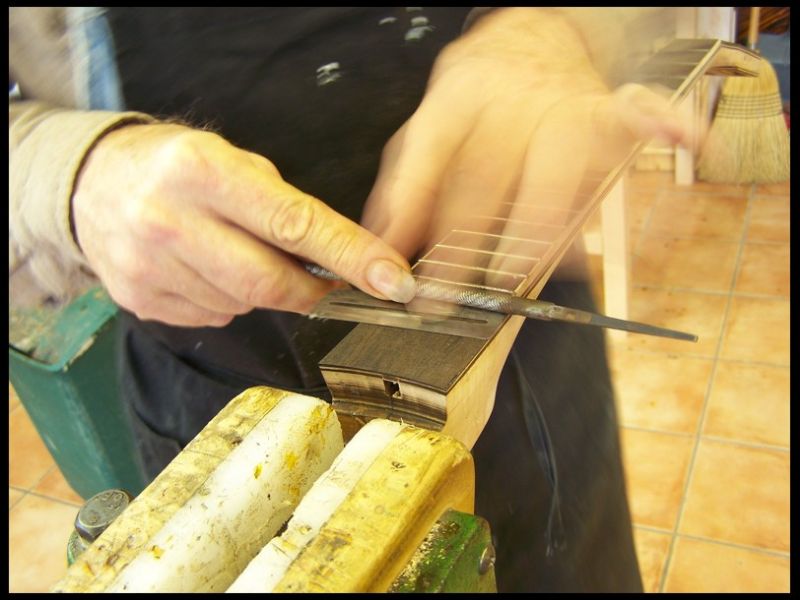
All of the adjacent edges are rounded and eased to make thumb work more comfortable when playing in the scoop aria. Here I'm filing on the fret ends which are next to the scoop. I want these to be softly rounded.
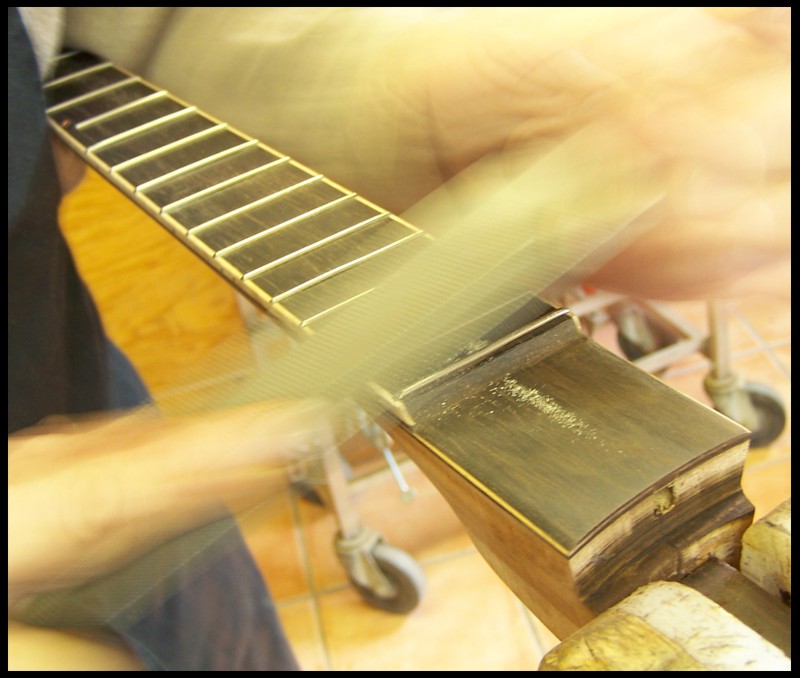
Now sanding the scoop. Like the rest of the fingerboard it to will be sanded to 1000 grit.
Now to the next step in the 5th. string aria... A dab of cyno is put into the open fret slot.
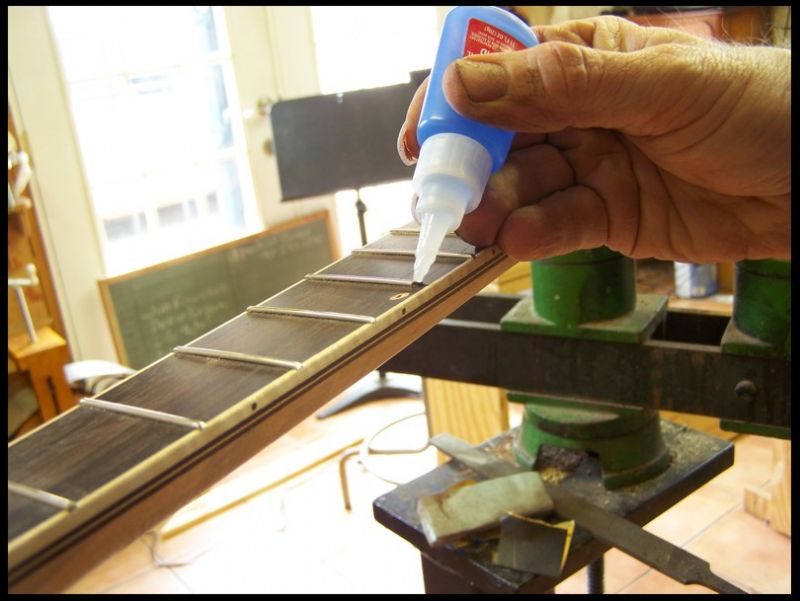
A bit of rosewood saw dust is dropped into the glue in the slot...
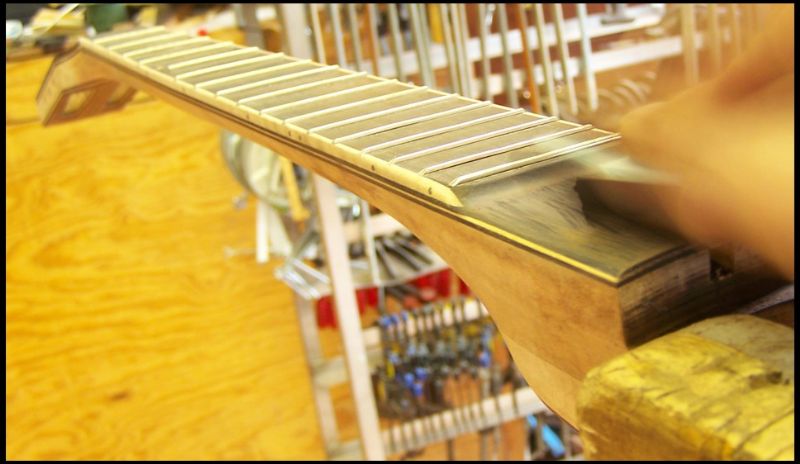
The whole mess is now leveled and sanded...
The tube end is aged with a bit of livered sulfur...
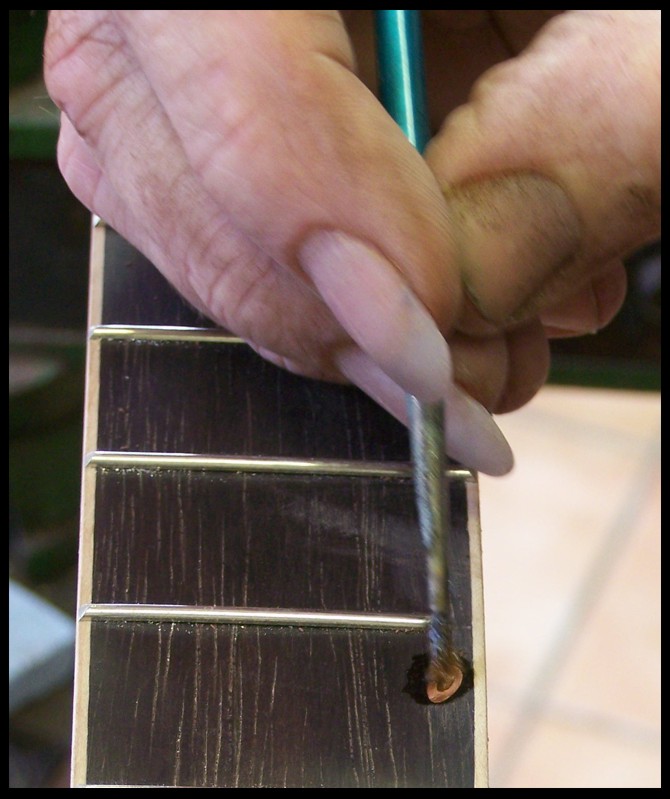
Changing colors...
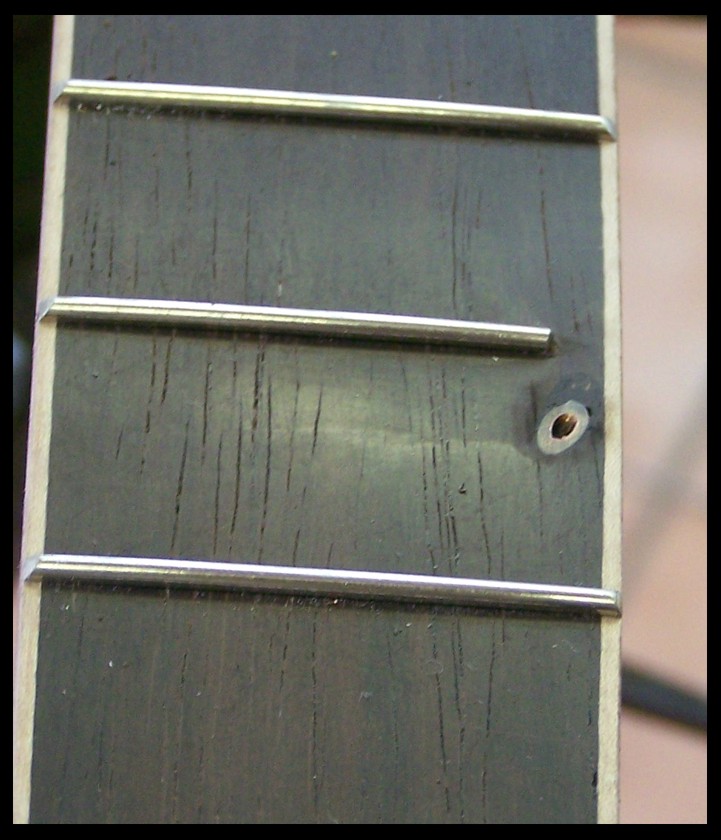
More soon....
Dan Knowles - Posted - 03/24/2013: 14:10:17
THIRD TYME IS THE CHARM!
Sunday post 3
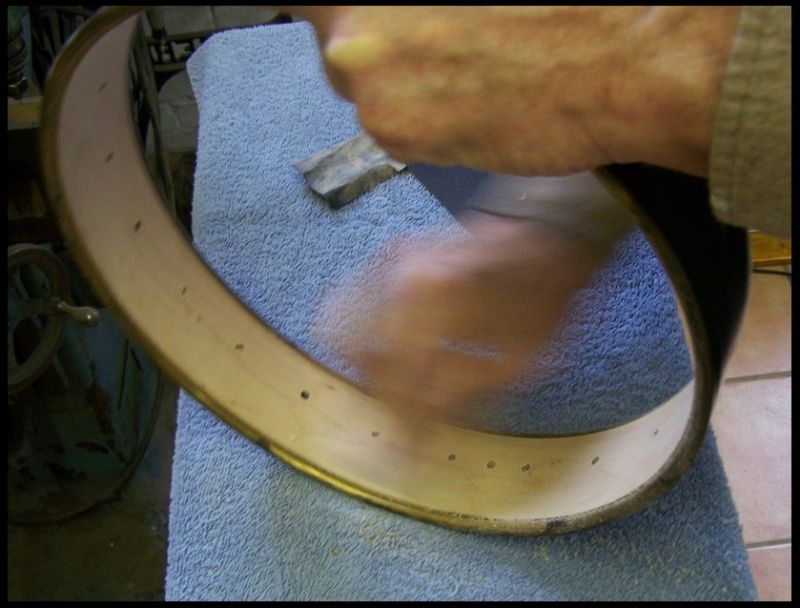
I started sanding and preparing the neck and rim for finish. They will be finished with oil. Always prep work for finishing needs to be immaculate but it is even more important that the prep work be as near perfect when finishing with oil. As my daddy used to say "You can't hide oil." With that in mind I will sand 220, 400, 600 and then finish up with 800 grit. After the stain is complete I will burnish the wood surface before finishing..Here I'm sanding the inside of the rim...
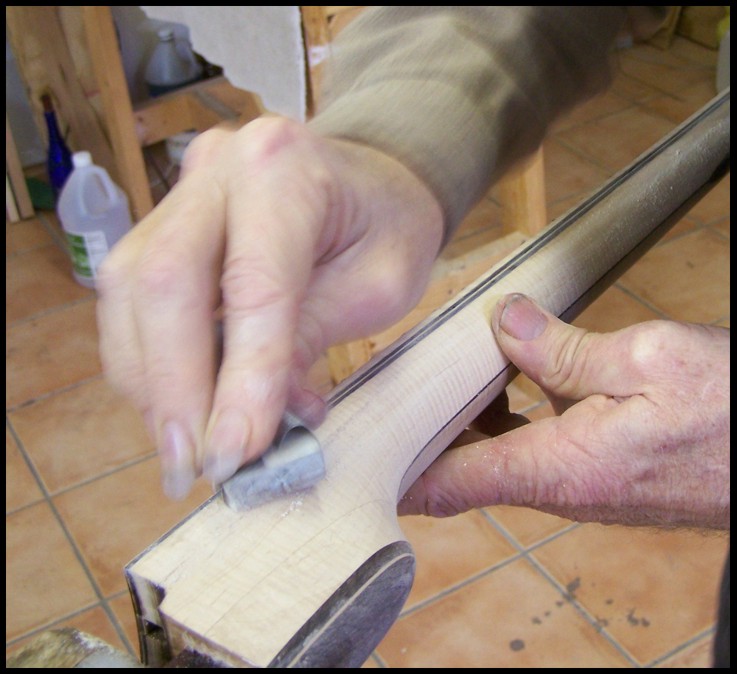
Now the neck... notice my favorite sanding block...
Back several months ago we made up walnut and some metal stain. I've been wanting to see how this stuff will work on this maple rim wood. It seams a bit denser than the neck wood. Here the first coat of walnut stain is being applied. I'm wanting this to finish out as near black as I can get it.
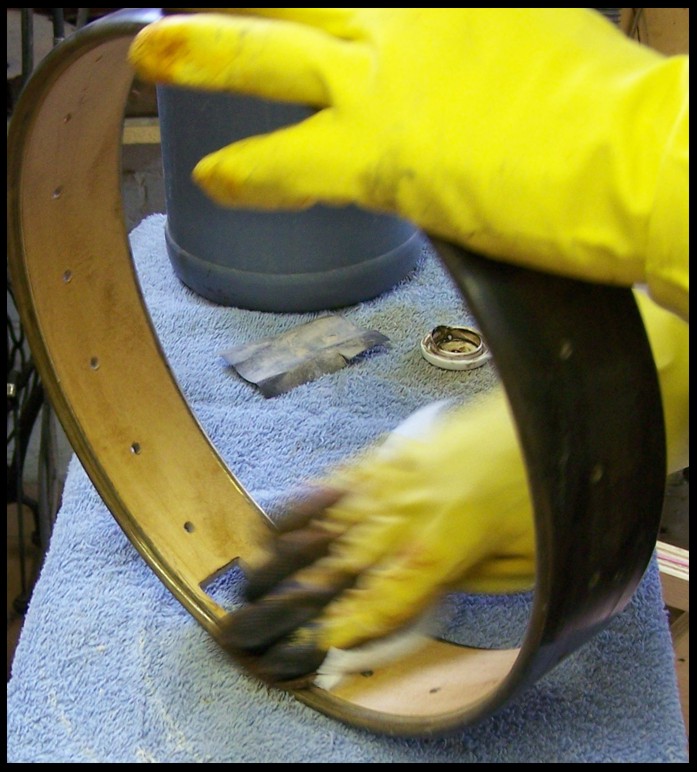
After the walnut then on with the metal. I go back and forth until I achieve the color tone that I'm looking for. This took 8 to 10 passes.
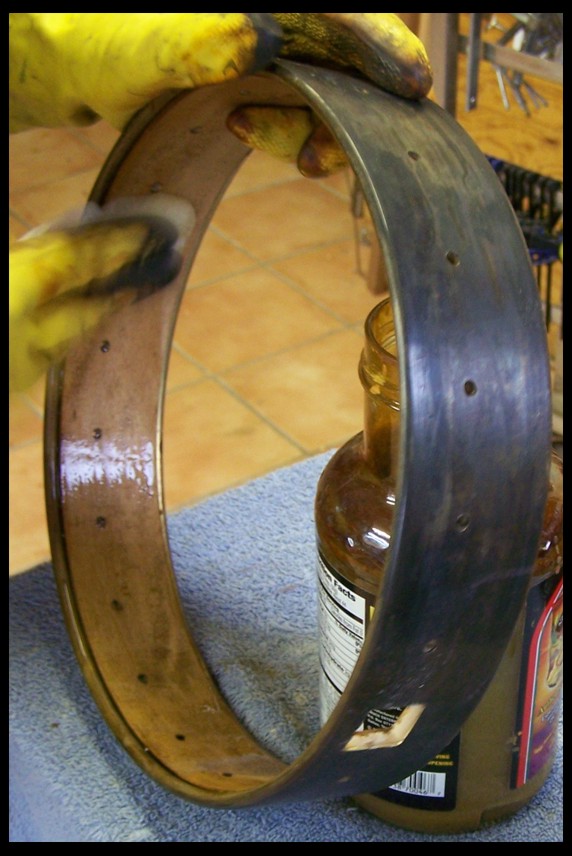
After many applications I'm beginning to get there...
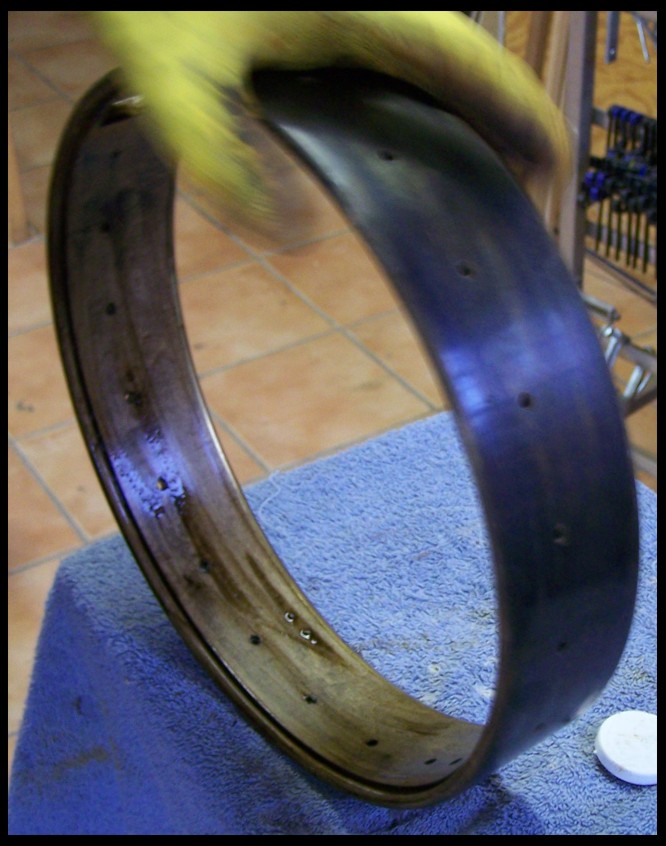
Got it! This is what I wanted! Black with a brown undertone. Hints of chocolate with a citrus floral note...
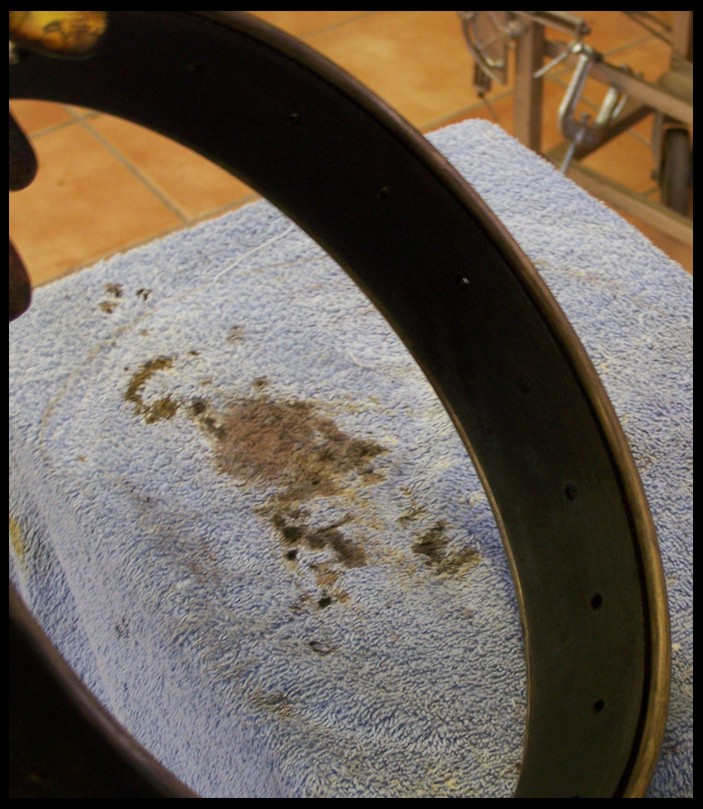
Another heel shot... this is here for no reason, I just like it!
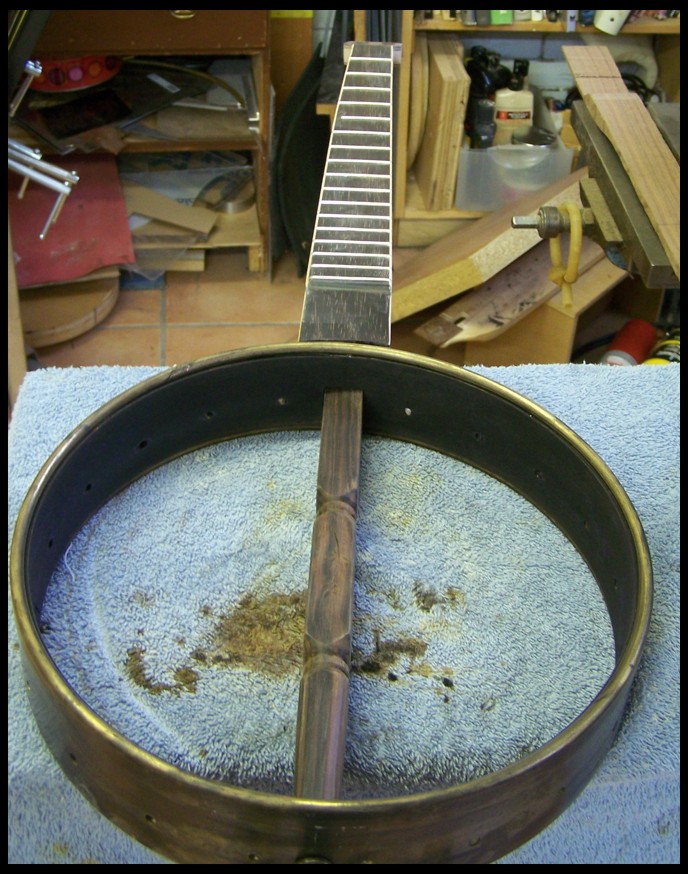
The neck and rim together, I'm happy with the color match. It works well with the ebony.
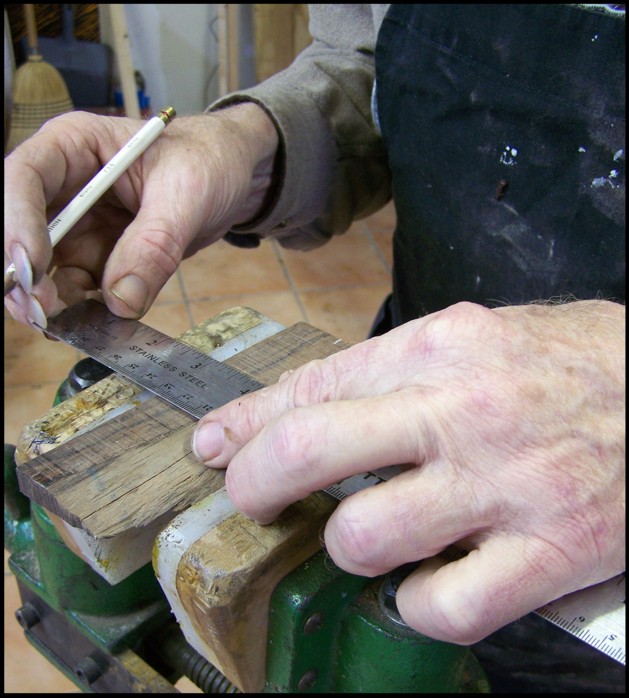
I wanted to do a bit more prep to the neck so I moved on to making the neck wedges. Here I'm using a Brazilian rosewood drop to make the wedges.
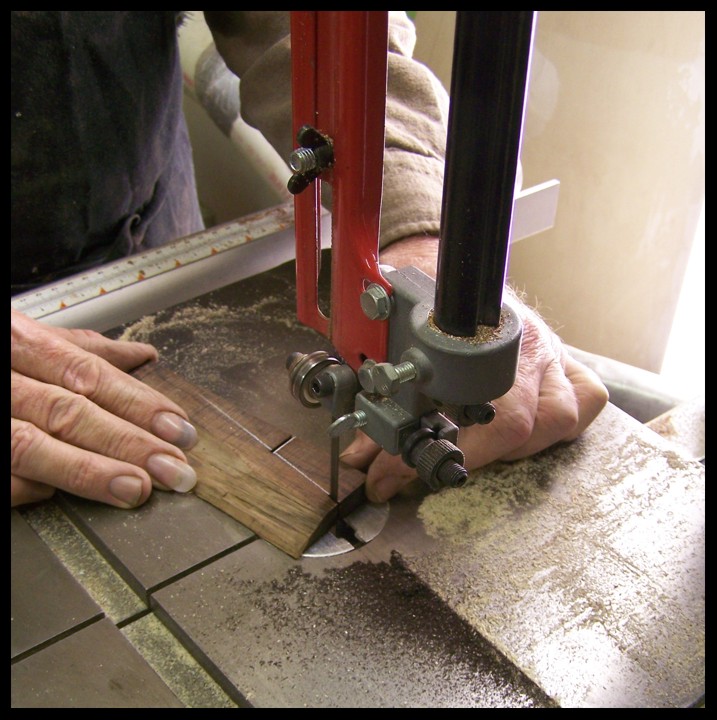
Cutting it out on the band saw...
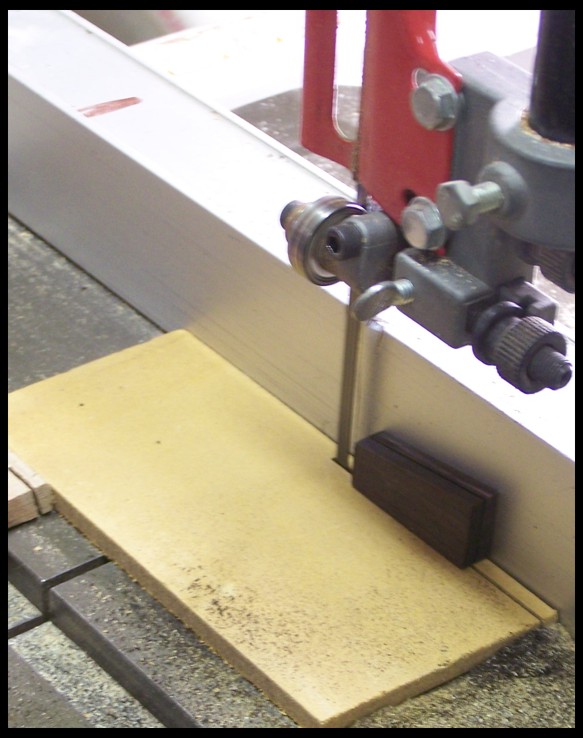
Splitting the chunk into 2 wedges...
More tomorrow...
Dave1climber - Posted - 03/24/2013: 15:24:53
Dan
You do more in a day when in recovery mode than many do in a week. It's looking very good, can hardly wait for sound files. I know, lots more to do.
DEmery - Posted - 03/24/2013: 15:31:02
Dan that was a super post and the stain (with several applications) really blackened well. It does work well with the other finishes. I am glad you chose to use the wedges to set the neck/dowel. The double wedges you did on Goshen look "right" and it keeps all the metal hardware out of our banjo. We are headed toward the home stretch on this project. I better start polishing up Sherry Lynne for the trip home. David E.
Dan Knowles - Posted - 03/25/2013: 16:52:54
Dave,
Instrument building reminds me of when I worked building houses. We would be working our tails off and it It felt like nothing was getting done, then one day all of a sudden...
David,
I really prefer wedges. I feel that wood on wood is a better tone coupler than is metal on wood. I've got no proof, it's just my belief.
Dan Knowles - Posted - 03/25/2013: 17:18:05
3-25-2013
WEDGIE & OIL
This banjo of David Emery's just calls and calls! Ok I give...
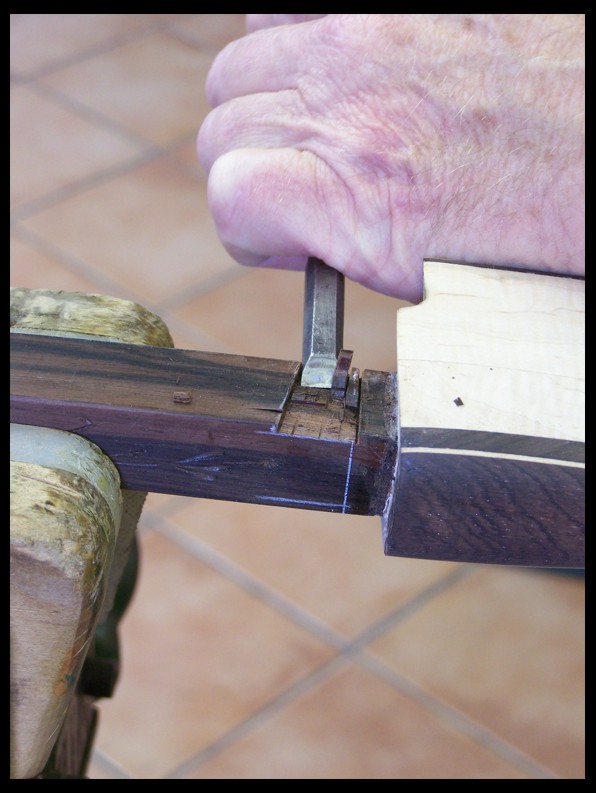
Today I cut wedges cut the mortise for those wedges and began oil finishing the rim. Along the way my camera was quite active and caught a bit of the action.
I'm beginning to lay out the wedge mortise...
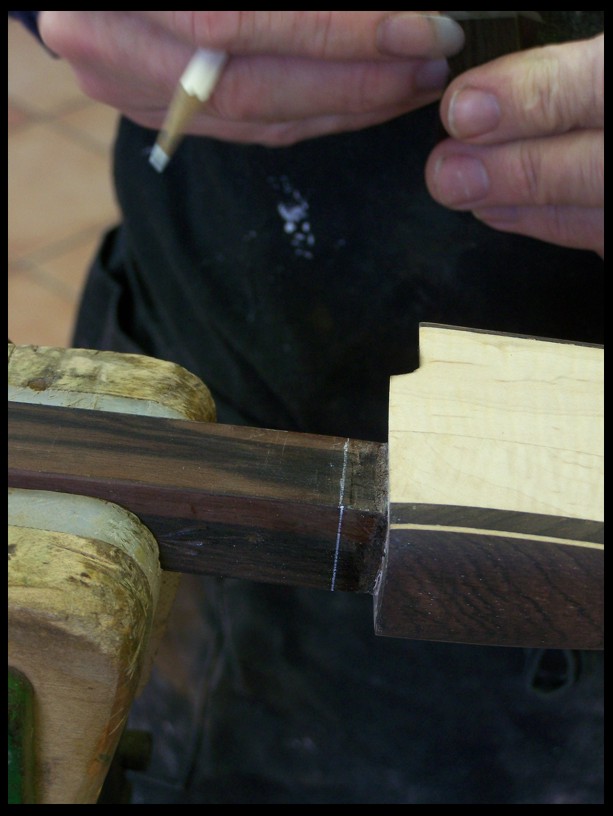
Beginning the cut...
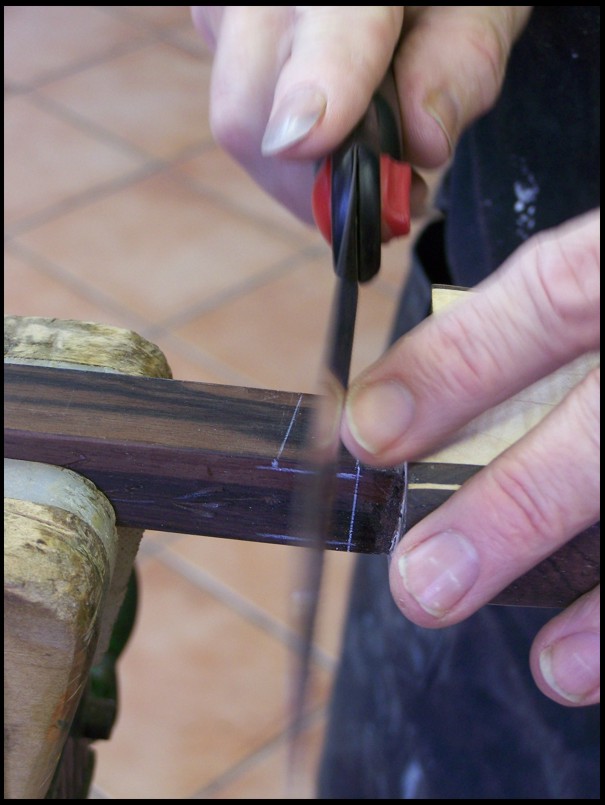
Chisel trimming...
Filing...
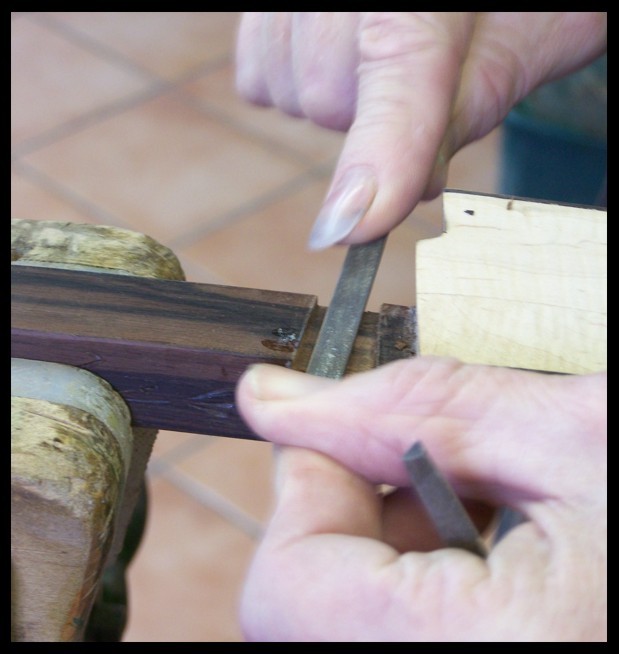
The opposite mortise...
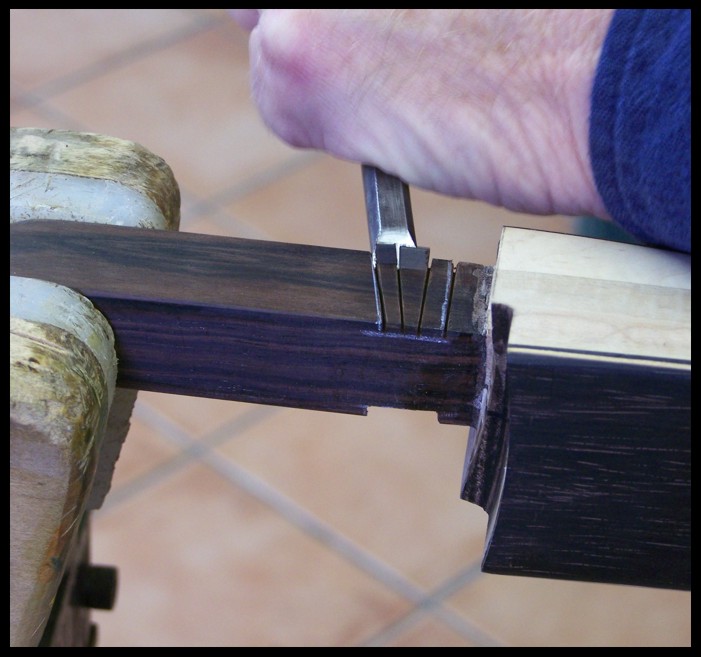
Both wedges fit and in...
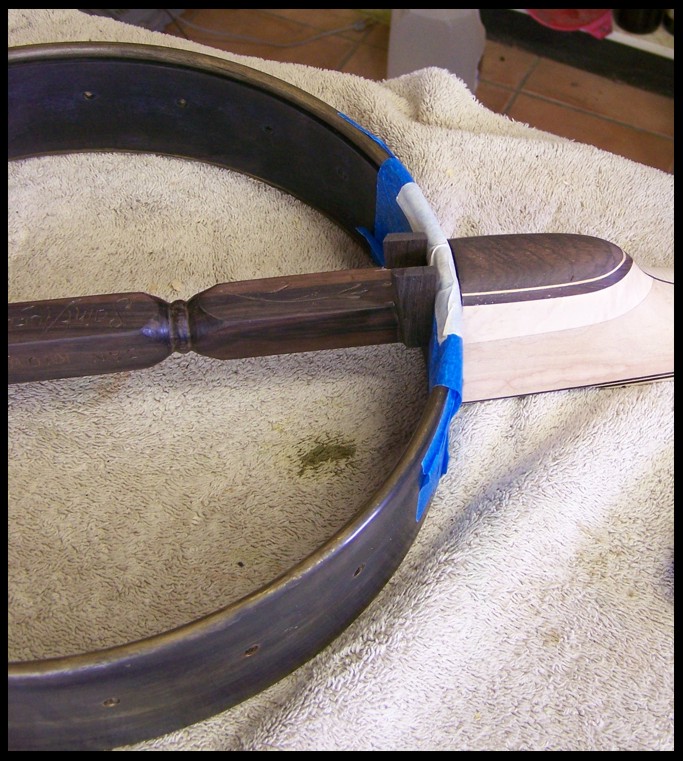
The heel is fit close to perfect... but close isn't good enough so by pulling sandpaper through the joint they are fitted...
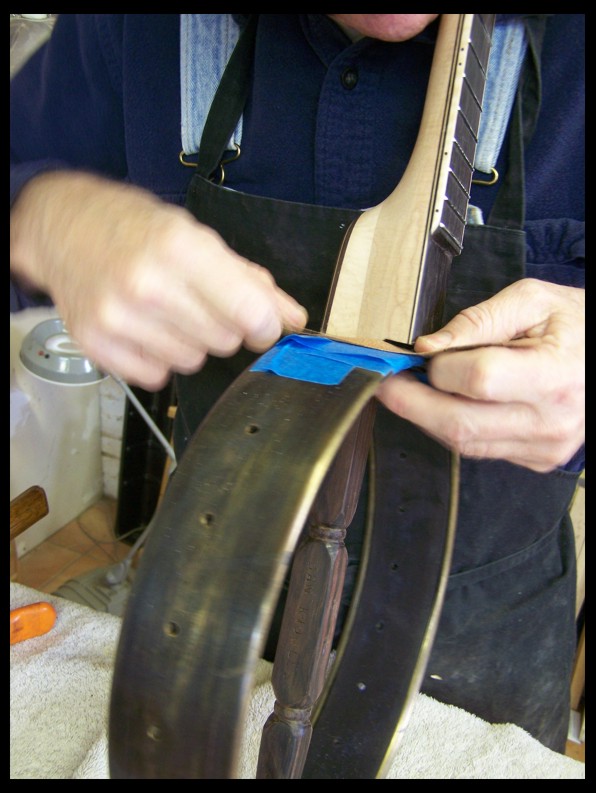
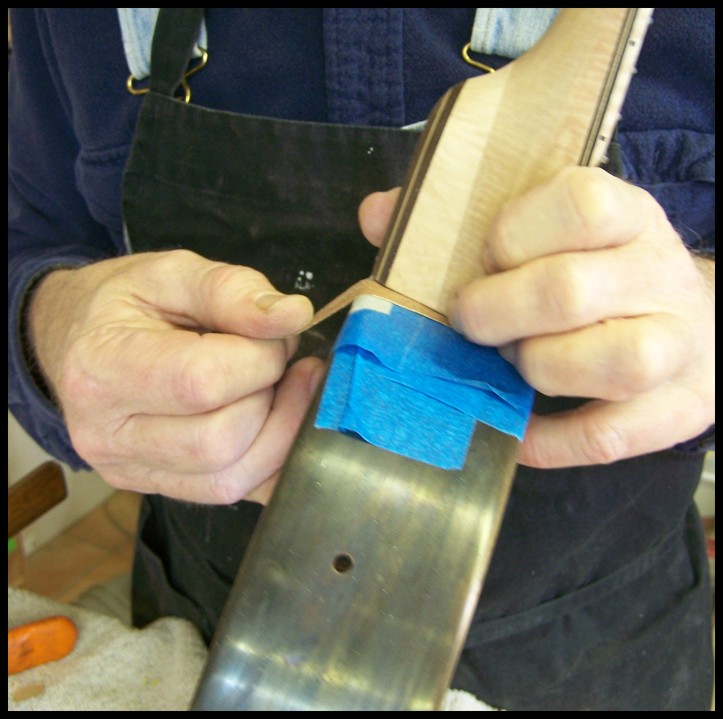
Now the first coat of oil...
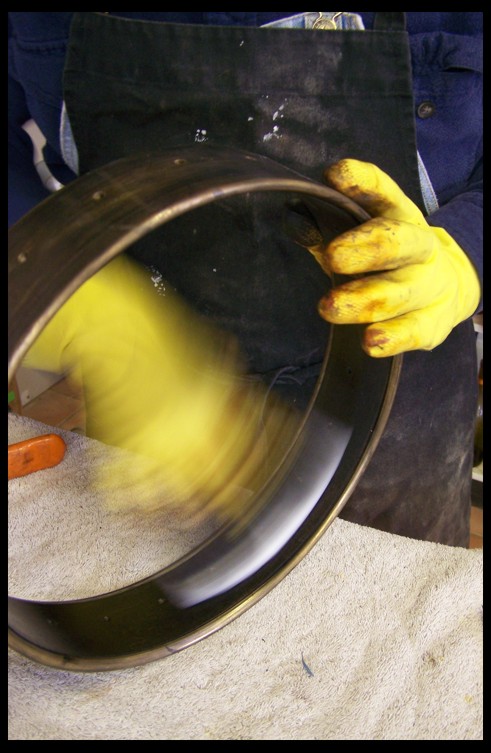
Now to filling in the lip...
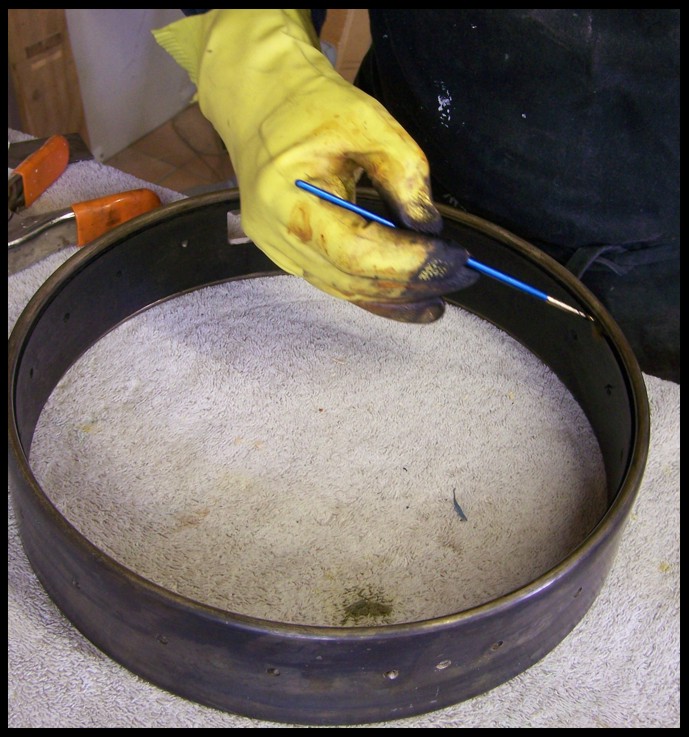
Now the excess is buffed off...
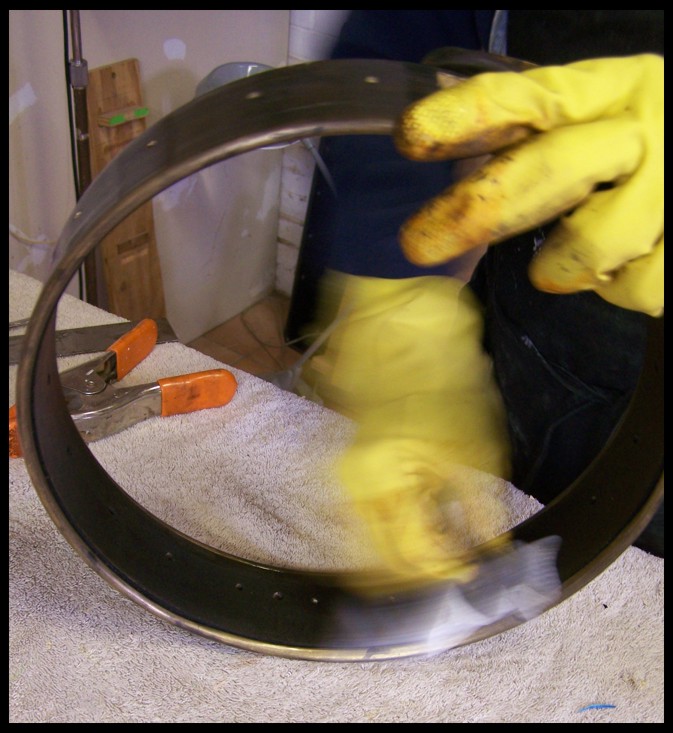
More very soon!!!
Dave1climber - Posted - 03/25/2013: 17:54:52
Dan
Are the wedges finished or will they get some of your expert carving or engraving. By the way I like the way you cut the dove tail mortise's, very nice.
Dan Knowles - Posted - 03/26/2013: 05:54:08
Dave,
I had not thought of carving the wedges decoratively, they are slated for detail work though. I glad you like the dovetails, there is no way that they would stay in place and be usable without that.
Kaelri - Posted - 03/26/2013: 19:08:48
I am still "along for the ride" enjoying watching this banjo being born.  I had to be out of town for a few days and am just catching up today. I was looking at the entry you made for March 24, 4:20 pm. About the 10th photo down in that post, you are showing your work with your homemade fretting hammer. I have no idea why, but I am interested in seeing that hammer. Any chances you might post a pic of it not in motion? I wondered what it looked like. (But as busy as you are, it is probably always in motion, ha ha.)
I was also going to ask you a question about the file you were using in the 13th photo in that same post, but I found the answer already on the Stew Mac site. They had a little tutorial about these fret files that they called a Fret Beveling File. I'm learning all the time! Yours is different than theirs, perhaps your is older or homemade.
Thanks for plugging along here on the nice thread. that banjo neck is looking really nice! I also like the heel.
Ellen
Dan Knowles - Posted - 03/26/2013: 19:14:56
COLOR TYME...
Dan couldn't make it tonight, so I filled in. I'm not sure how I'll do it but here goes...
Today color found its way onto the banjo... I'm not sure how it got there. Perhaps if I look at these photos again I can figure it out.
I guess I'll take a look and see if I can figure it out...
Here is photo 1...
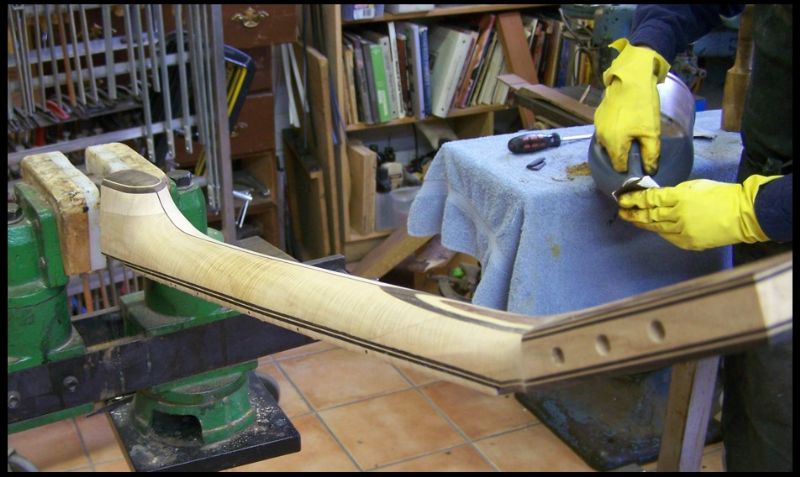
Ain't no paint on it yet, look there in the background, that fellas pouring real walnut stain on a paper towel...
Photo 2
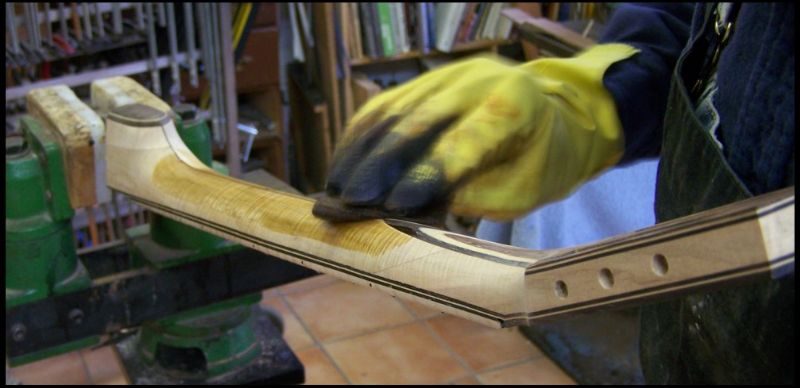
There he's applying the first go round of walnut stain...
Photo 3
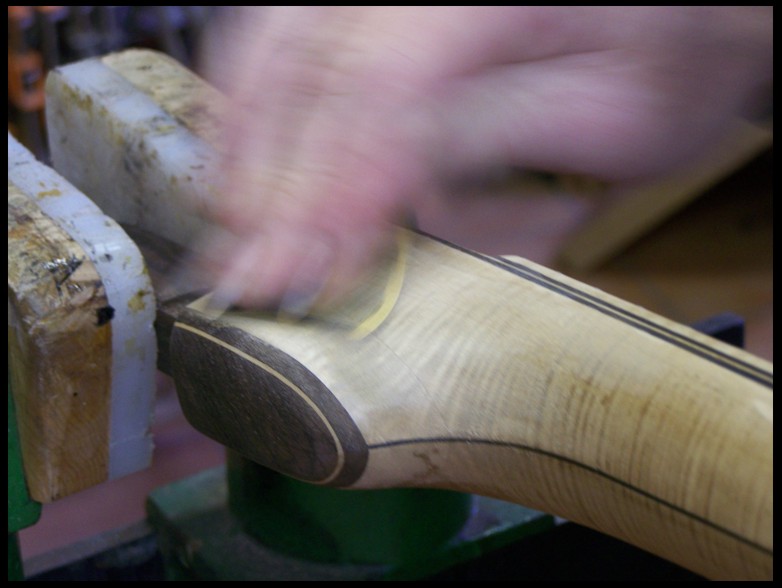
If the sucker had done his sanding right the first time he wouldn't have to do this...
Photo 4...
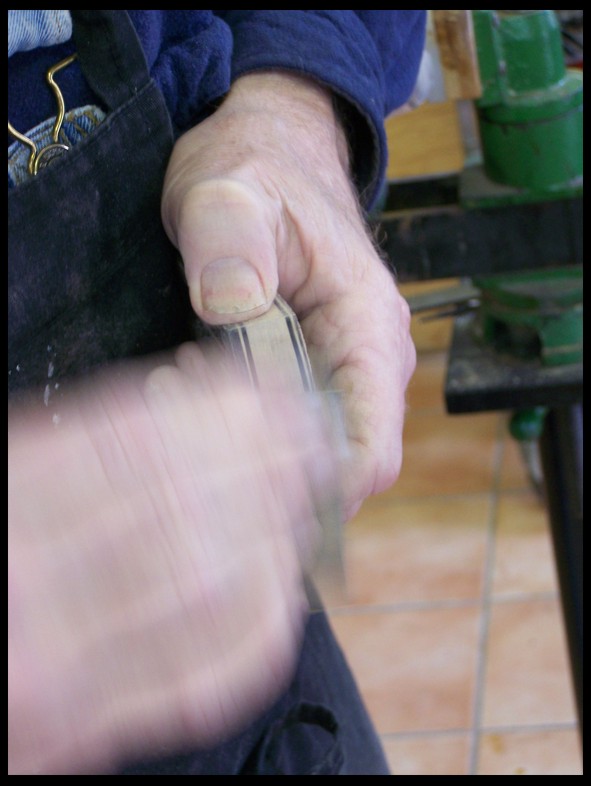
More sanding, just makes you shake yer head...
Photo 5...
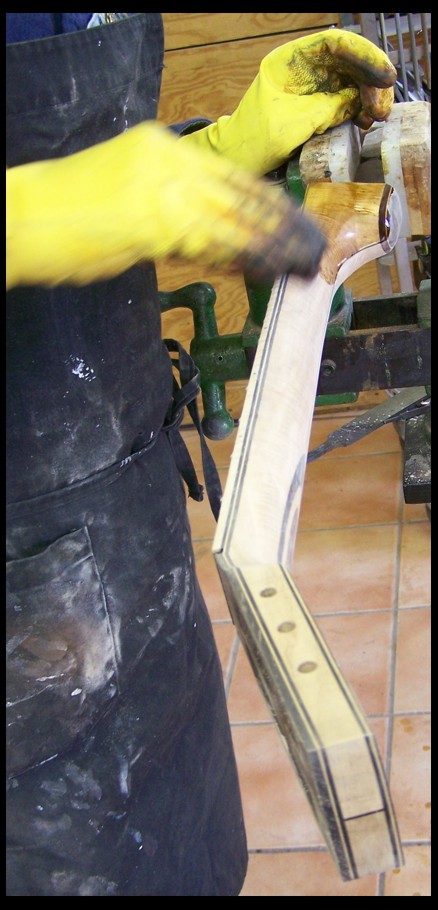
More stain...
Photo 6...
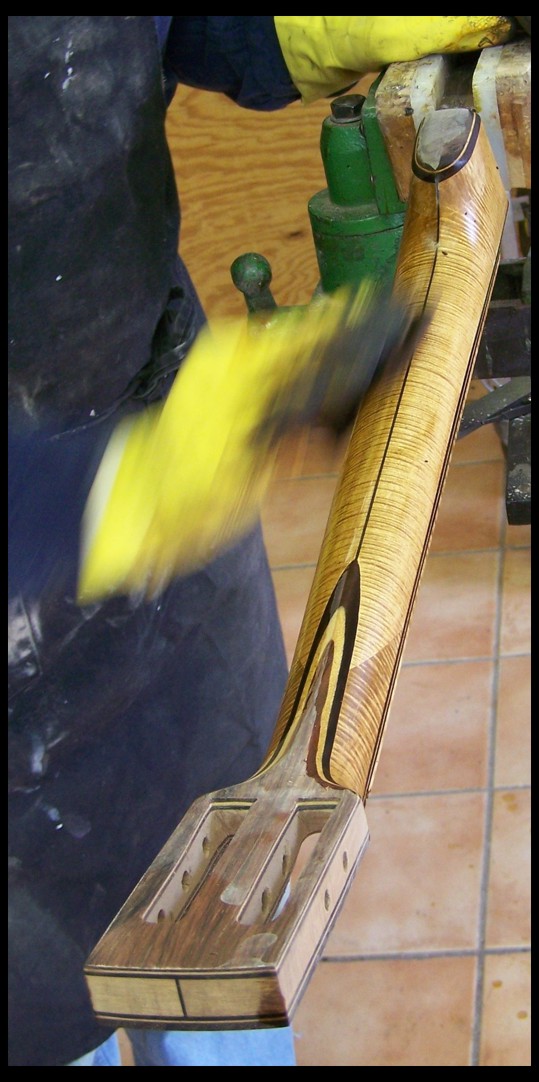
Photo 7...
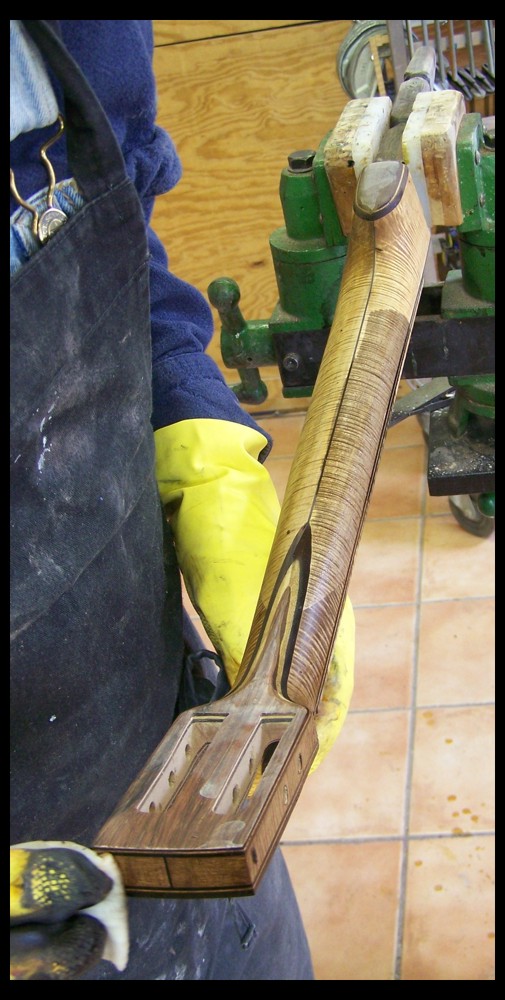
Ok, it looks like he's adding some metal stain... That must be what takes it towards the black...
Photo 8...
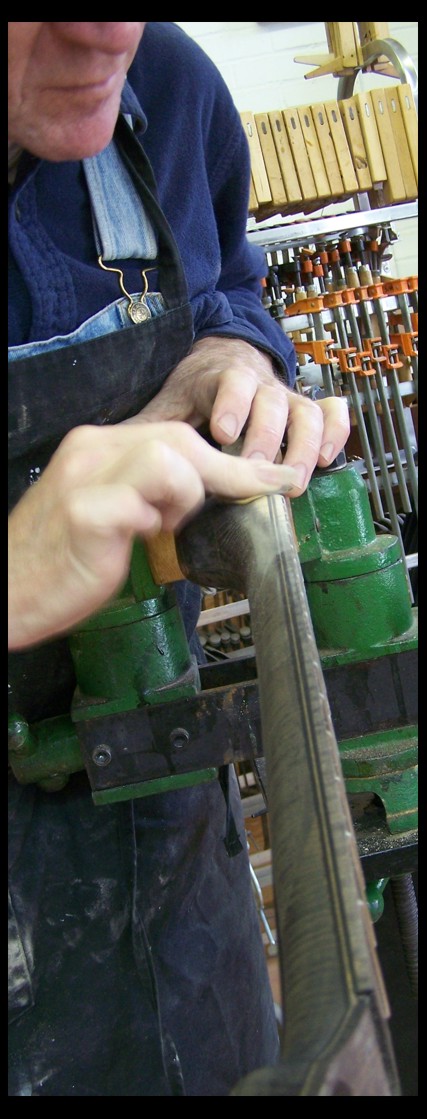
If that fool would have sanded like he should....
Photo 9...
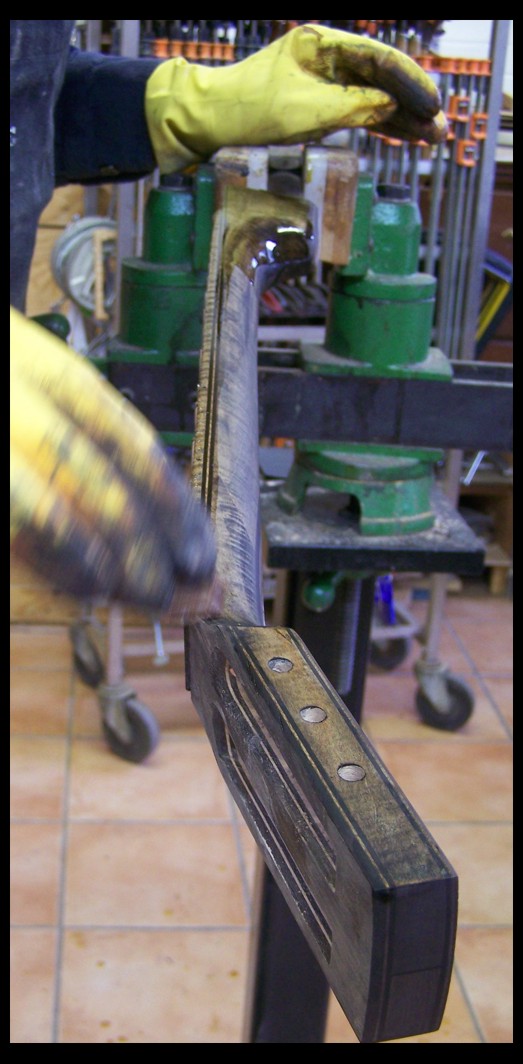
I guess he's putting more of the walnut stain on now...
Photo 10... Oh, a couple views at days end...
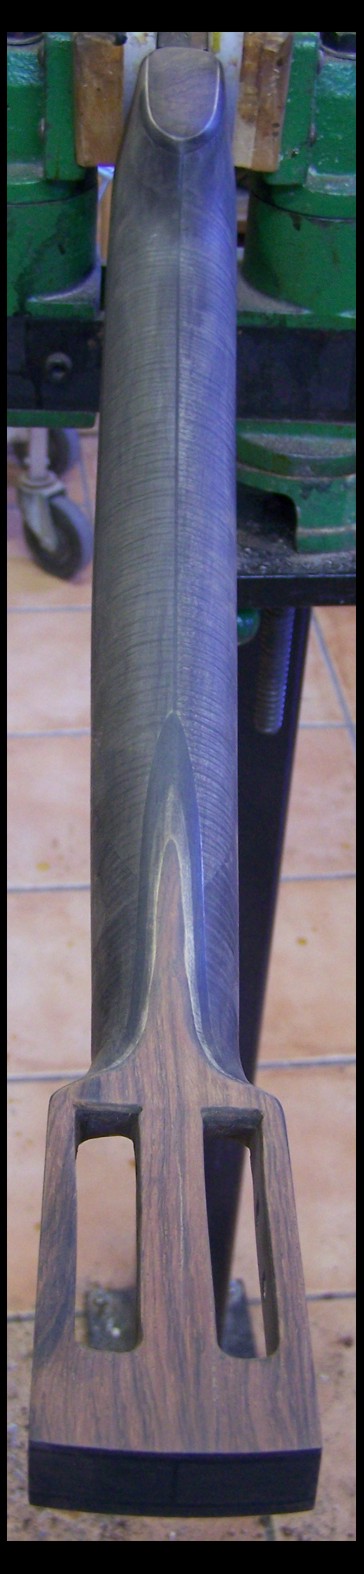

More soon...
DEmery - Posted - 03/27/2013: 03:14:01
Dan tell that feller standing in for you tonight that is putting the stain on the maple neck that I've never seen anything like this before. I know from the wood blank samples you sent me what it should look like when finished; but the process of getting from white maple to finished product is some sort of wizard's secret. I will just keep watching. David E.
Dan Knowles - Posted - 03/27/2013: 18:54:23
BACK @ IT...
Ok I kain't let that other feller get all the glory so here I am, back and posting.
David's banjo rim got another oiling today, his neck got ready for the oil and a whole bunch of other stuff was accomplished. Most of it had to do with the 20 mini-banjos (sorry Marvin) that my grandson Chandan and I are building to go on the river with me. I don't usually batch things out like this and to be honest it has been fun. That said, the photos today will be of David's banjo's progress.
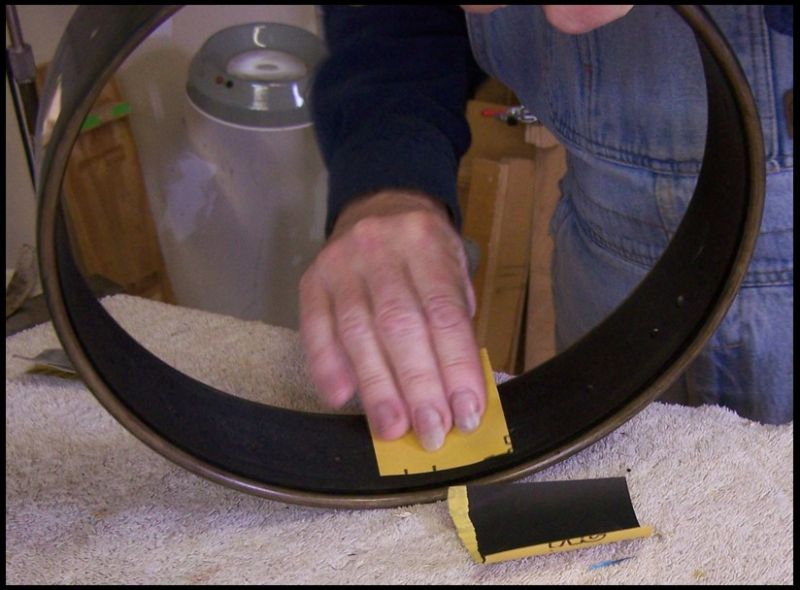
First of all the oil has set up nicely on the rim so I sanded it with 800 grit sandpaper...
Then on with the finishing oil...
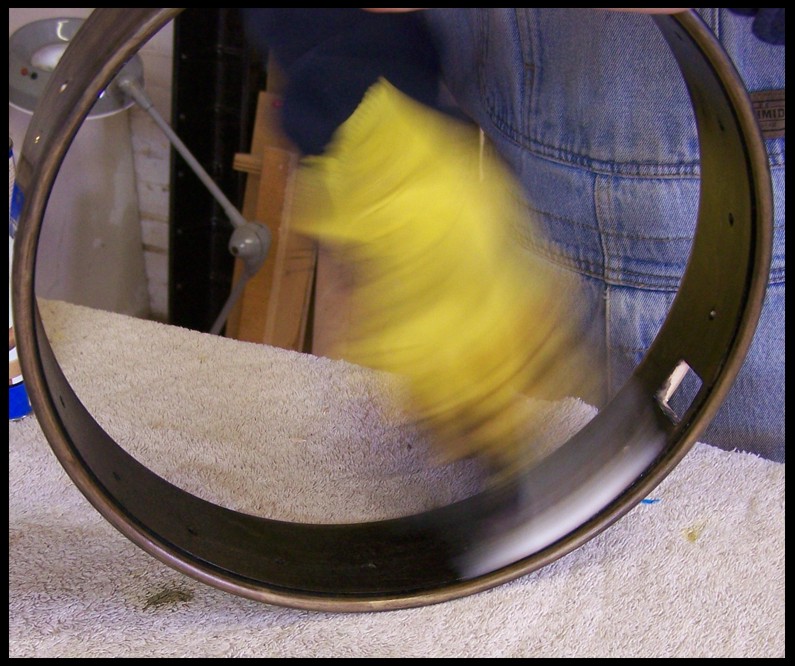
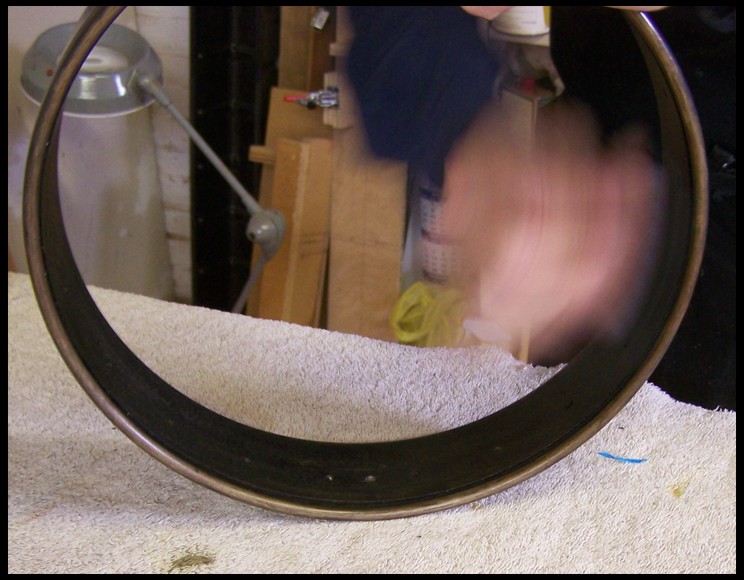
After a few minutes the excess oil is rubbed off...
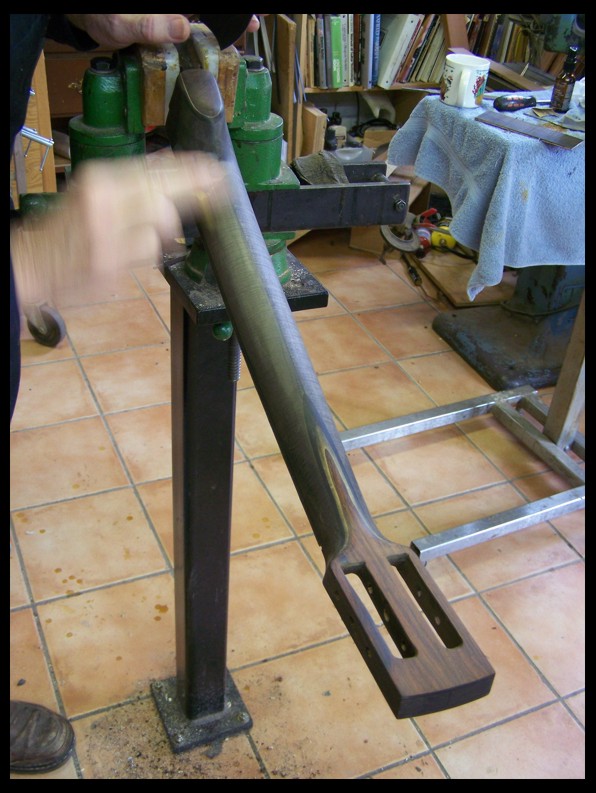
Ah the neck... it receives a light sanding with 800 grit to help the grain pop...
Next the lamination lines are scraped to give the walnut stain some life...
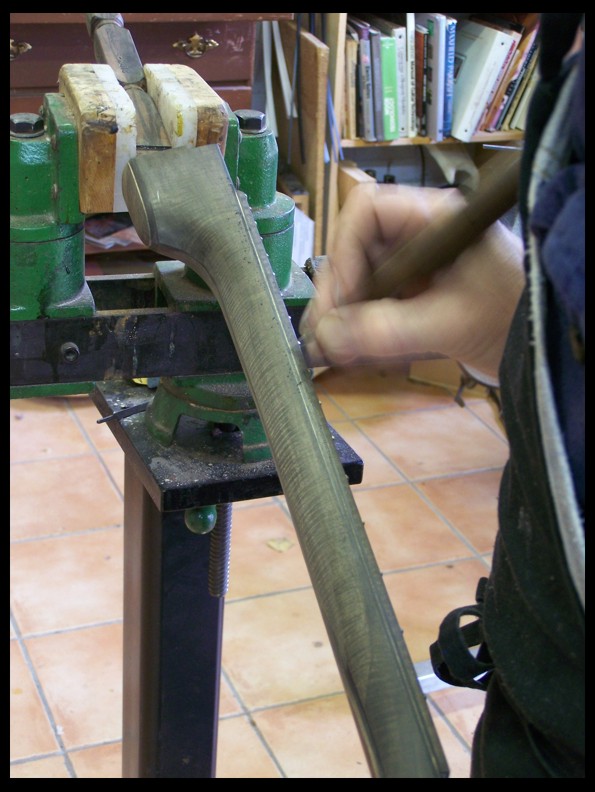
And the bindings are sanded for the same effect...
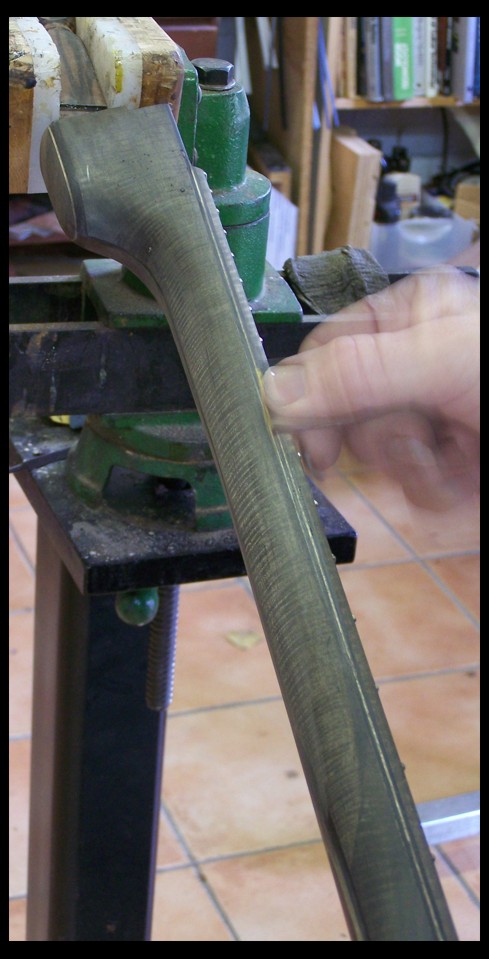
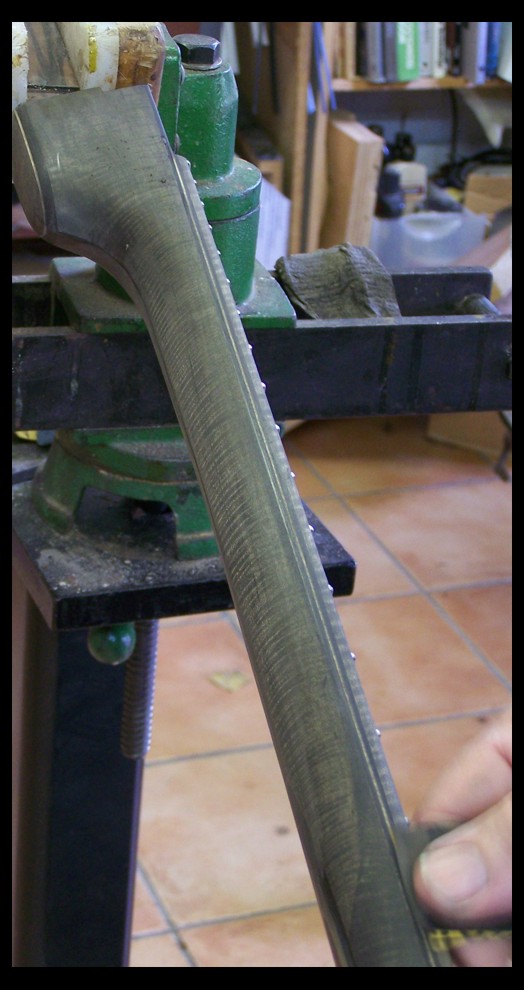
Now the walnut stain helps the brown tones to come through...
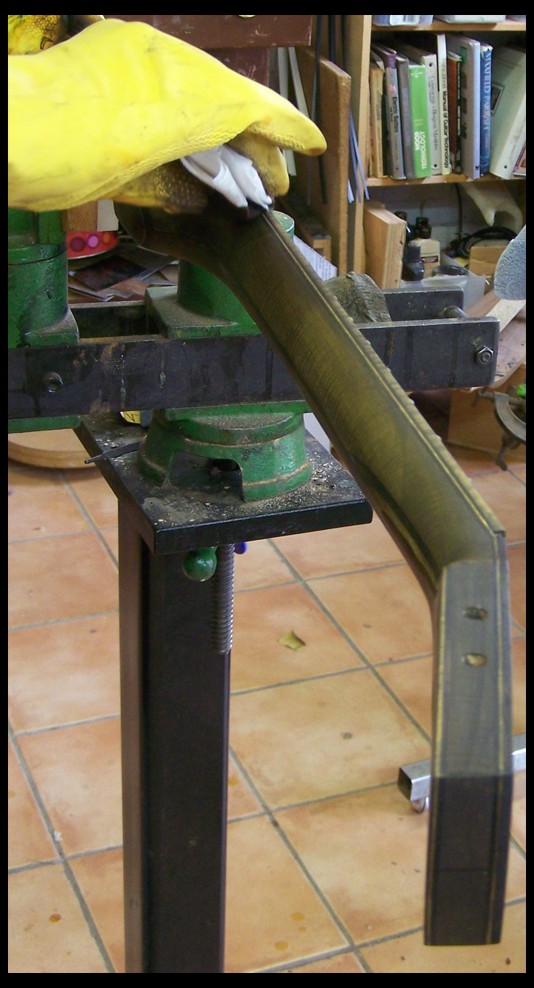
After the stain has dried, the surface is burnished with a piece of leather in preparation for oil finishing...
Tomorrow, NEW OIL!
DEmery - Posted - 03/27/2013: 19:05:30
Dan I confess it is puzzling how you have taken white base curly maple to a rich walnut tone with ebonized curls that pop like that. The oil is really pulling all the stain and metal solution processes together and sanding the stain back on the binding has provided a subtle contrast. I can see how well the relic "old penny" hardware will make this banjo all work together visually. Thanks for the update. David E.
BNJOMAKR - Posted - 03/28/2013: 02:33:49
No need to apologize, Dan. You will have those 20 minis built way before I get my one mini completed!
It amazes me how much you can accomplish in a days time.
Dan Knowles - Posted - 03/28/2013: 16:07:17
David,
You are so welcome. I'm panning on putting the rim all together n the next day or so. It will be fun to see how it looks.
KWL,
Thanks.
Marvin,
Ya but yours will be quality. These mini's are just slam bam thank you mams. Today Chandan and I made good headway on these things. I'm beginning to think that we just may make it.
Dan Knowles - Posted - 03/28/2013: 16:31:26
ALL SORTS OF STUFF 3-28-2013
Today was a bounce around day. Quite a few clients dropped in during the afternoon while my Grandson Chandan and I worked like dogs on the little banjos...
I'm not complaining, just reporting...
Here goes...
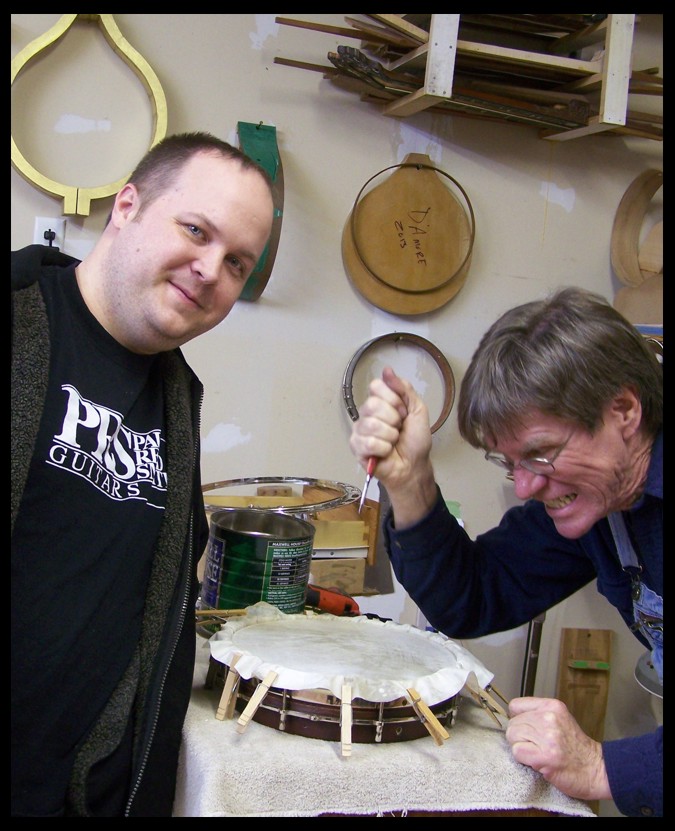
First thing out I replaced a head and a bunch of other stuff for fellow BHO member Jon Eaton. His Flinthill was converted to openback, got a skin head, had the rim routed (to free up the tone ring), got a new Knowles Osage Orange & Ebony bridge and was set up. Jon hung out and goofed off with me for just a bit
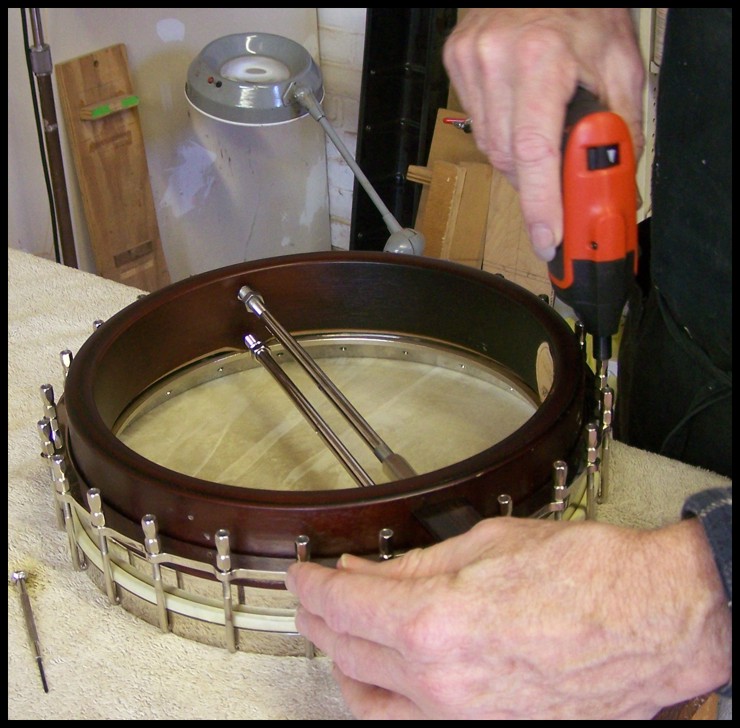
I made a discovery, my cordless screwdriver will work as a nut driver for these sized nuts. Man did it save a bunch of time!
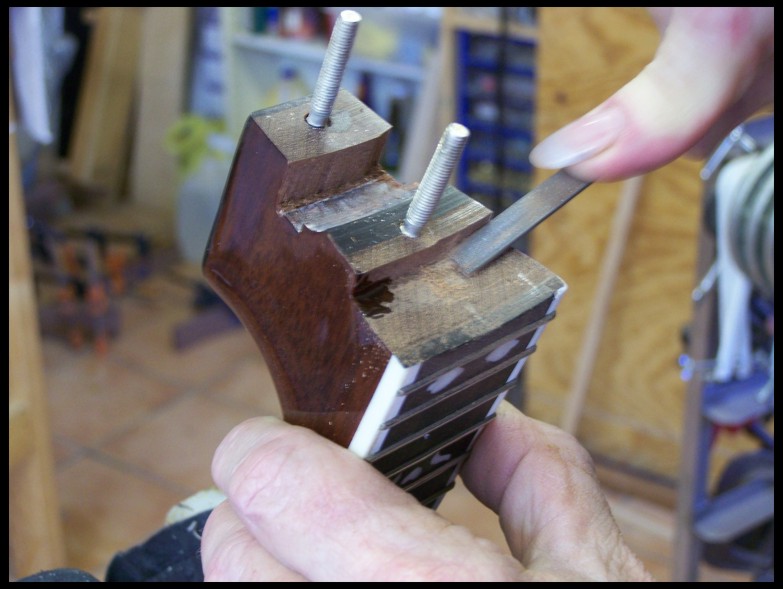
The heel cut on this particular banjo didn't allow for enough tension hoop adjusting ( I like to get the hoop down out of the thumbs way, for calwhammer guys, it makes it much easier on the thumb) so I cut some out quickly with a chisel.
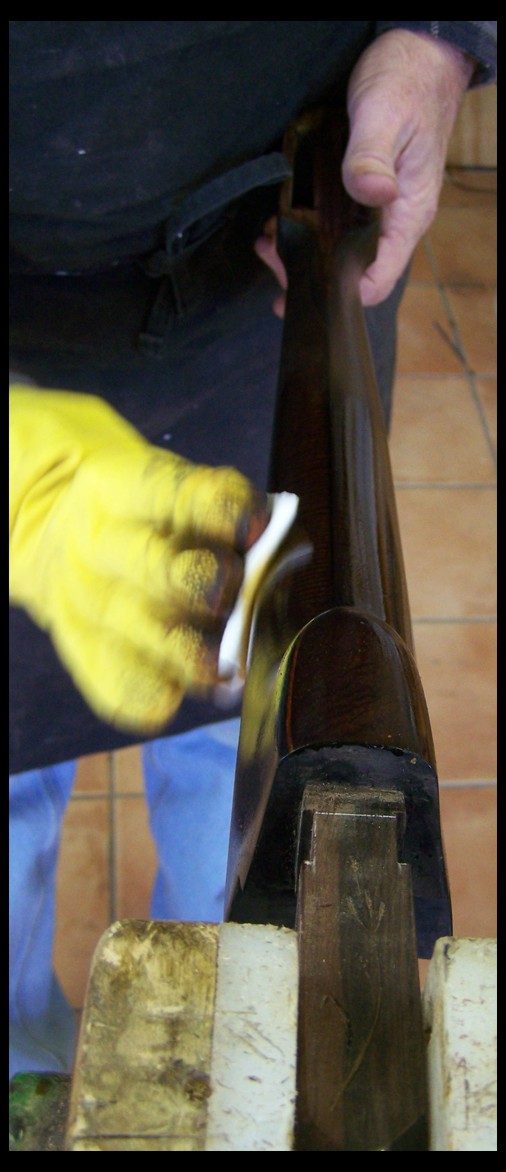
Wax on wax off...
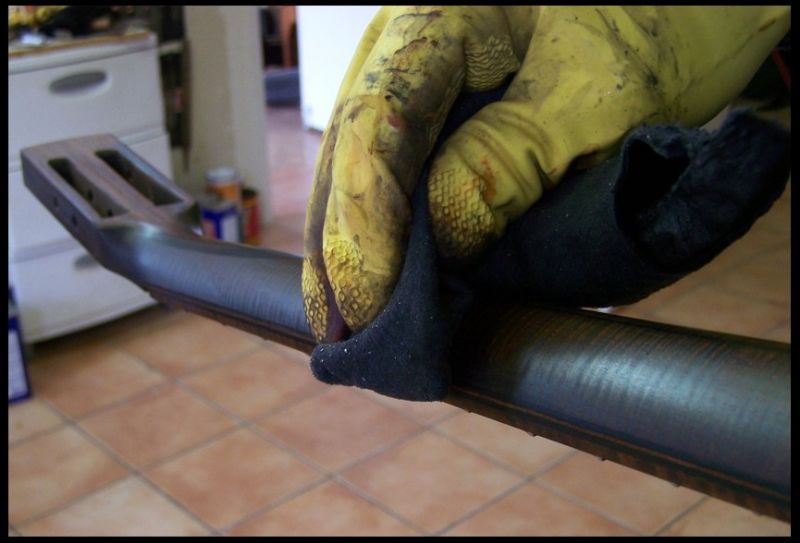
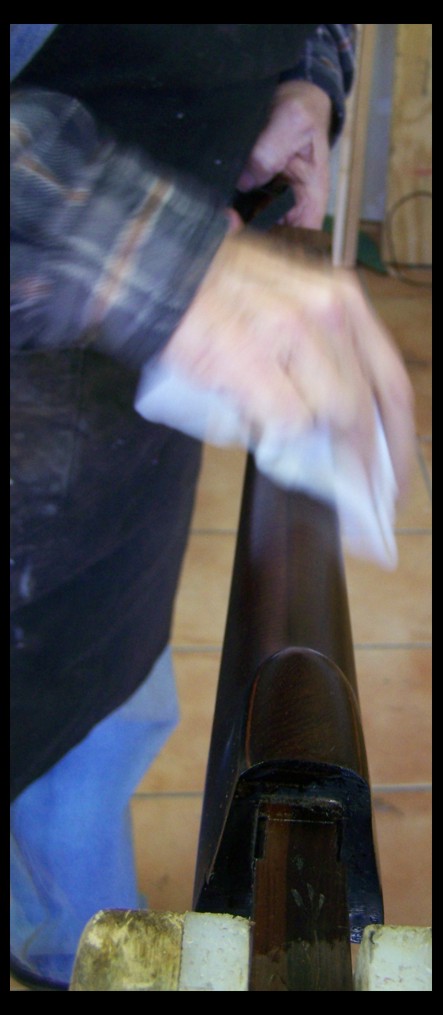
Oh no that ain't wax. That's oil being laid on David Emery's banjo neck...
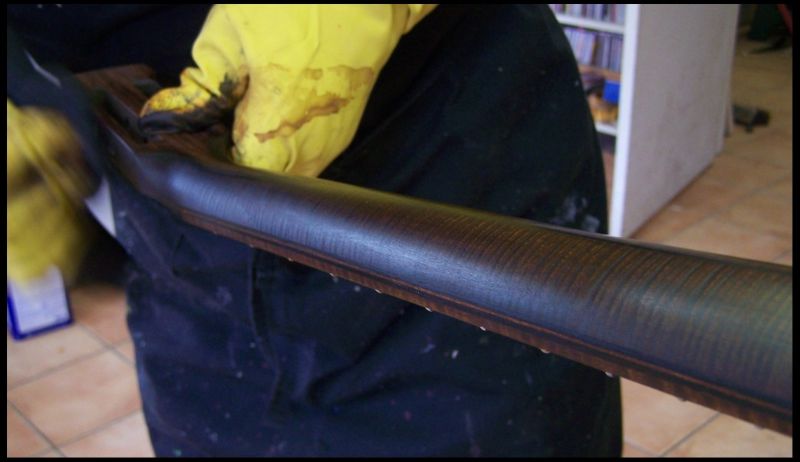
And after a bit the excess is buffed off...
Here is a up close and personal shot...
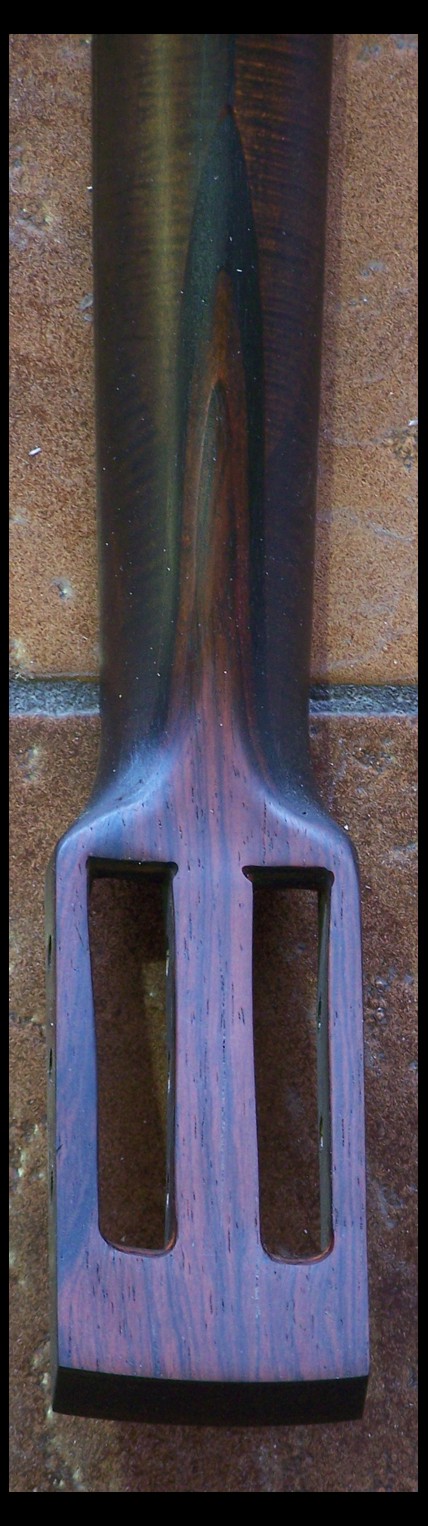
The whole neck...

Here I'm making a heel cutting jig for the mini banjo (s) neck cut...
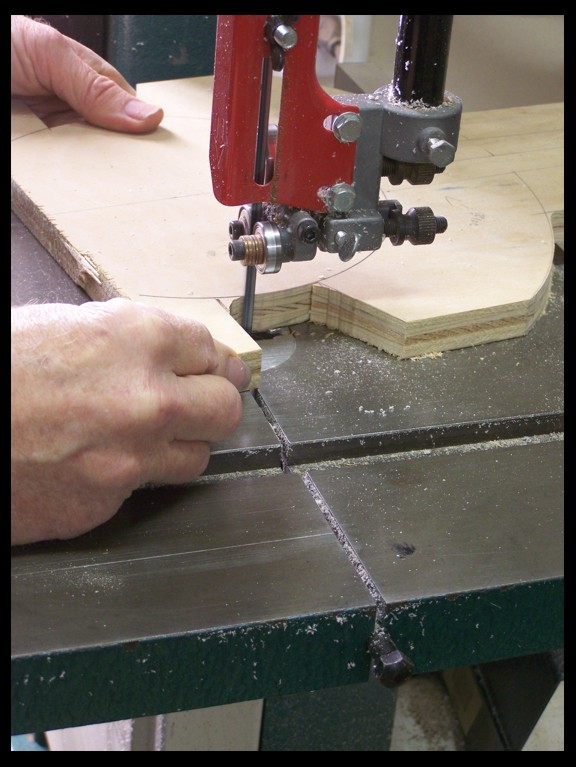
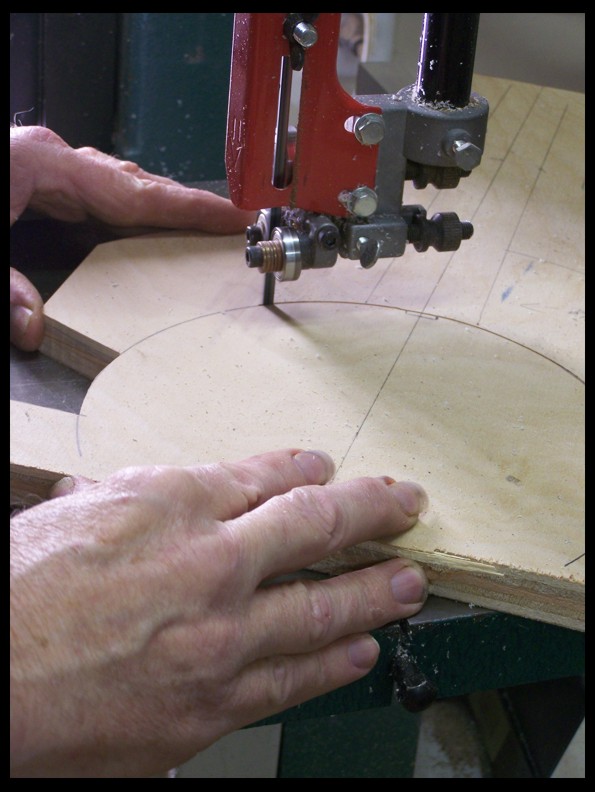
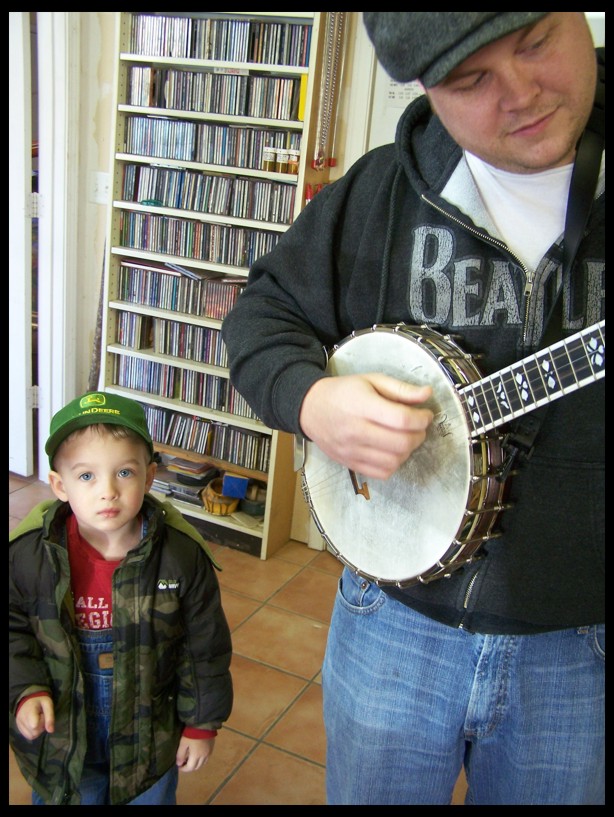
Jon and his son came to pick up his banjo...
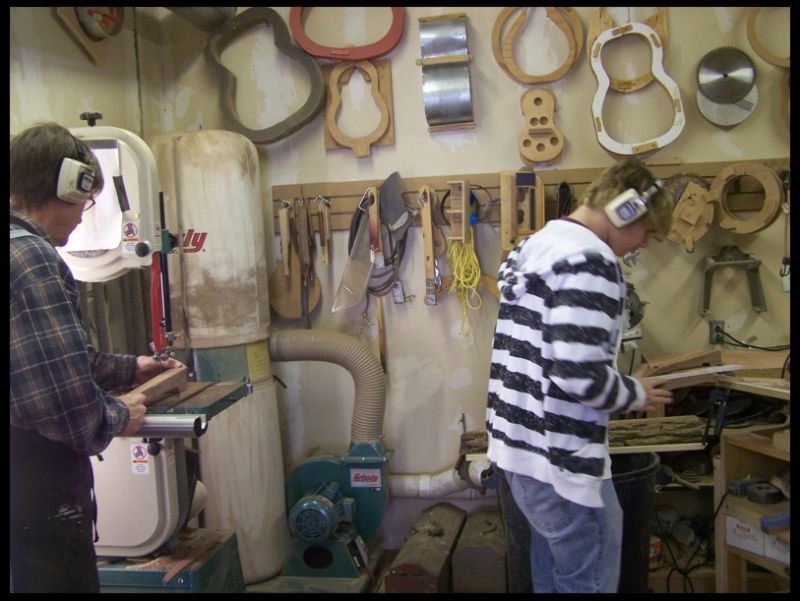
Chandan and I in the back room makin' dust. He's routing necks to rough shape and I'm rough cutting one...
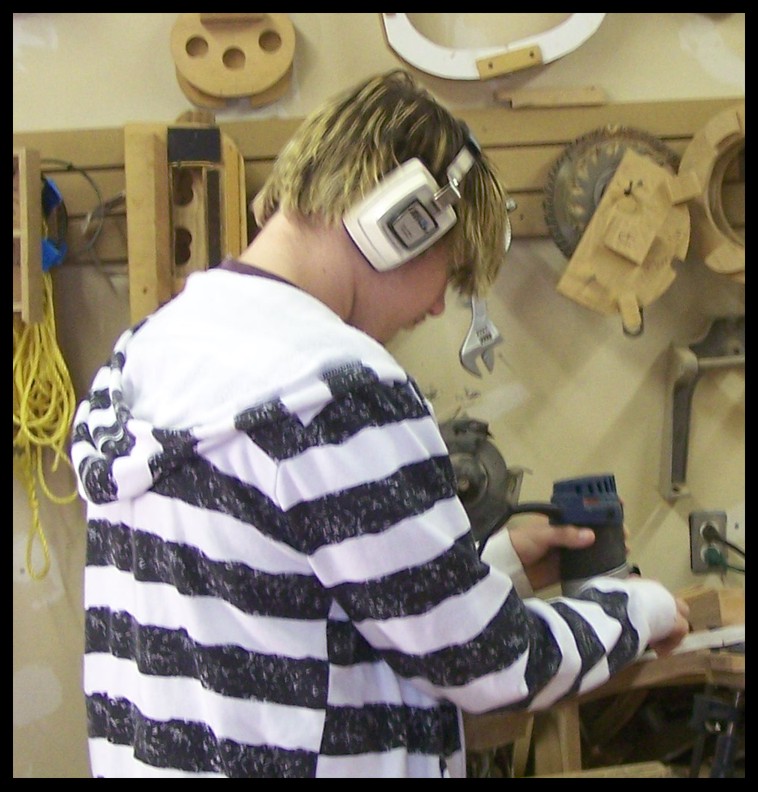
More veri soon!!!
DEmery - Posted - 03/28/2013: 18:23:29
Mr. Dan that was a busy day. That oil is really working on Saint Augustine. The back strap floats in all that color. Never seen anything like it. David E.
Dan Knowles - Posted - 03/29/2013: 19:21:59
A GOOD FRIDAY!
I got into the shop this morning in a mood. I must have been visiting with my Muse during the night because my head was whirling. I could see in my mind what I wanted to do. Where to go and how to get there.
So I loaded up my bowling ball vice onto the work bench. Placed my light over and grabbed up David's banjo neck and went to town.
It's nice having a friend and client like David, because I knew that I didn't need to ask, just go to work...
First I sanded the peghead face...
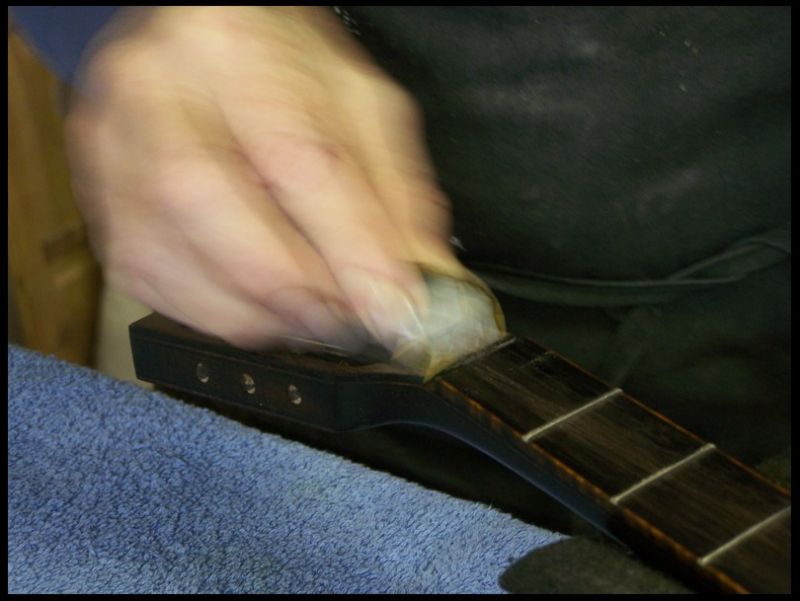
Loaded it into my bowling ball vice and started drawing...
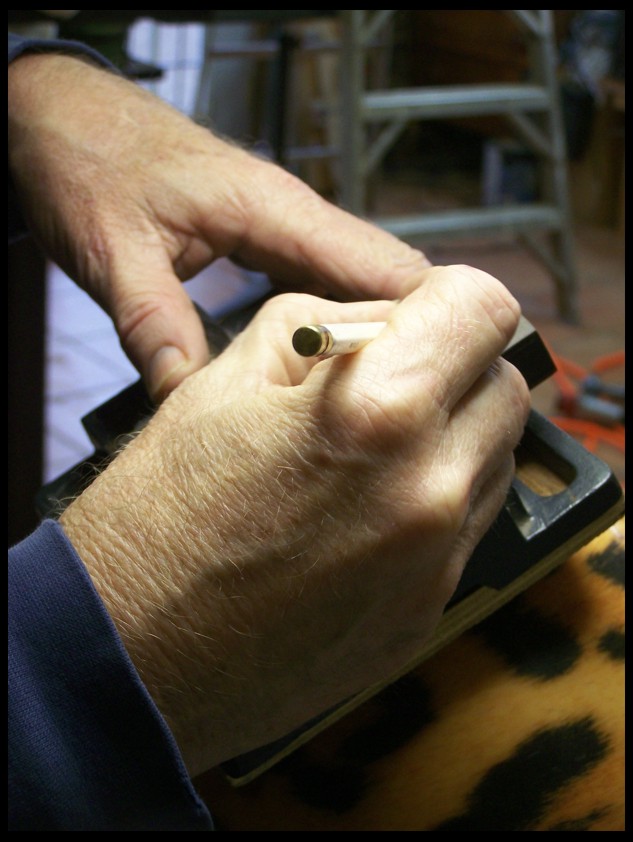
Next I got out my carving tools and started in....
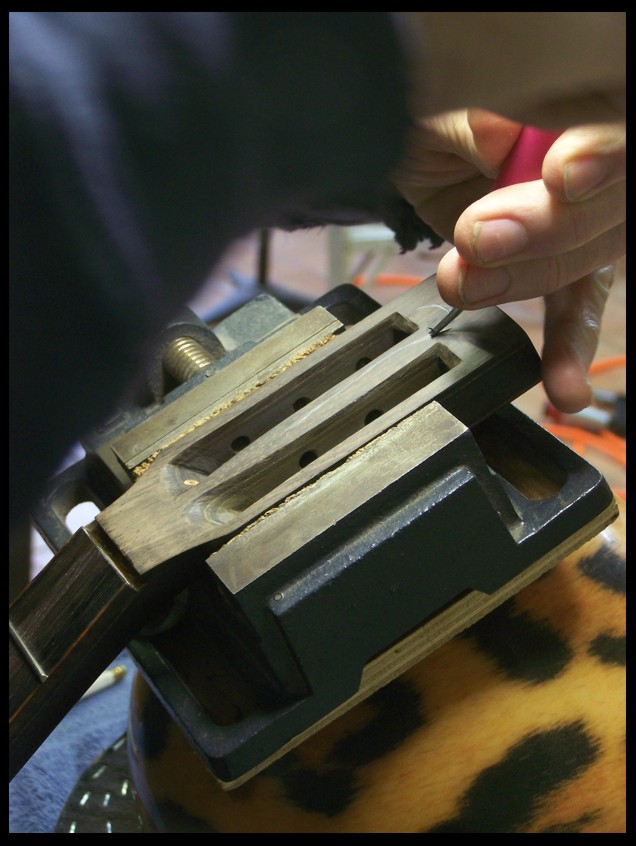
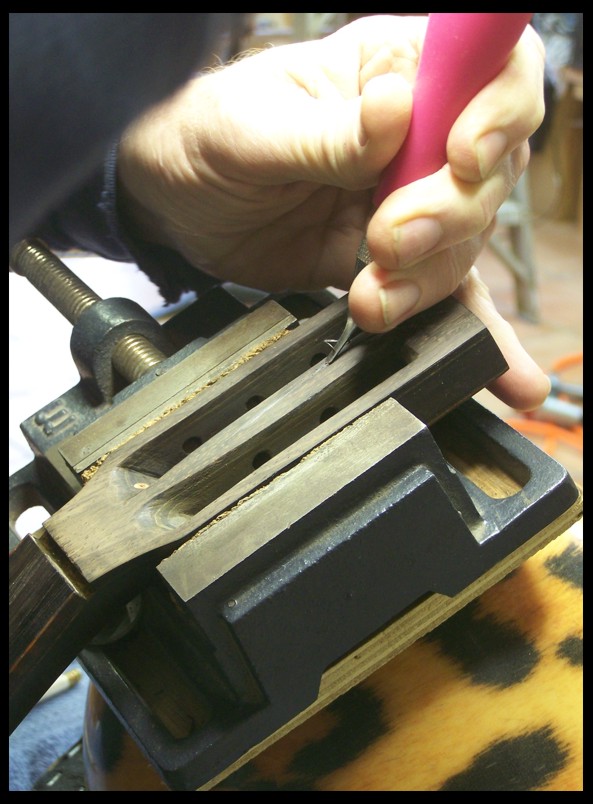
After several hours of carving, I put the neck down on the bench and sanded the finish with 1000 grit sand paper...
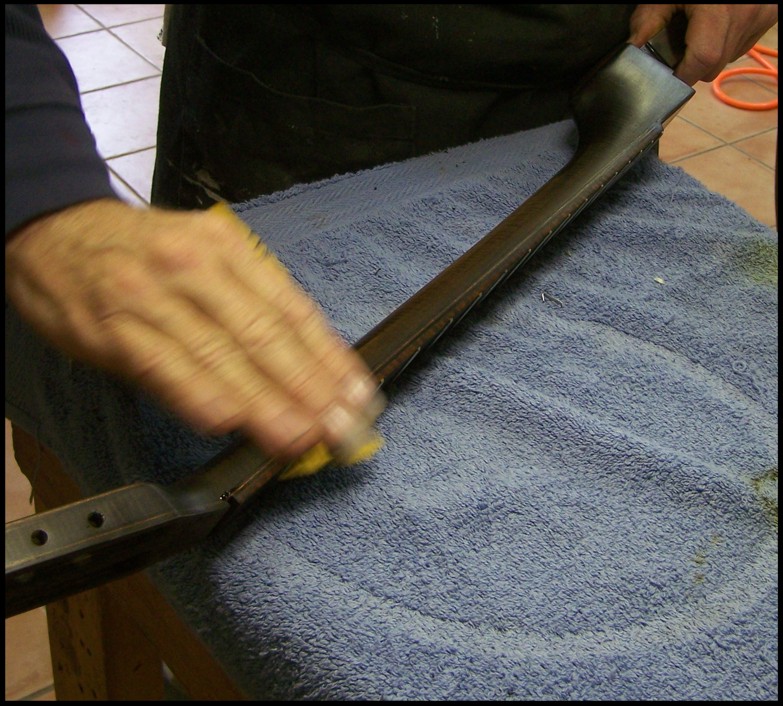
Then started applying oil...
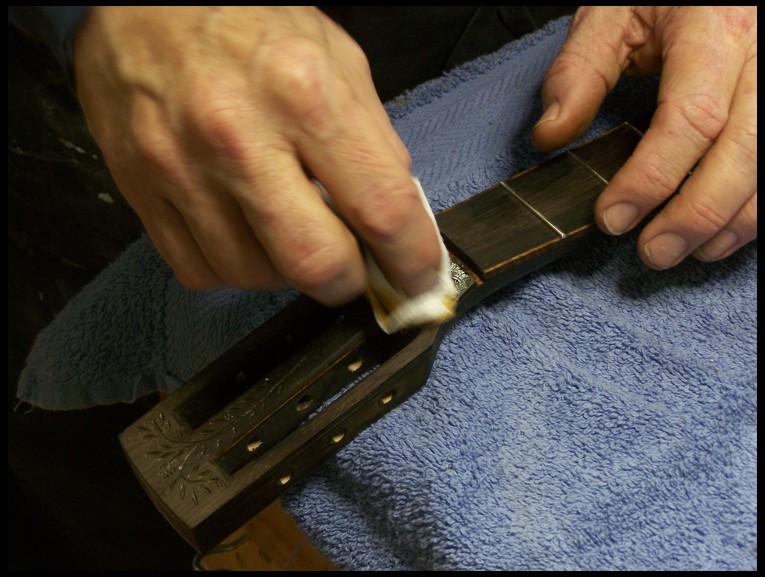
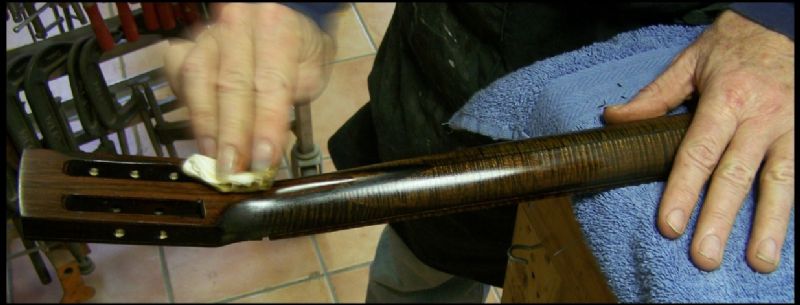
Here's the peghead face oiled and buffed...SURPRISE David!
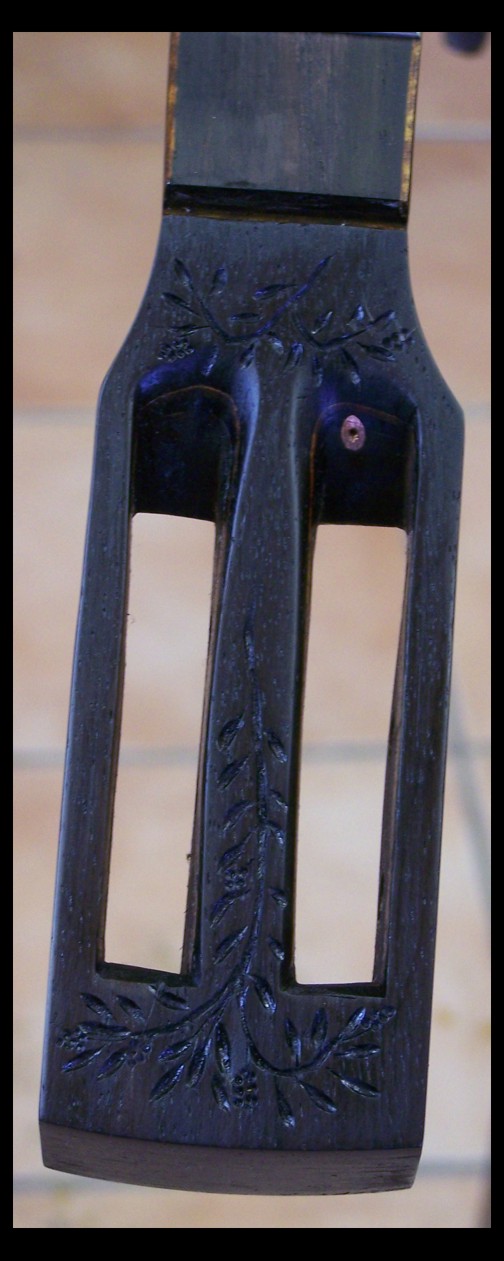
This took me until about 11:30. Next I really got lit up. I prepped and fretted 20 mini banjo necks. First I scraped off the hot glue residue from Chandan's routing...
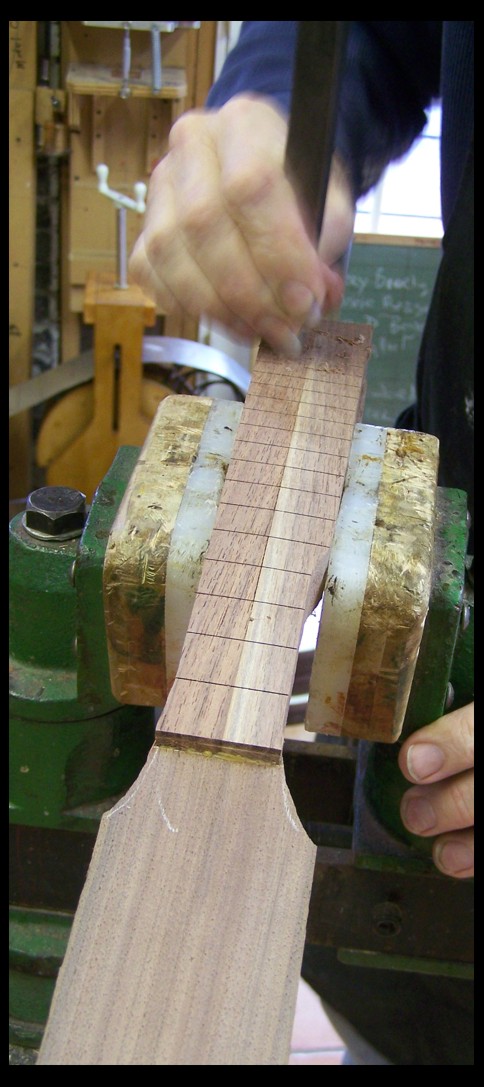
Then I sanded the fingerboards flat and proceeded to jab the frets home... Twenty necks took all afternoon I went home at 7:00...
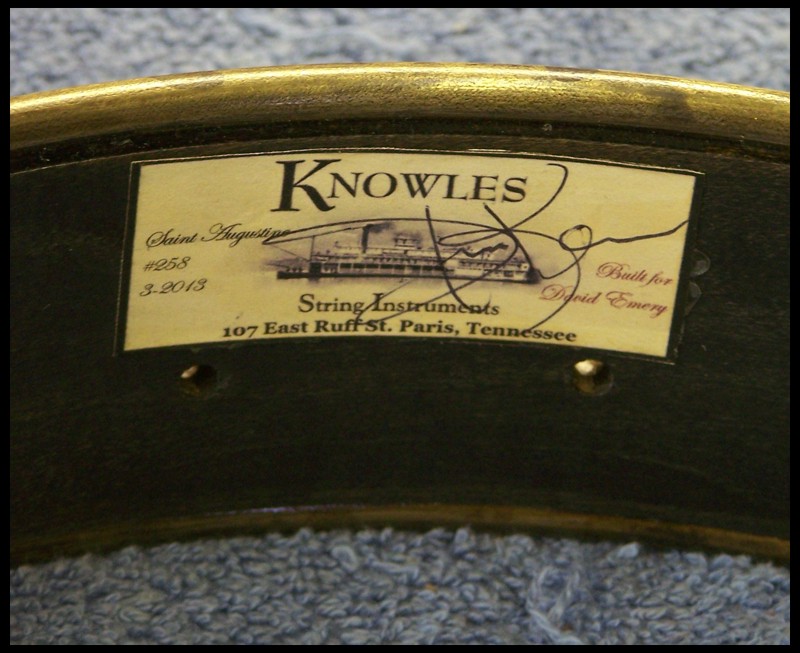
Oh ya, also I made up and glued a tag on the banjo rim...
One more thing... Ellen I promised a good close up of my little hammer...
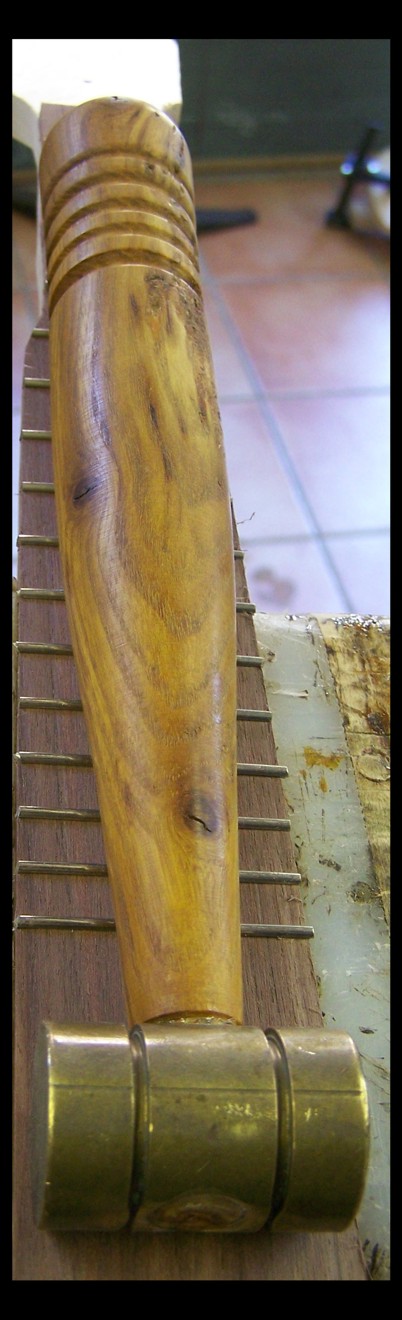
More tomorrow...
Paul Meredith - Posted - 03/29/2013: 19:26:53
The carving really makes the peghead come alive. Give your muse a raise!
Page: 1 2 3 4 5 6 7 8 9 10 11 12 13 14 15 16 17 18 19 20 21 22 23 24 25 26 27 28 29 30 31 32 33 34 35 36 37 38 39 40 41 42 43 44 45 46 47 48 49 50 51 52 53 54 55 56 57 58 59 60 61 62 63 64 65 66 67 68 69 70 71 72 73 74 75 76 77 78 79 80 81 82 83 84 85 86 87 88 89 90 91 92 93 94 95 96
Terms of Use | Privacy Policy | Privacy Consent (EU/GDPR Only)
Copyright 2026 Banjo Hangout. All Rights Reserved.


